LaravelでGoogle Calendarを呼び出す
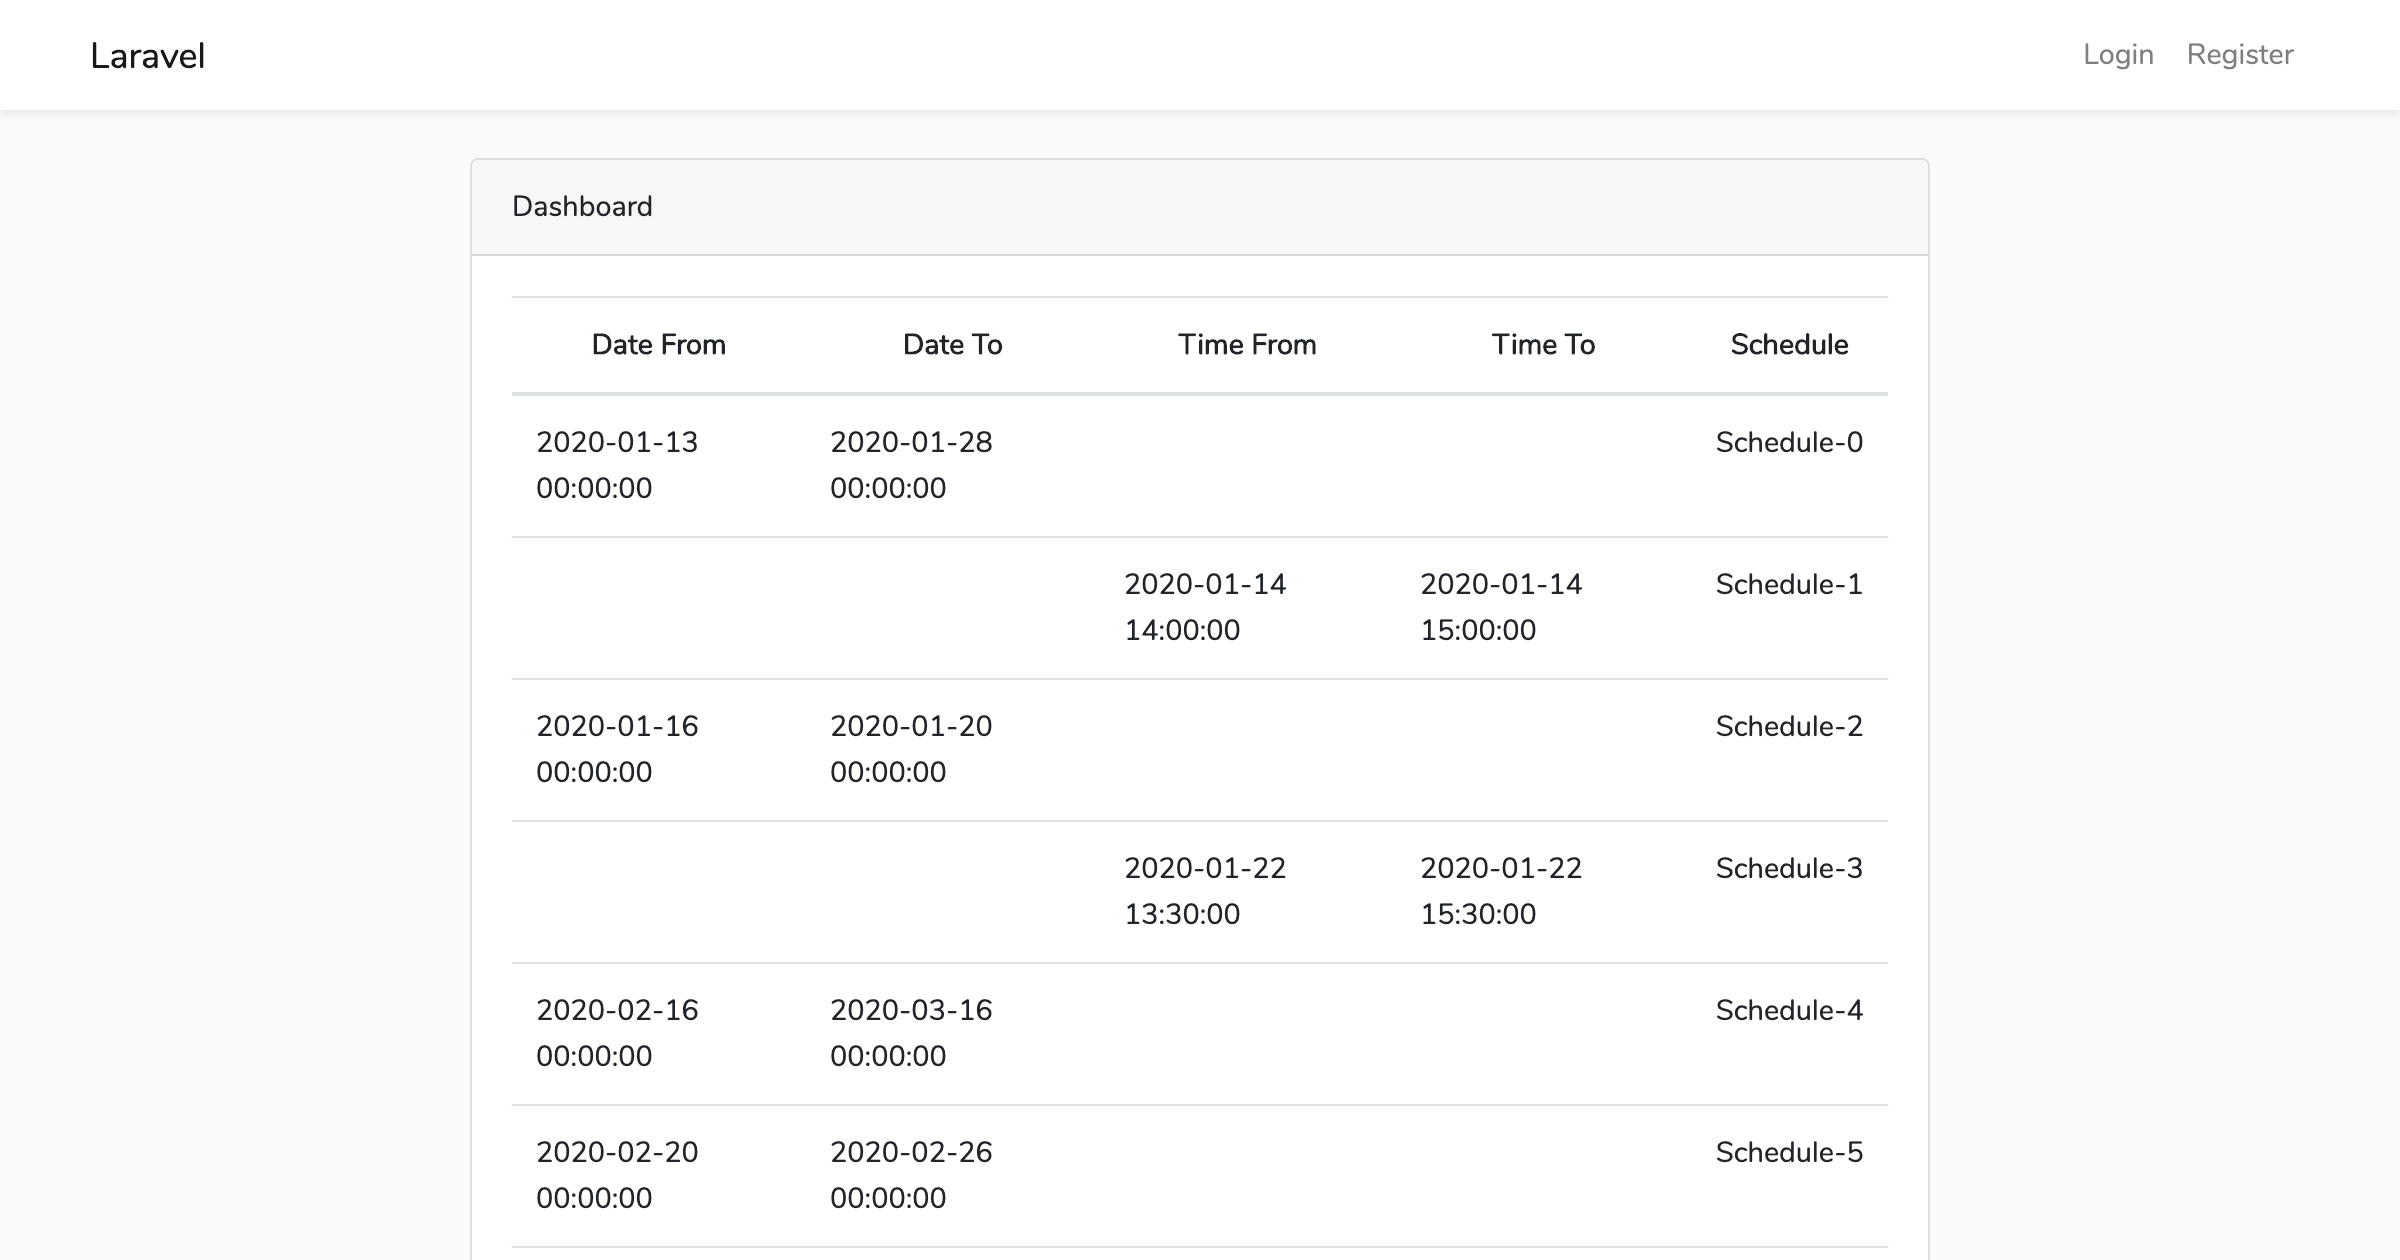
LaravelでGoogle Calendar APIを呼び出して使用する機会があったので、使い方をまとめます。
Google APIsを開きます。
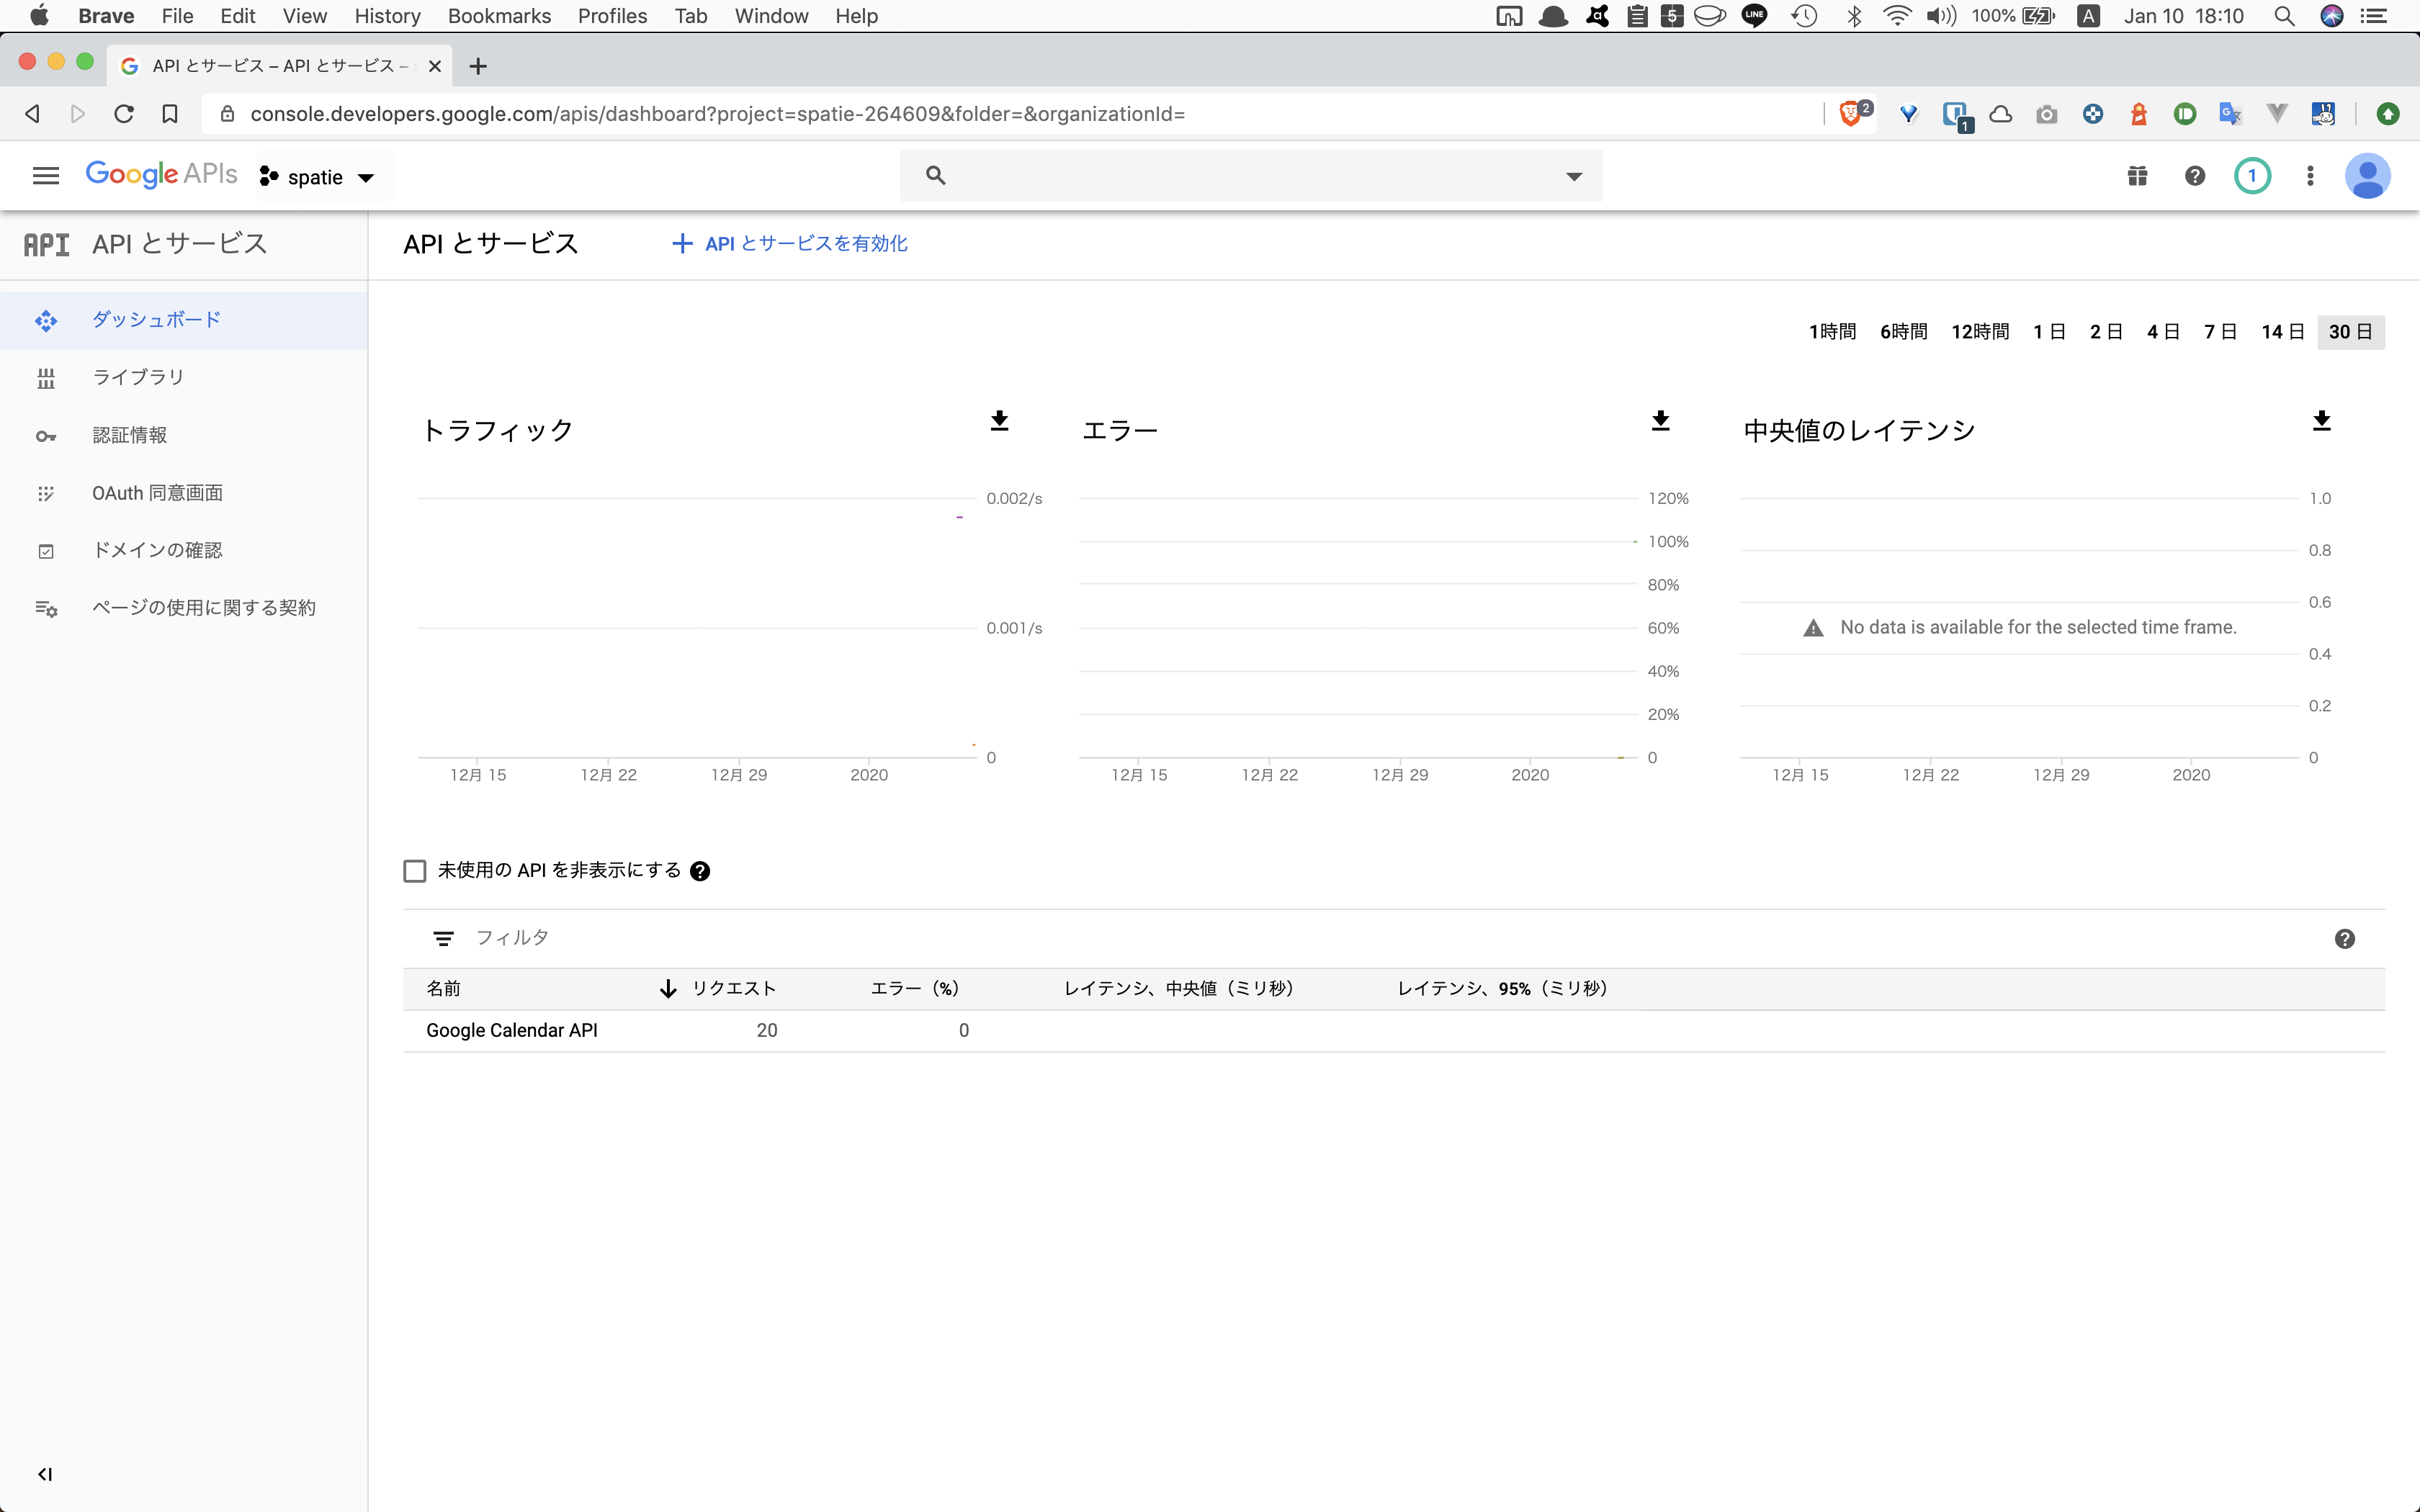
Google APIsのロゴの隣のプルダウンメニューをクリックして、【プロジェクトの選択】を開き、【新しいプロジェクト】を選択します。
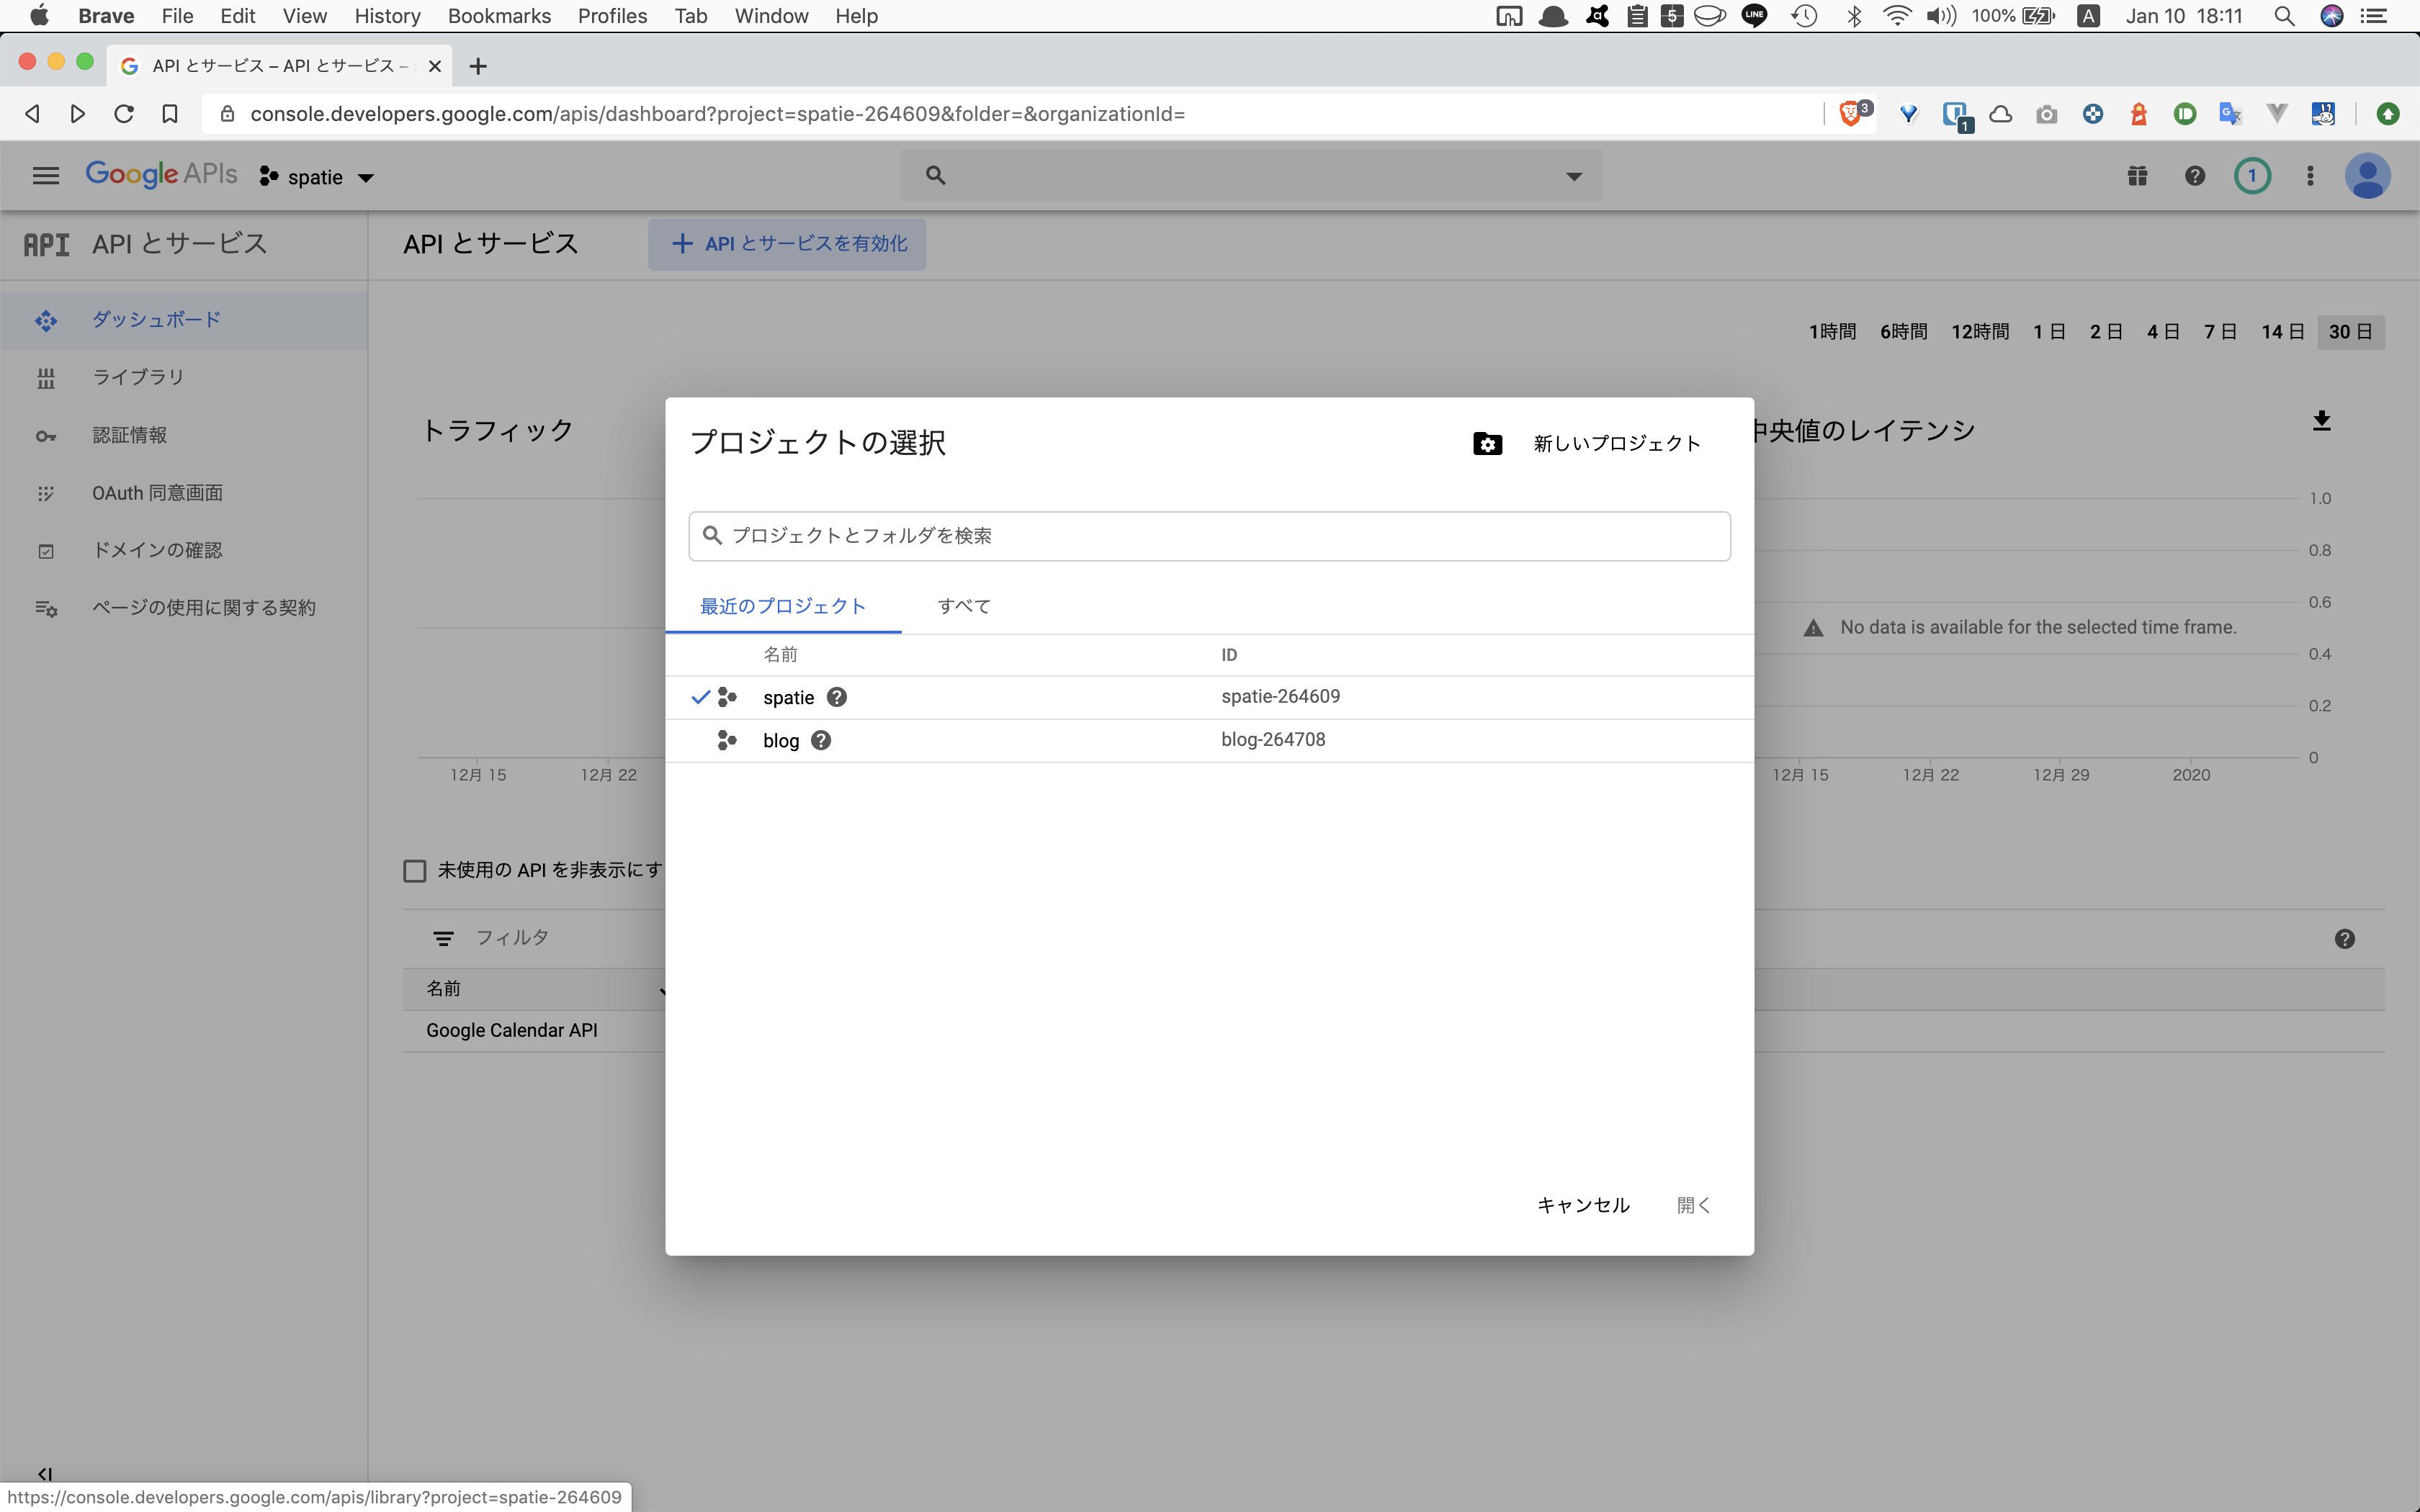
【新しいプロジェクト】画面が開くので、【プロジェクト名】を記入し、【作成】ボタンをクリックします。
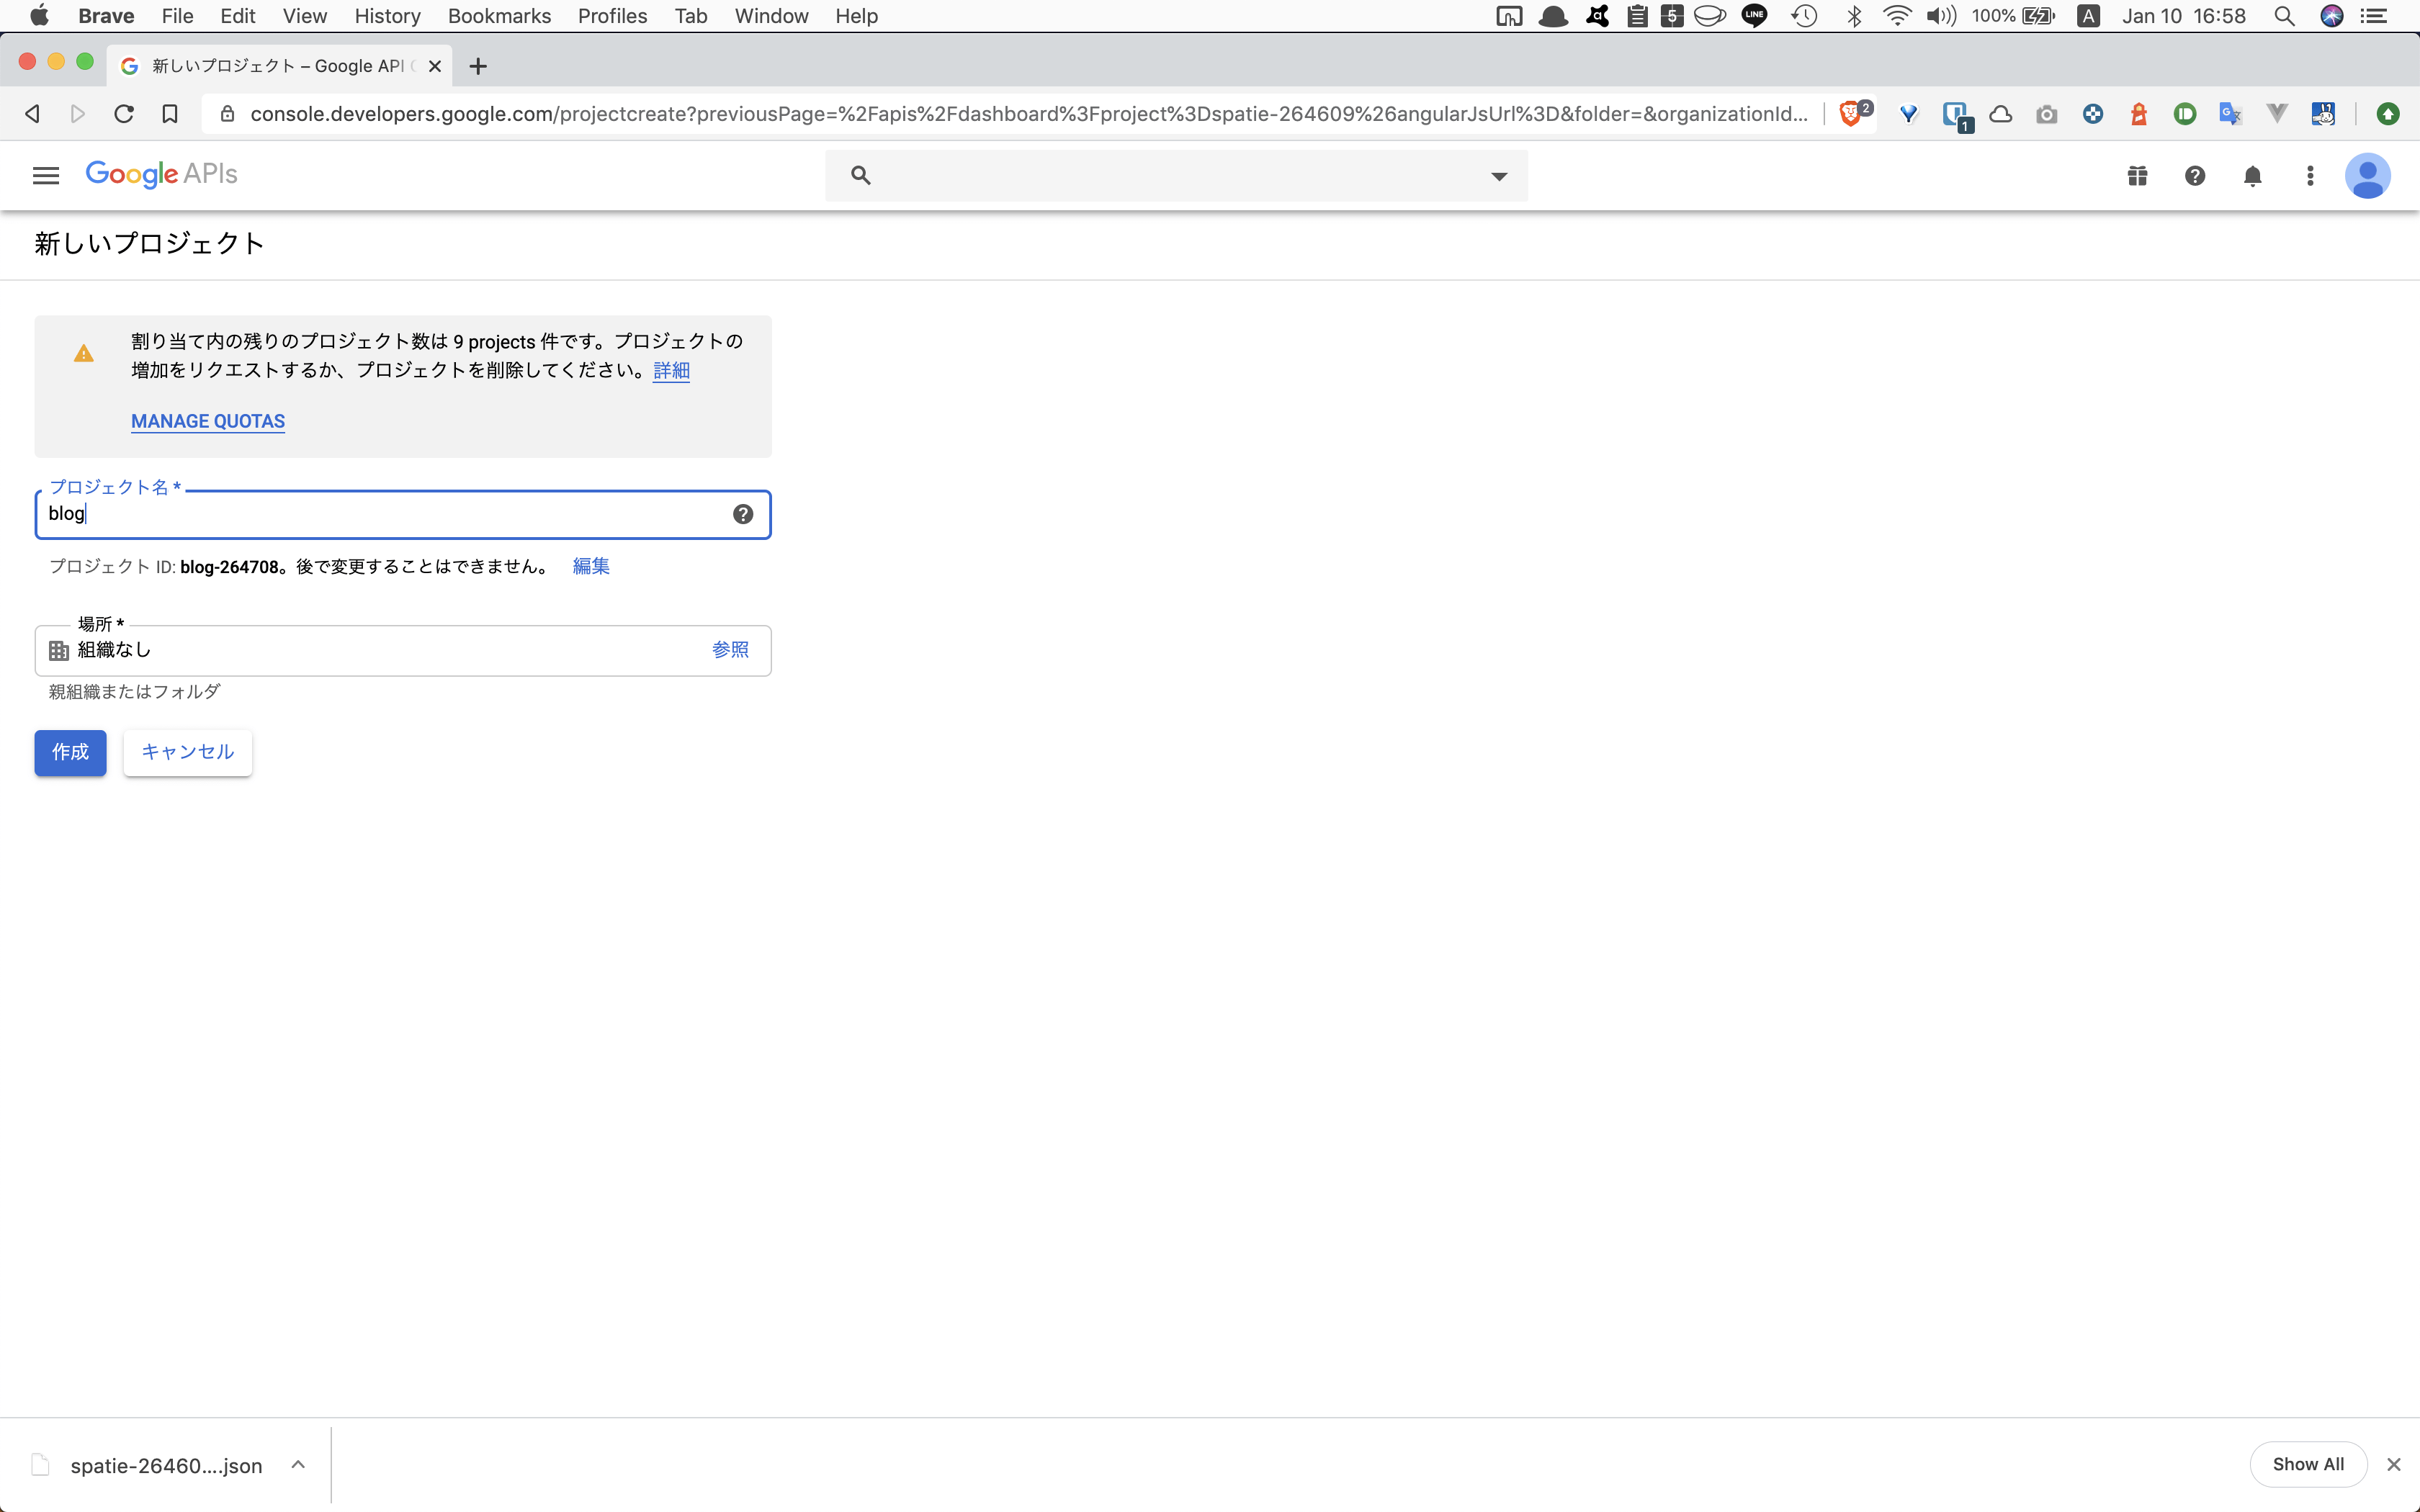
再度、Google APIsのロゴの隣のプルダウンメニューをクリックして、【プロジェクトの選択】を開き、先ほど作成したプロジェクトを選択します。
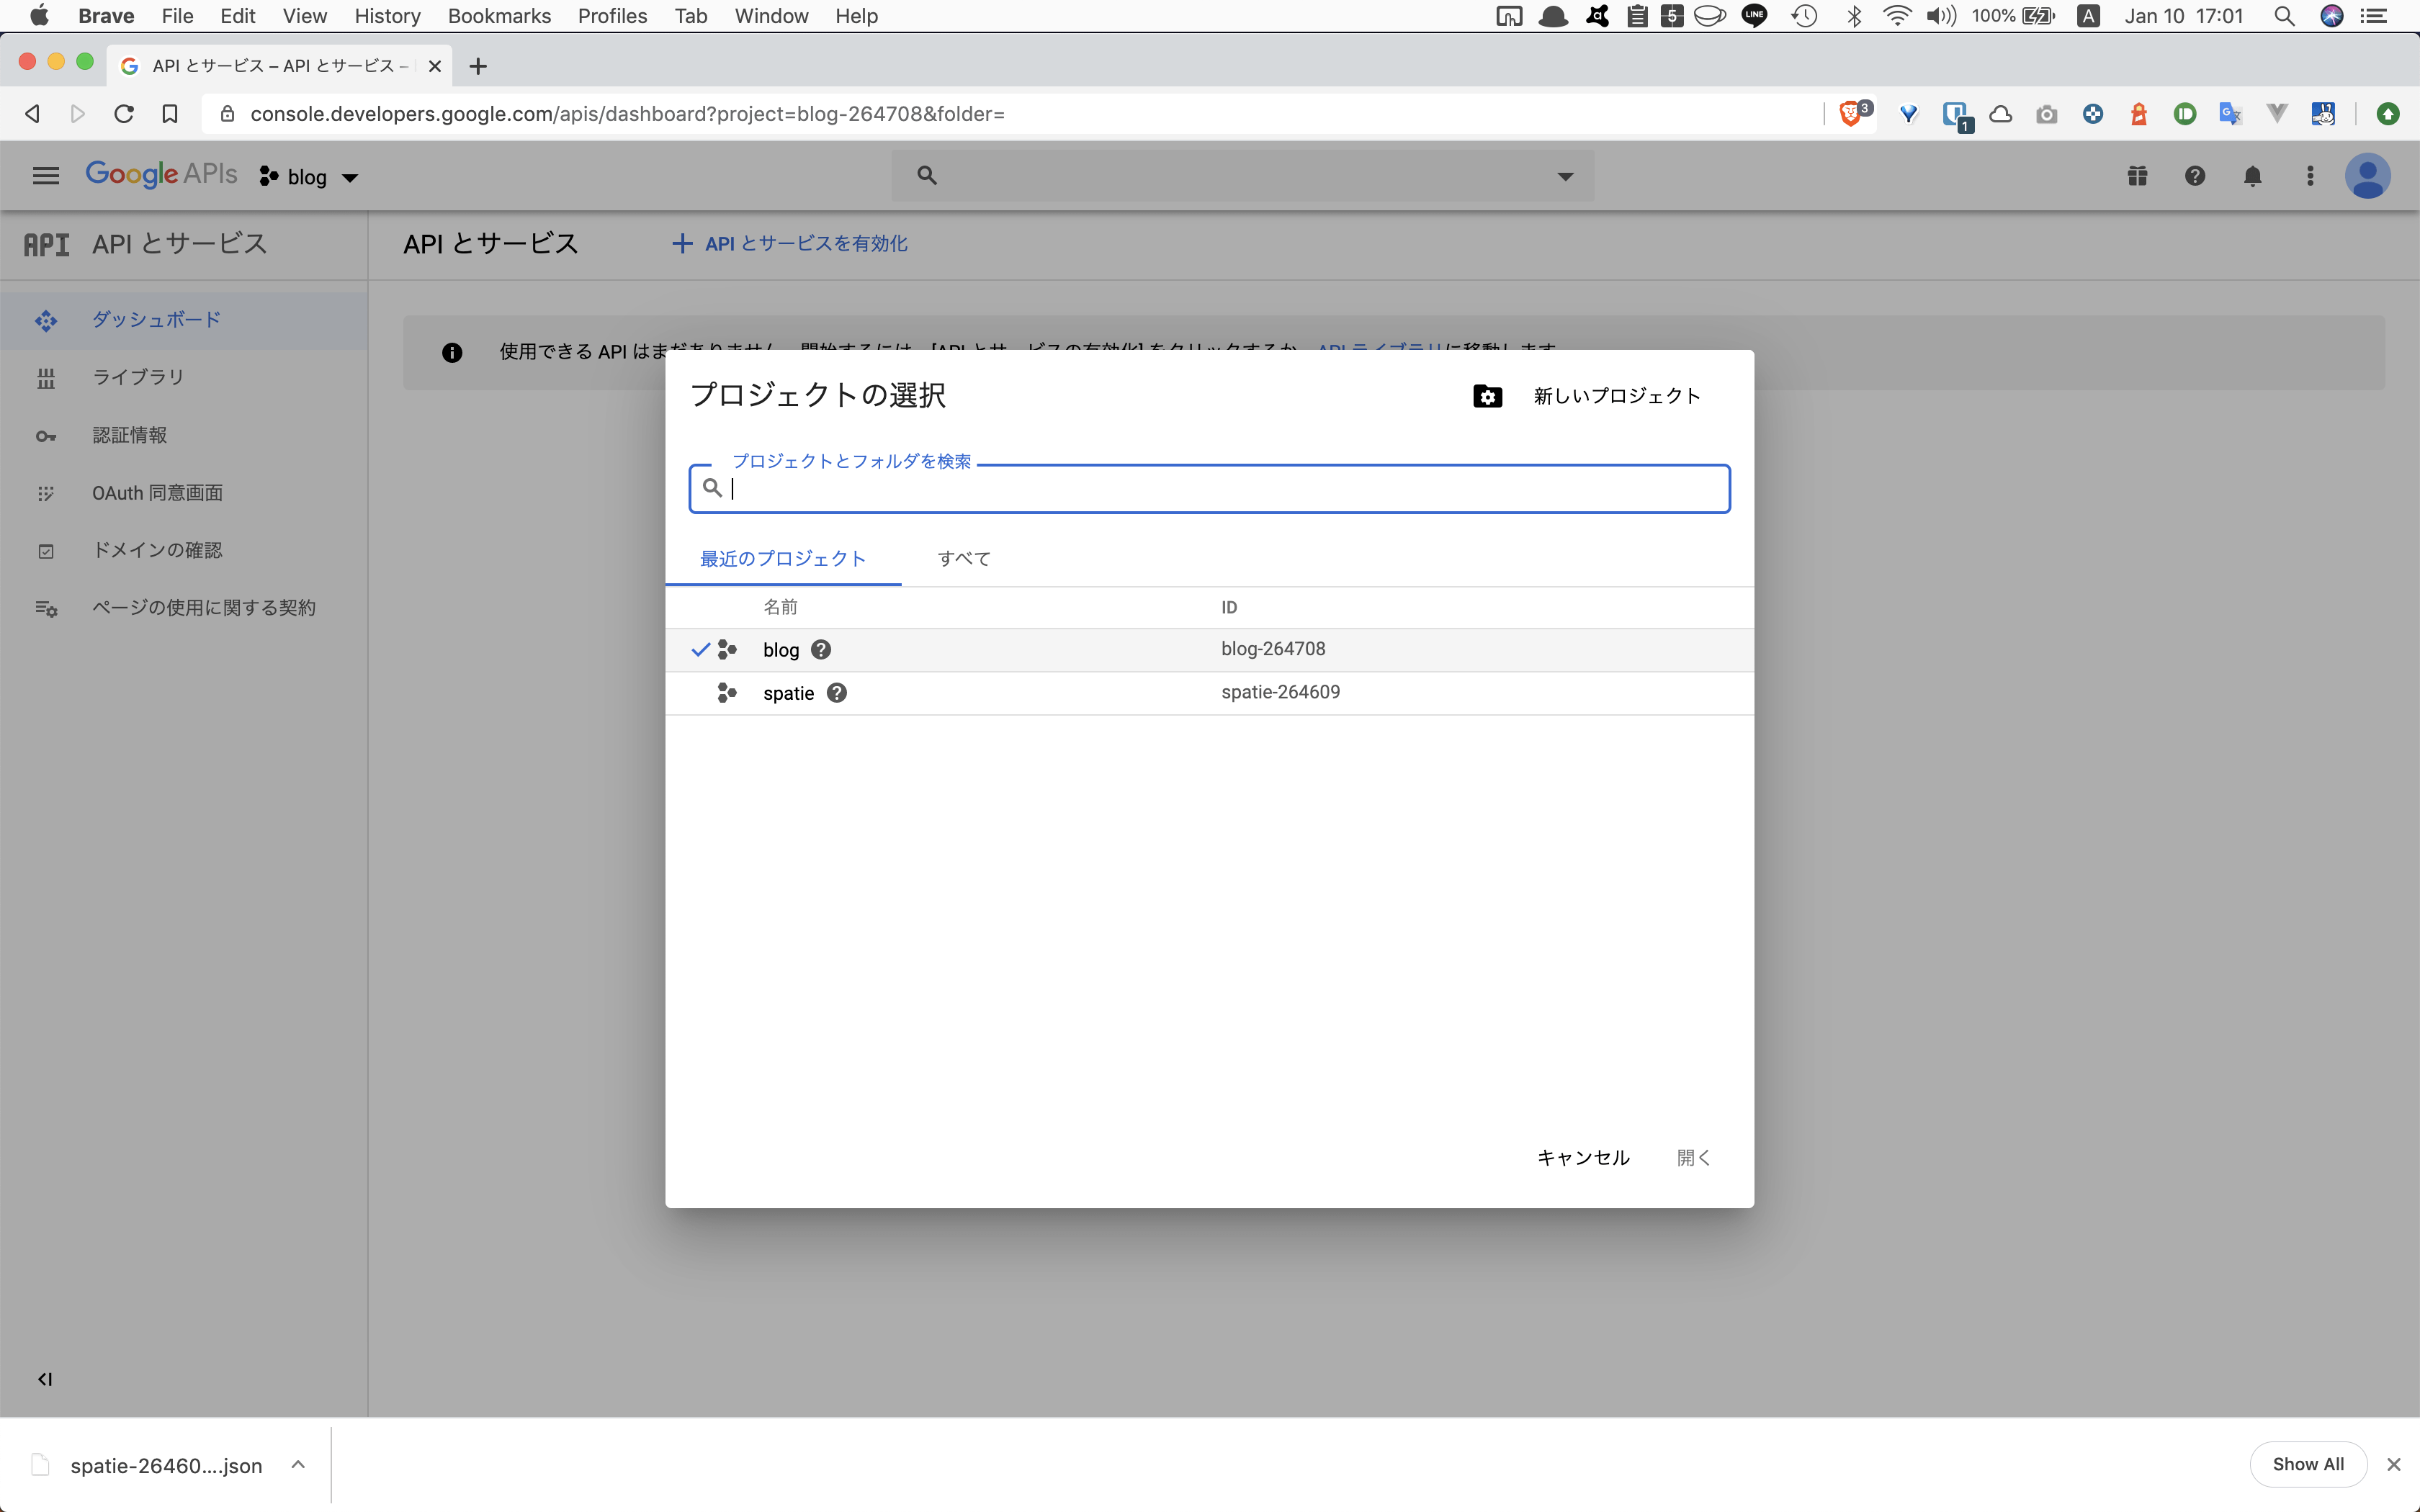
【APIとサービスを有効化】をクリックします。
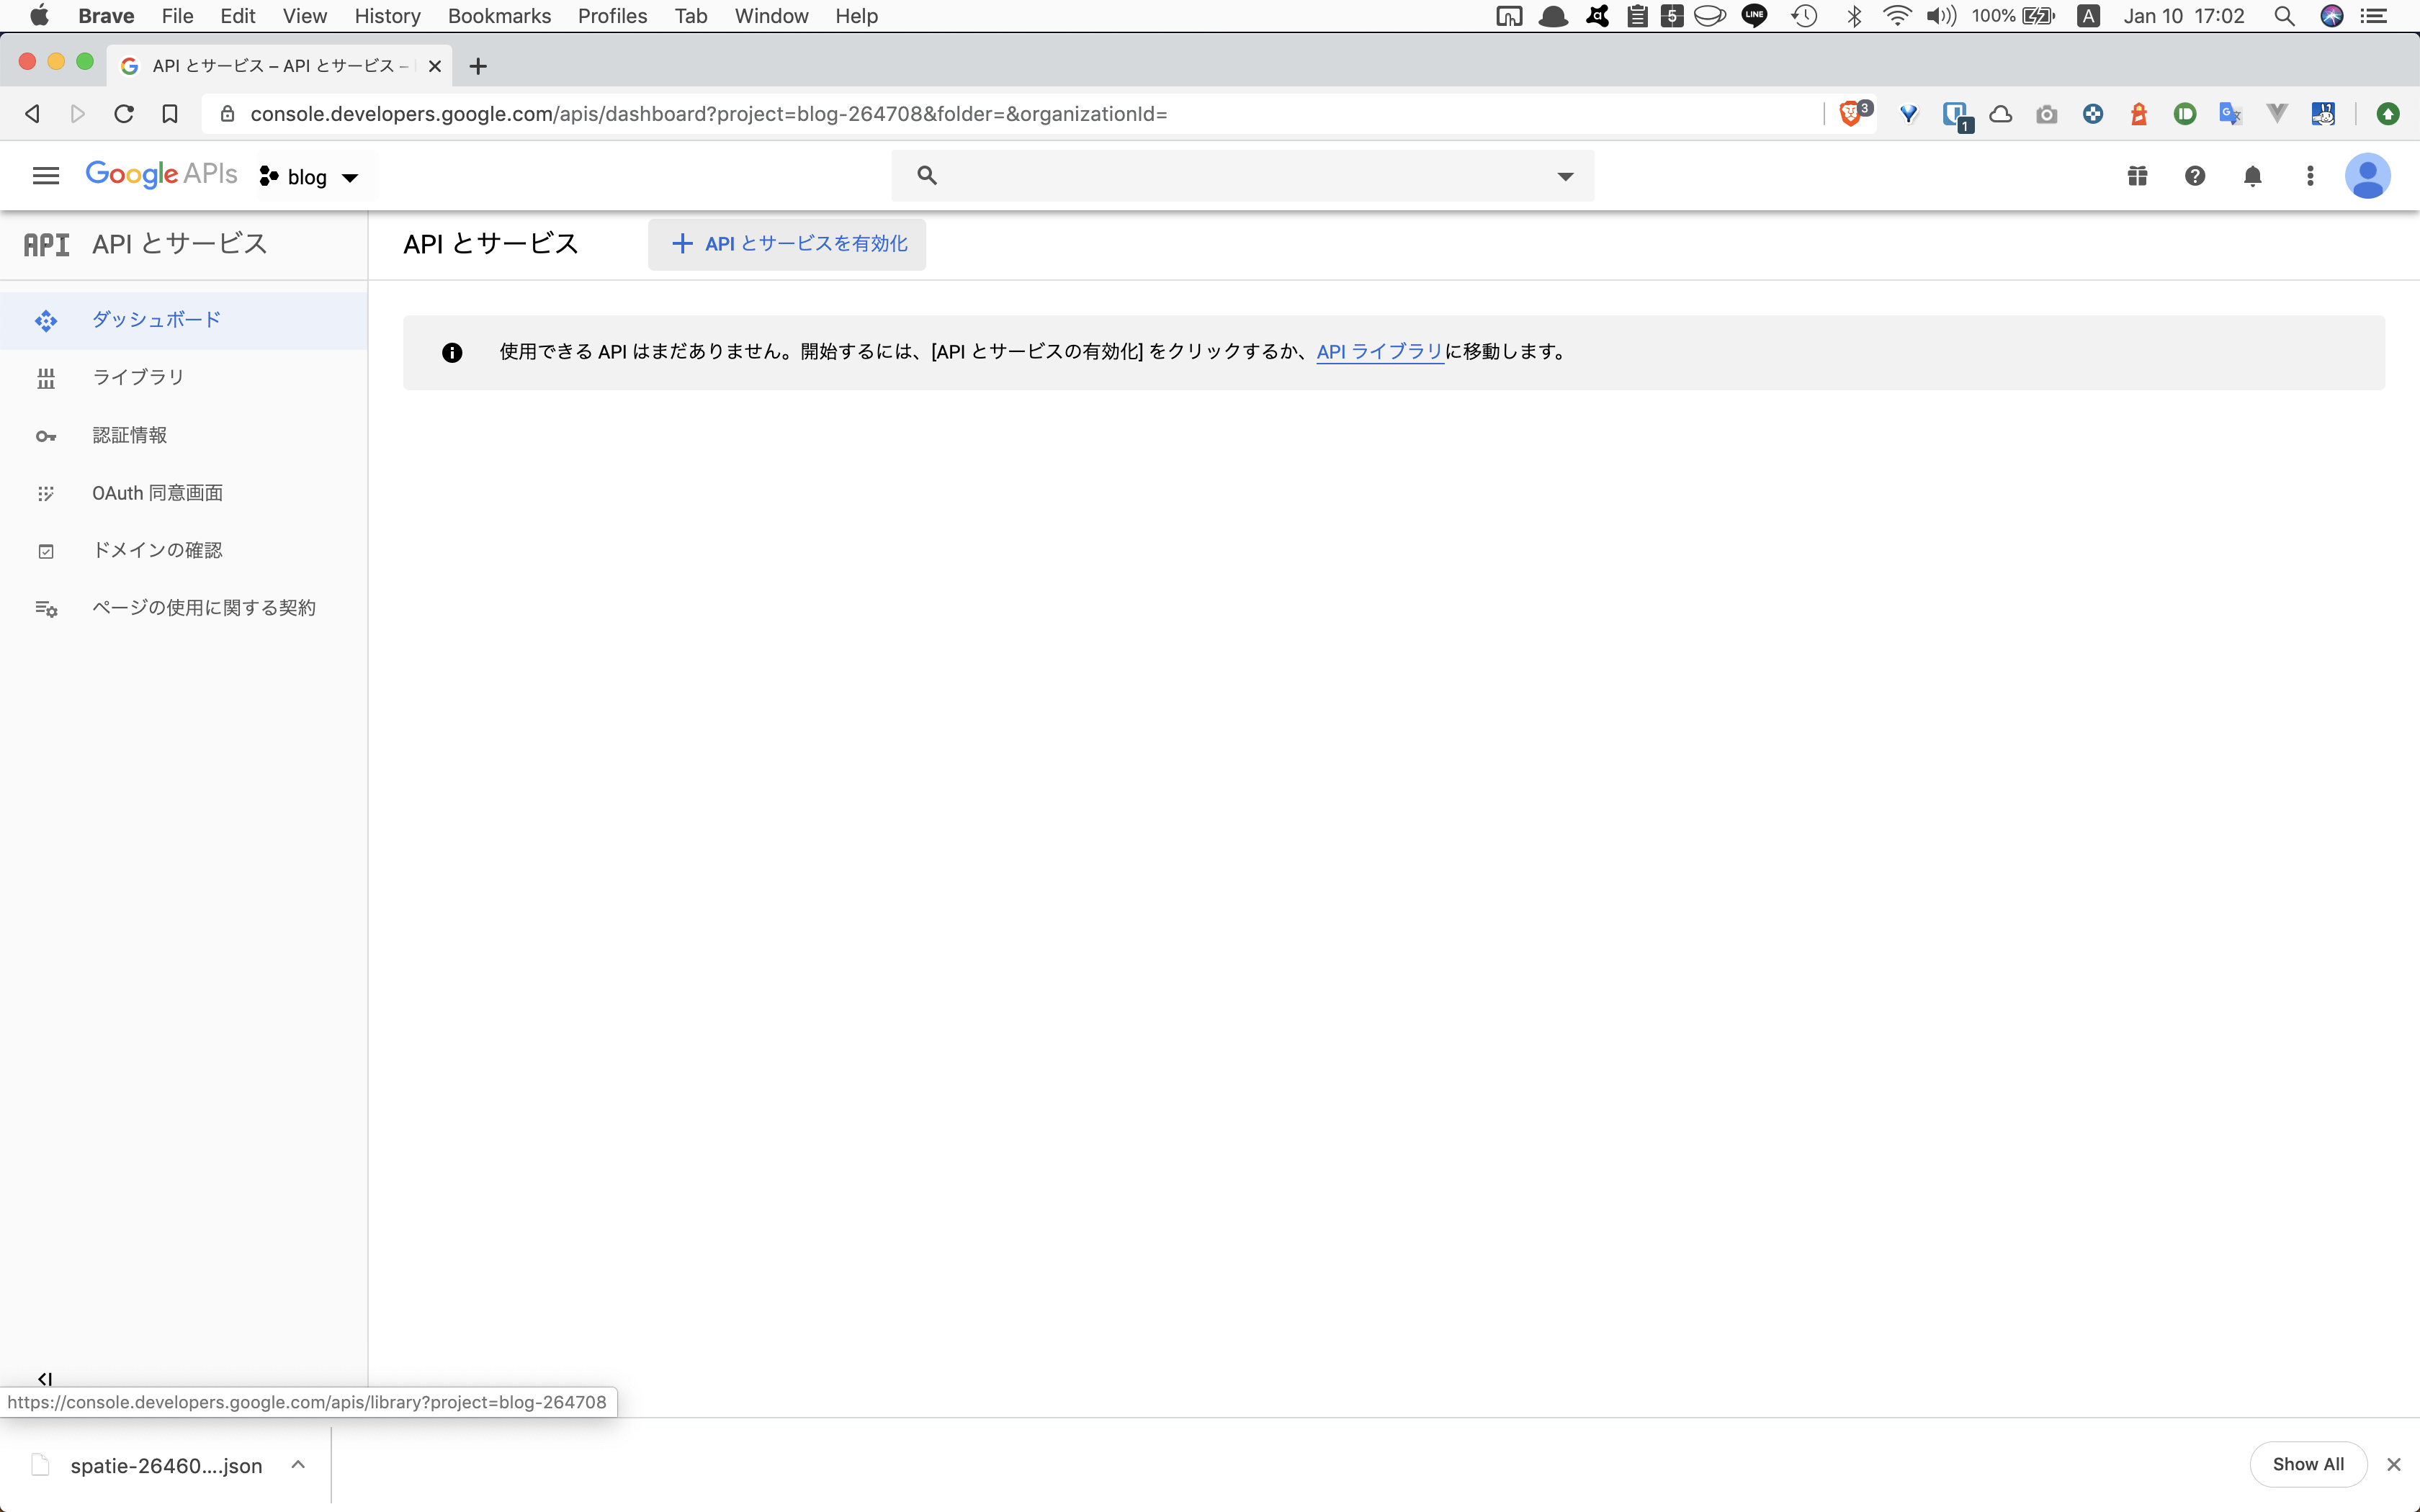
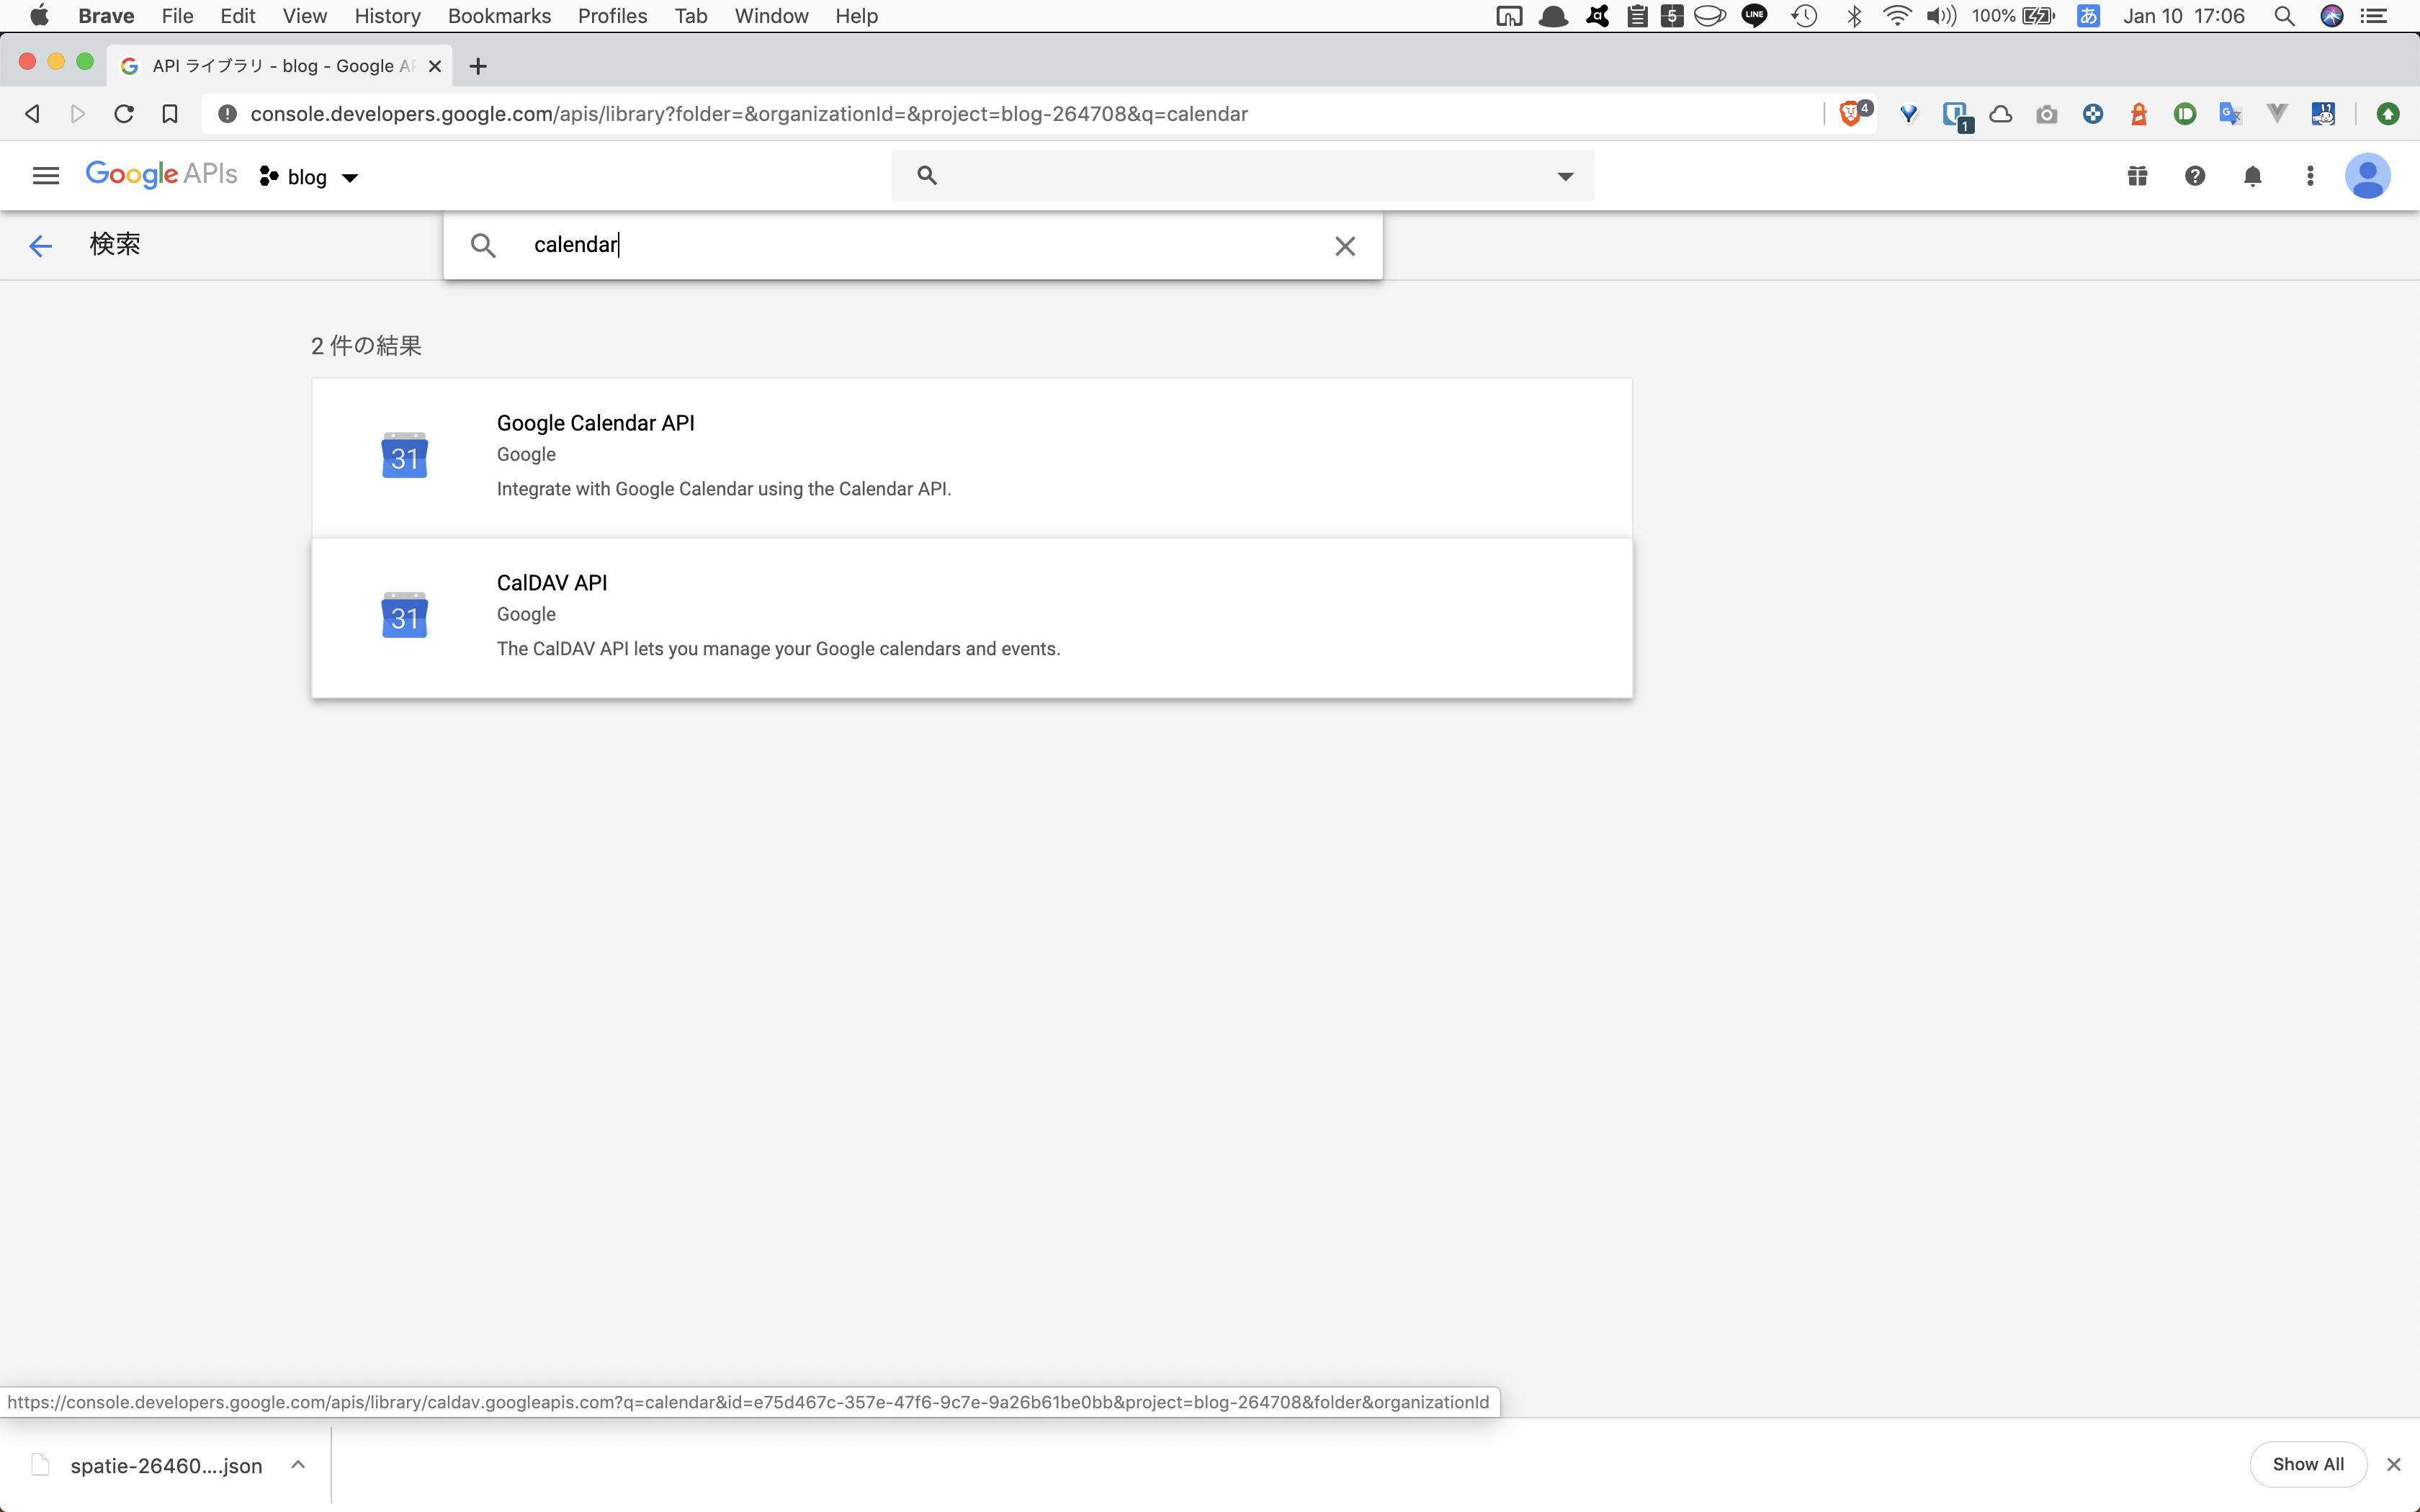
【APIライブラリ】が表示されるので、検索ウィンドウで【calendar】と入力しましょう。Google Calendar APIが表示されるので選択します。
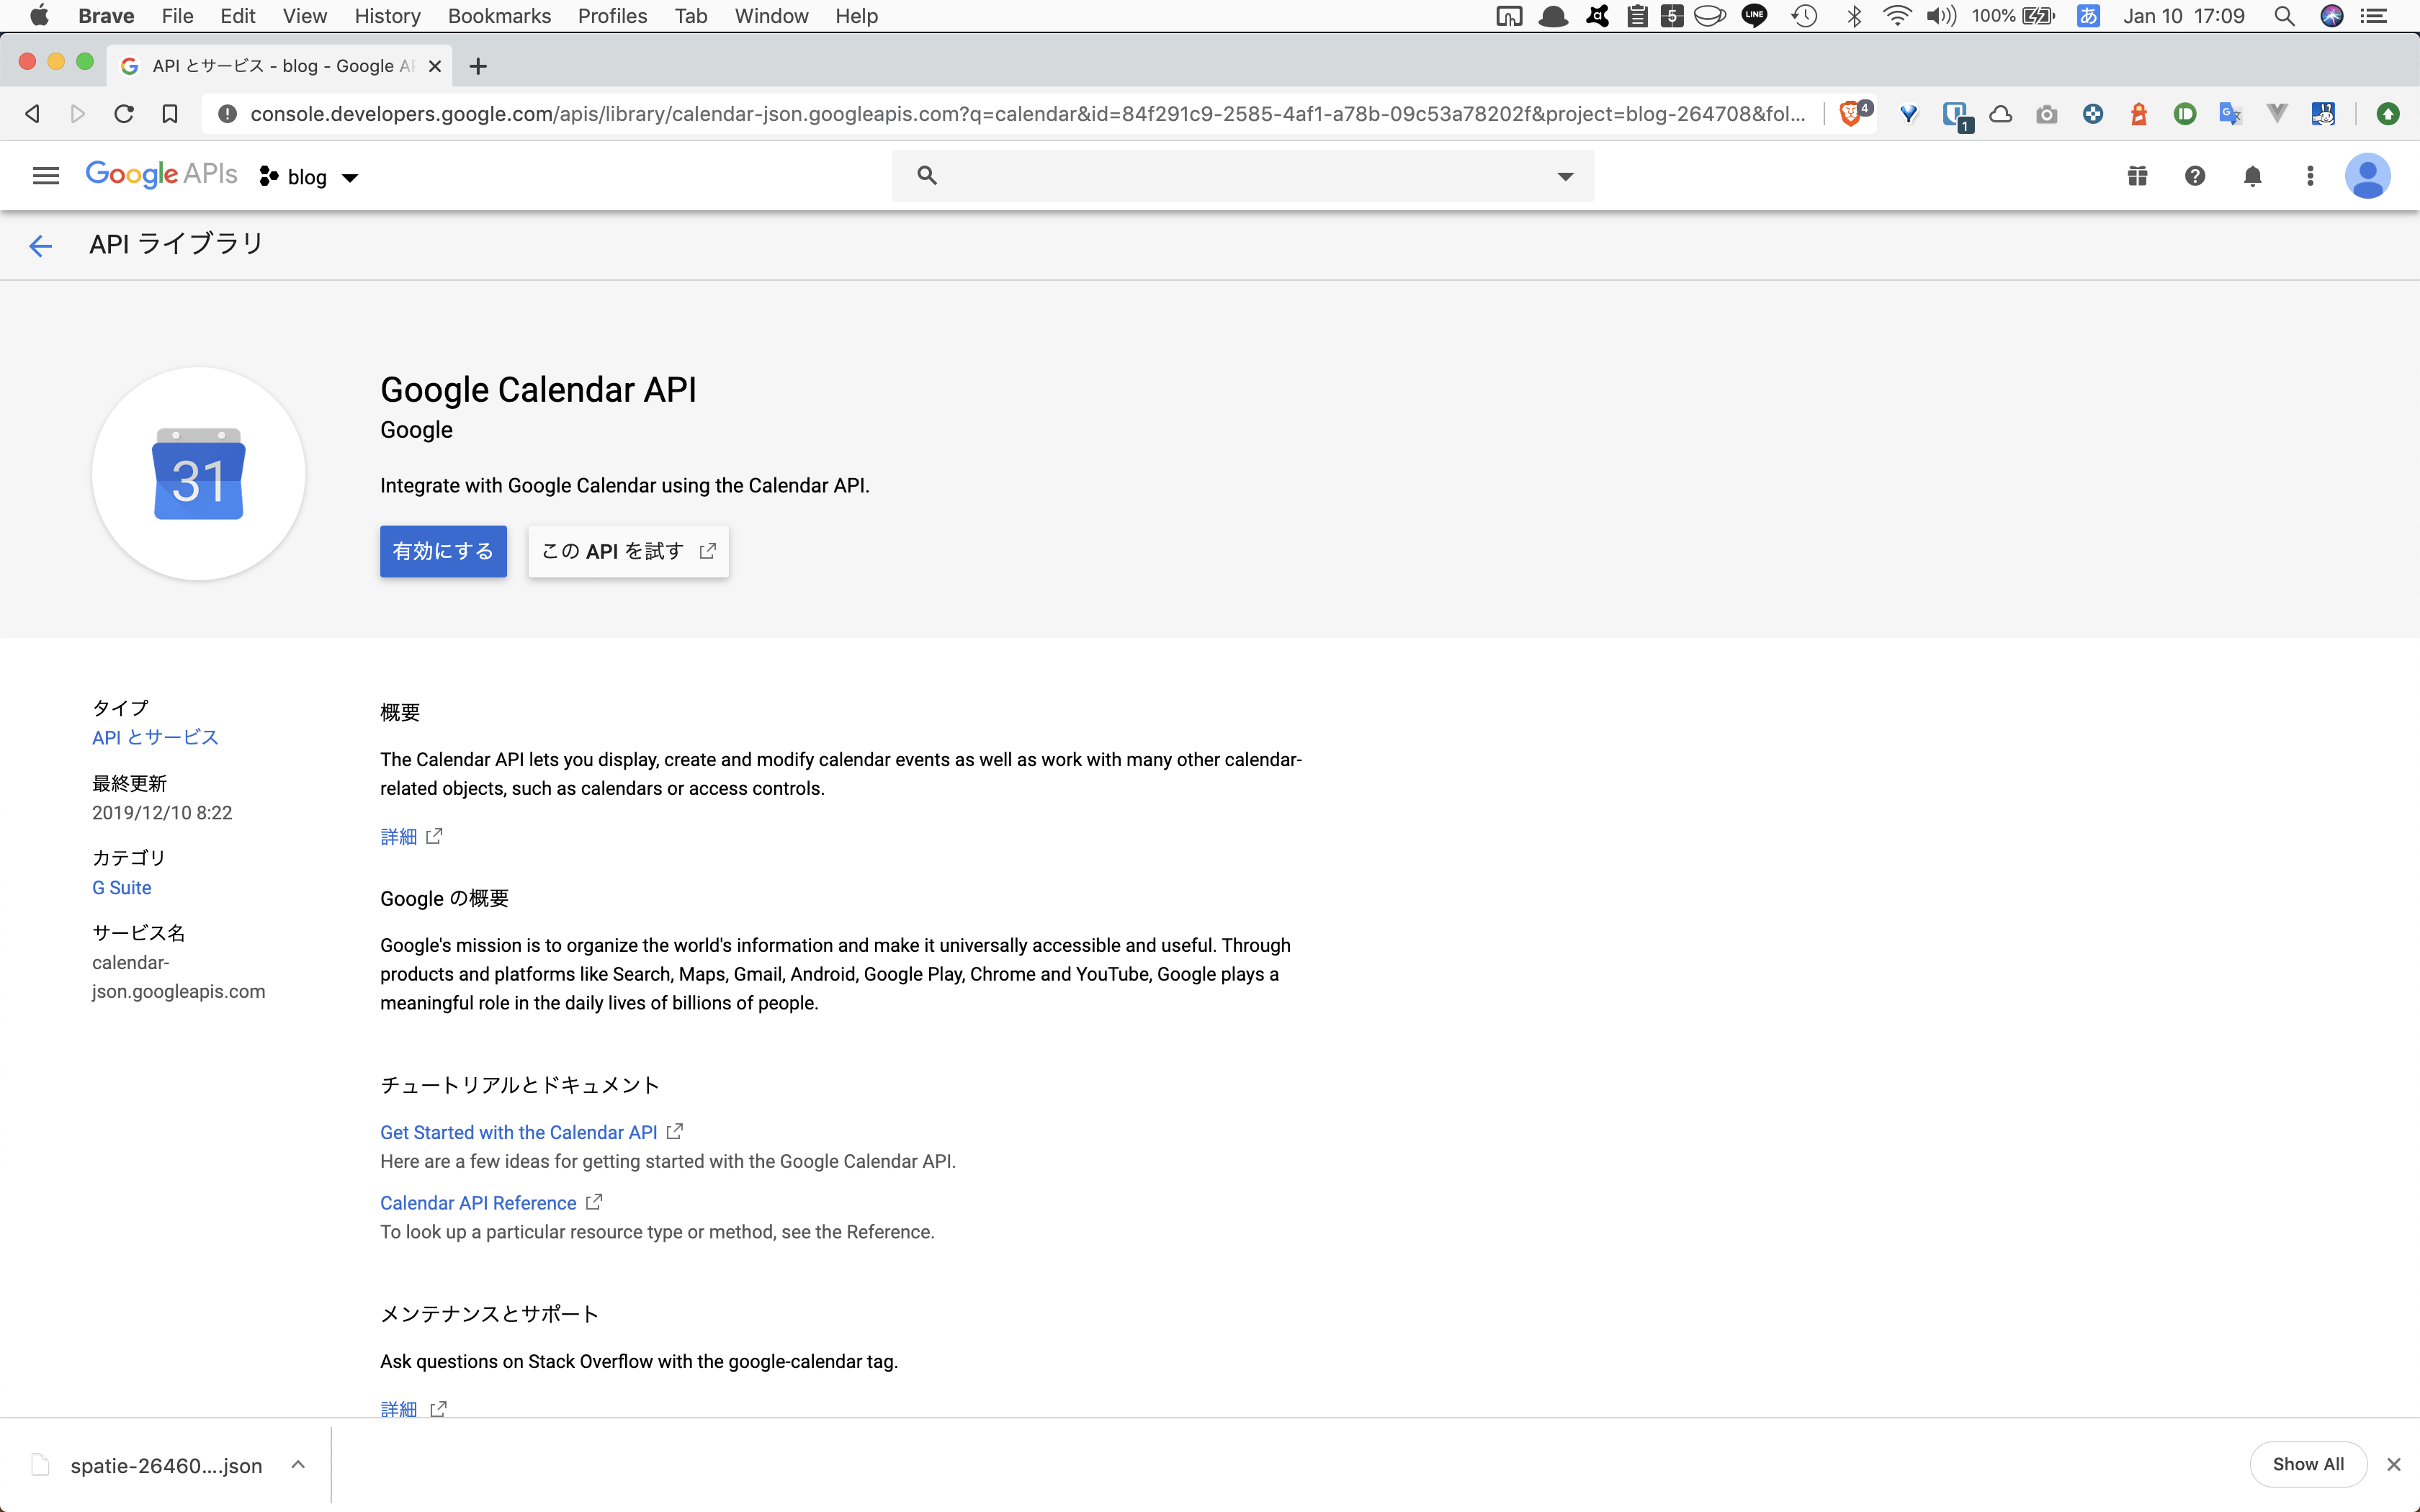
【Google Calendar API】の説明が表示されるので、【有効にする】ボタンをクリックします。
【Google Calendar API】の画面が表示されるので、【認証情報を作成】ボタンをクリックします。
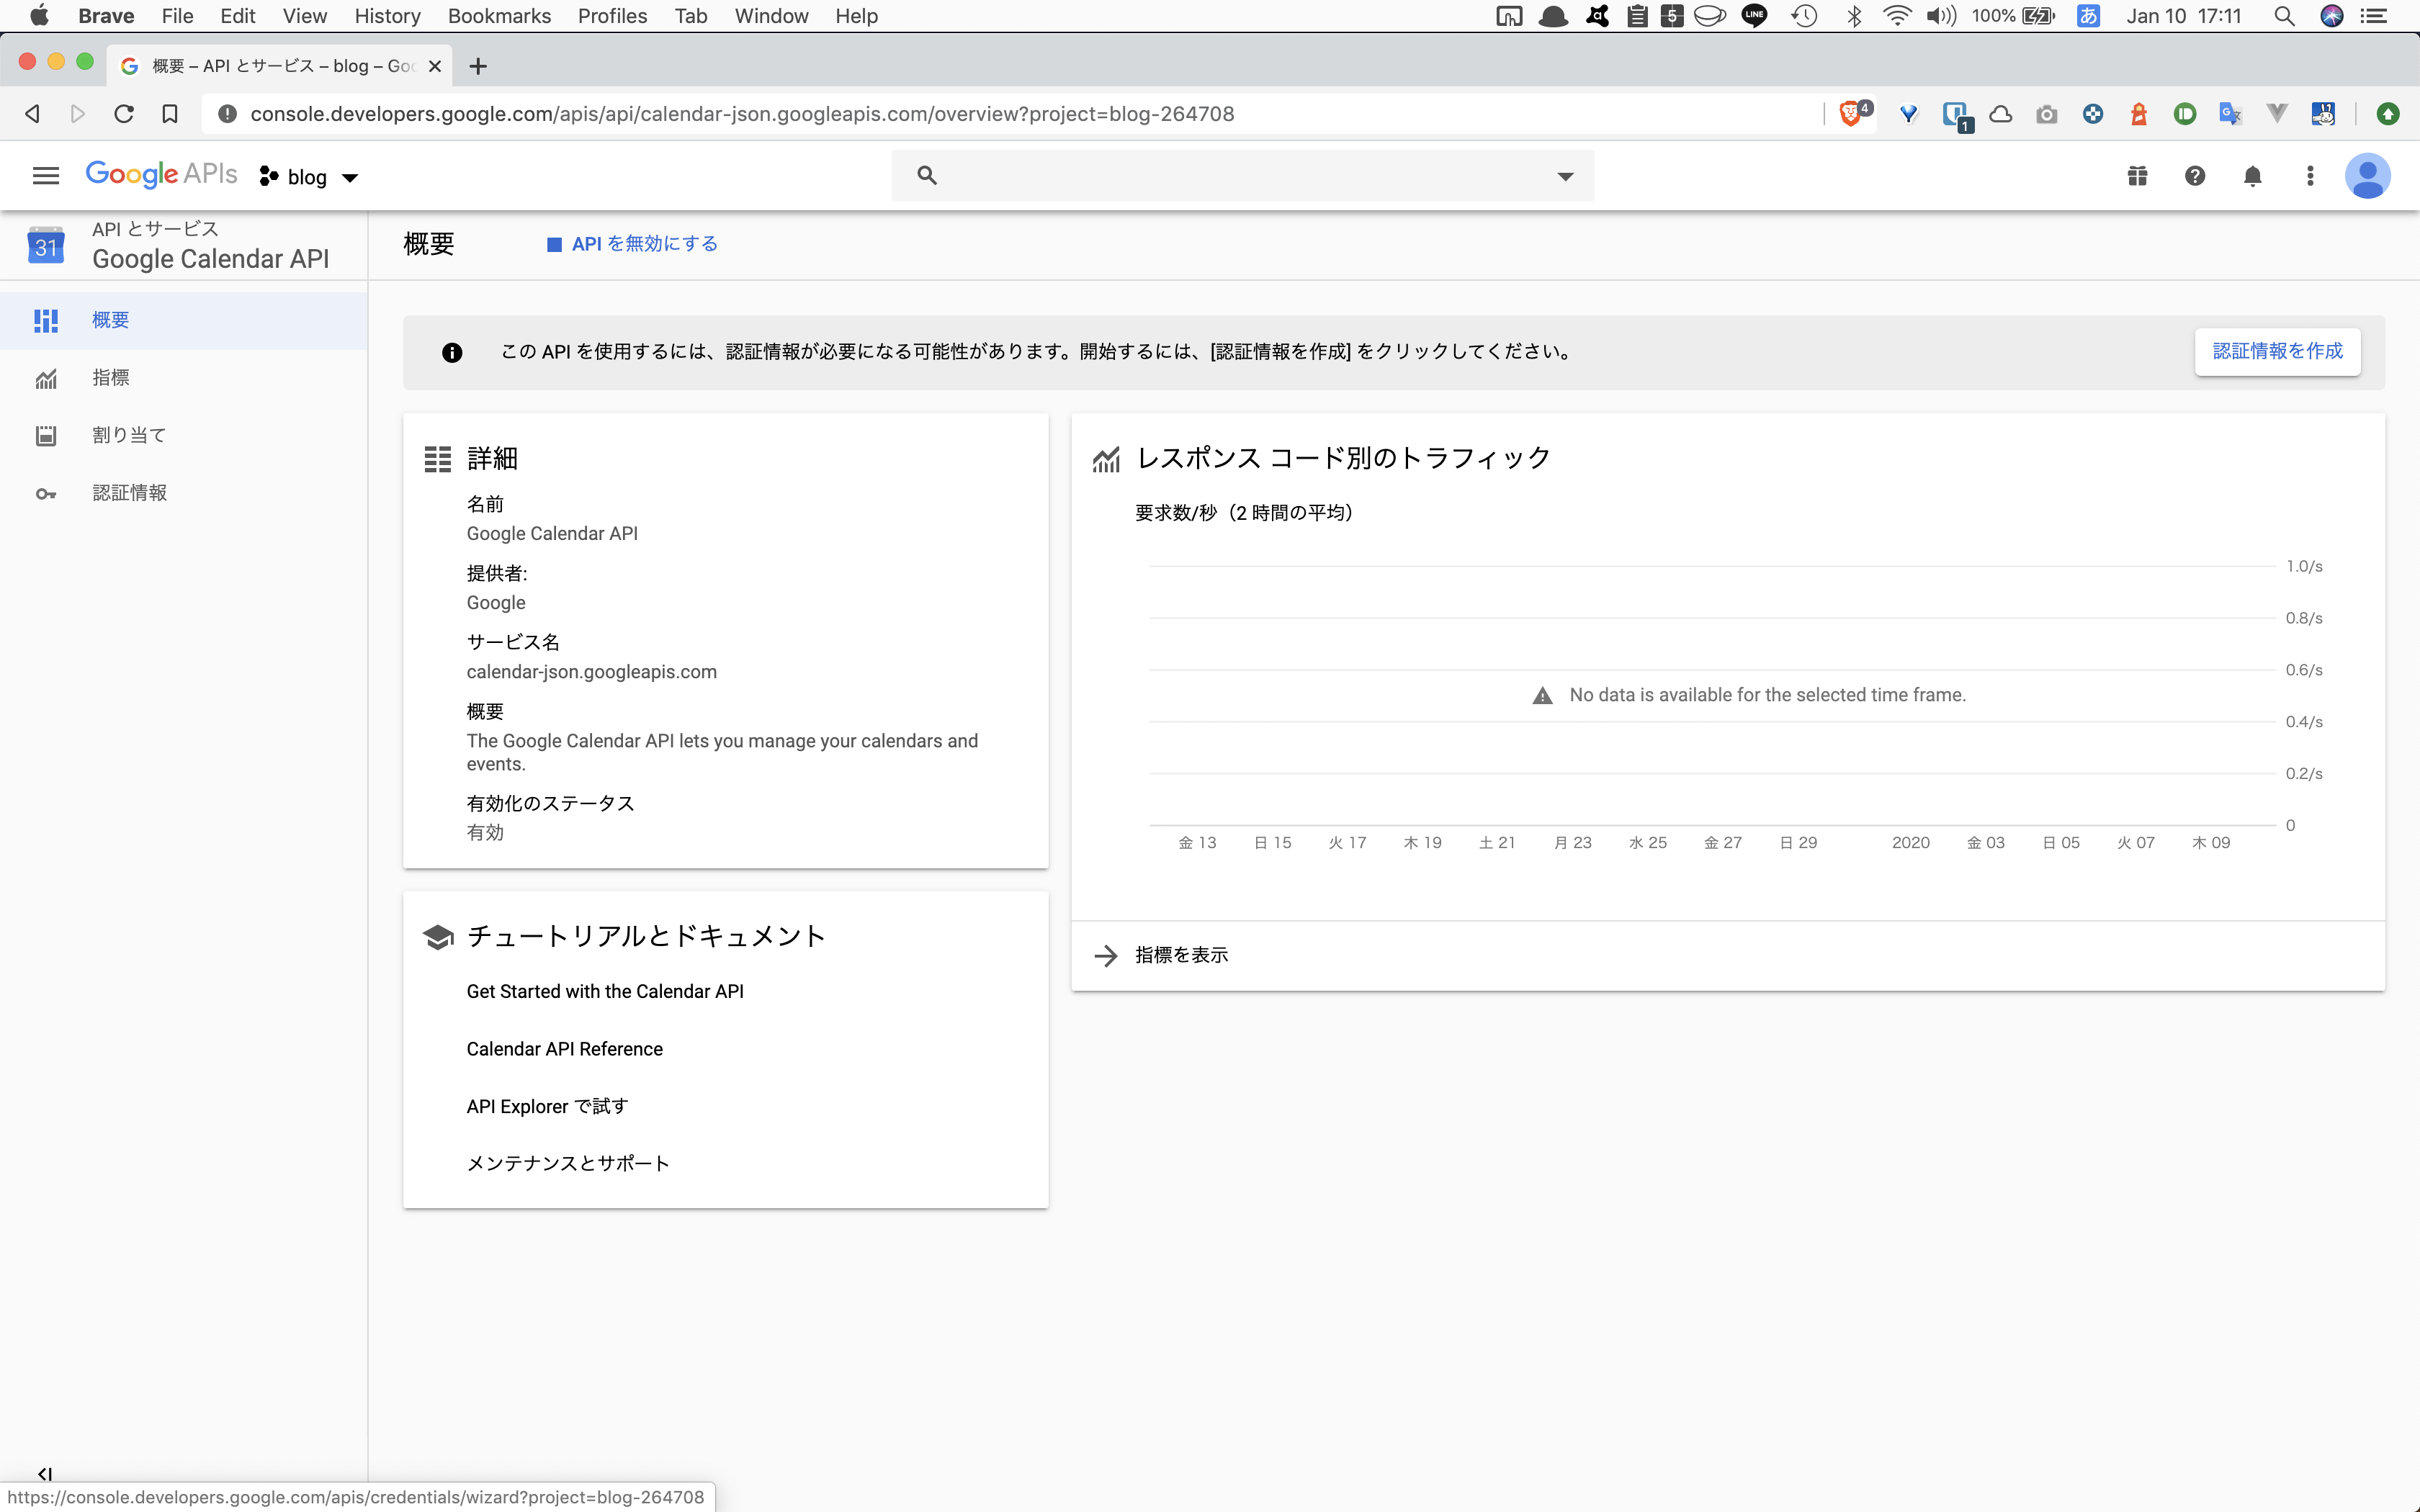
【プロジェクトへの認証情報の追加】の画面が表示されるので、【サービスアカウント】をクリックします。
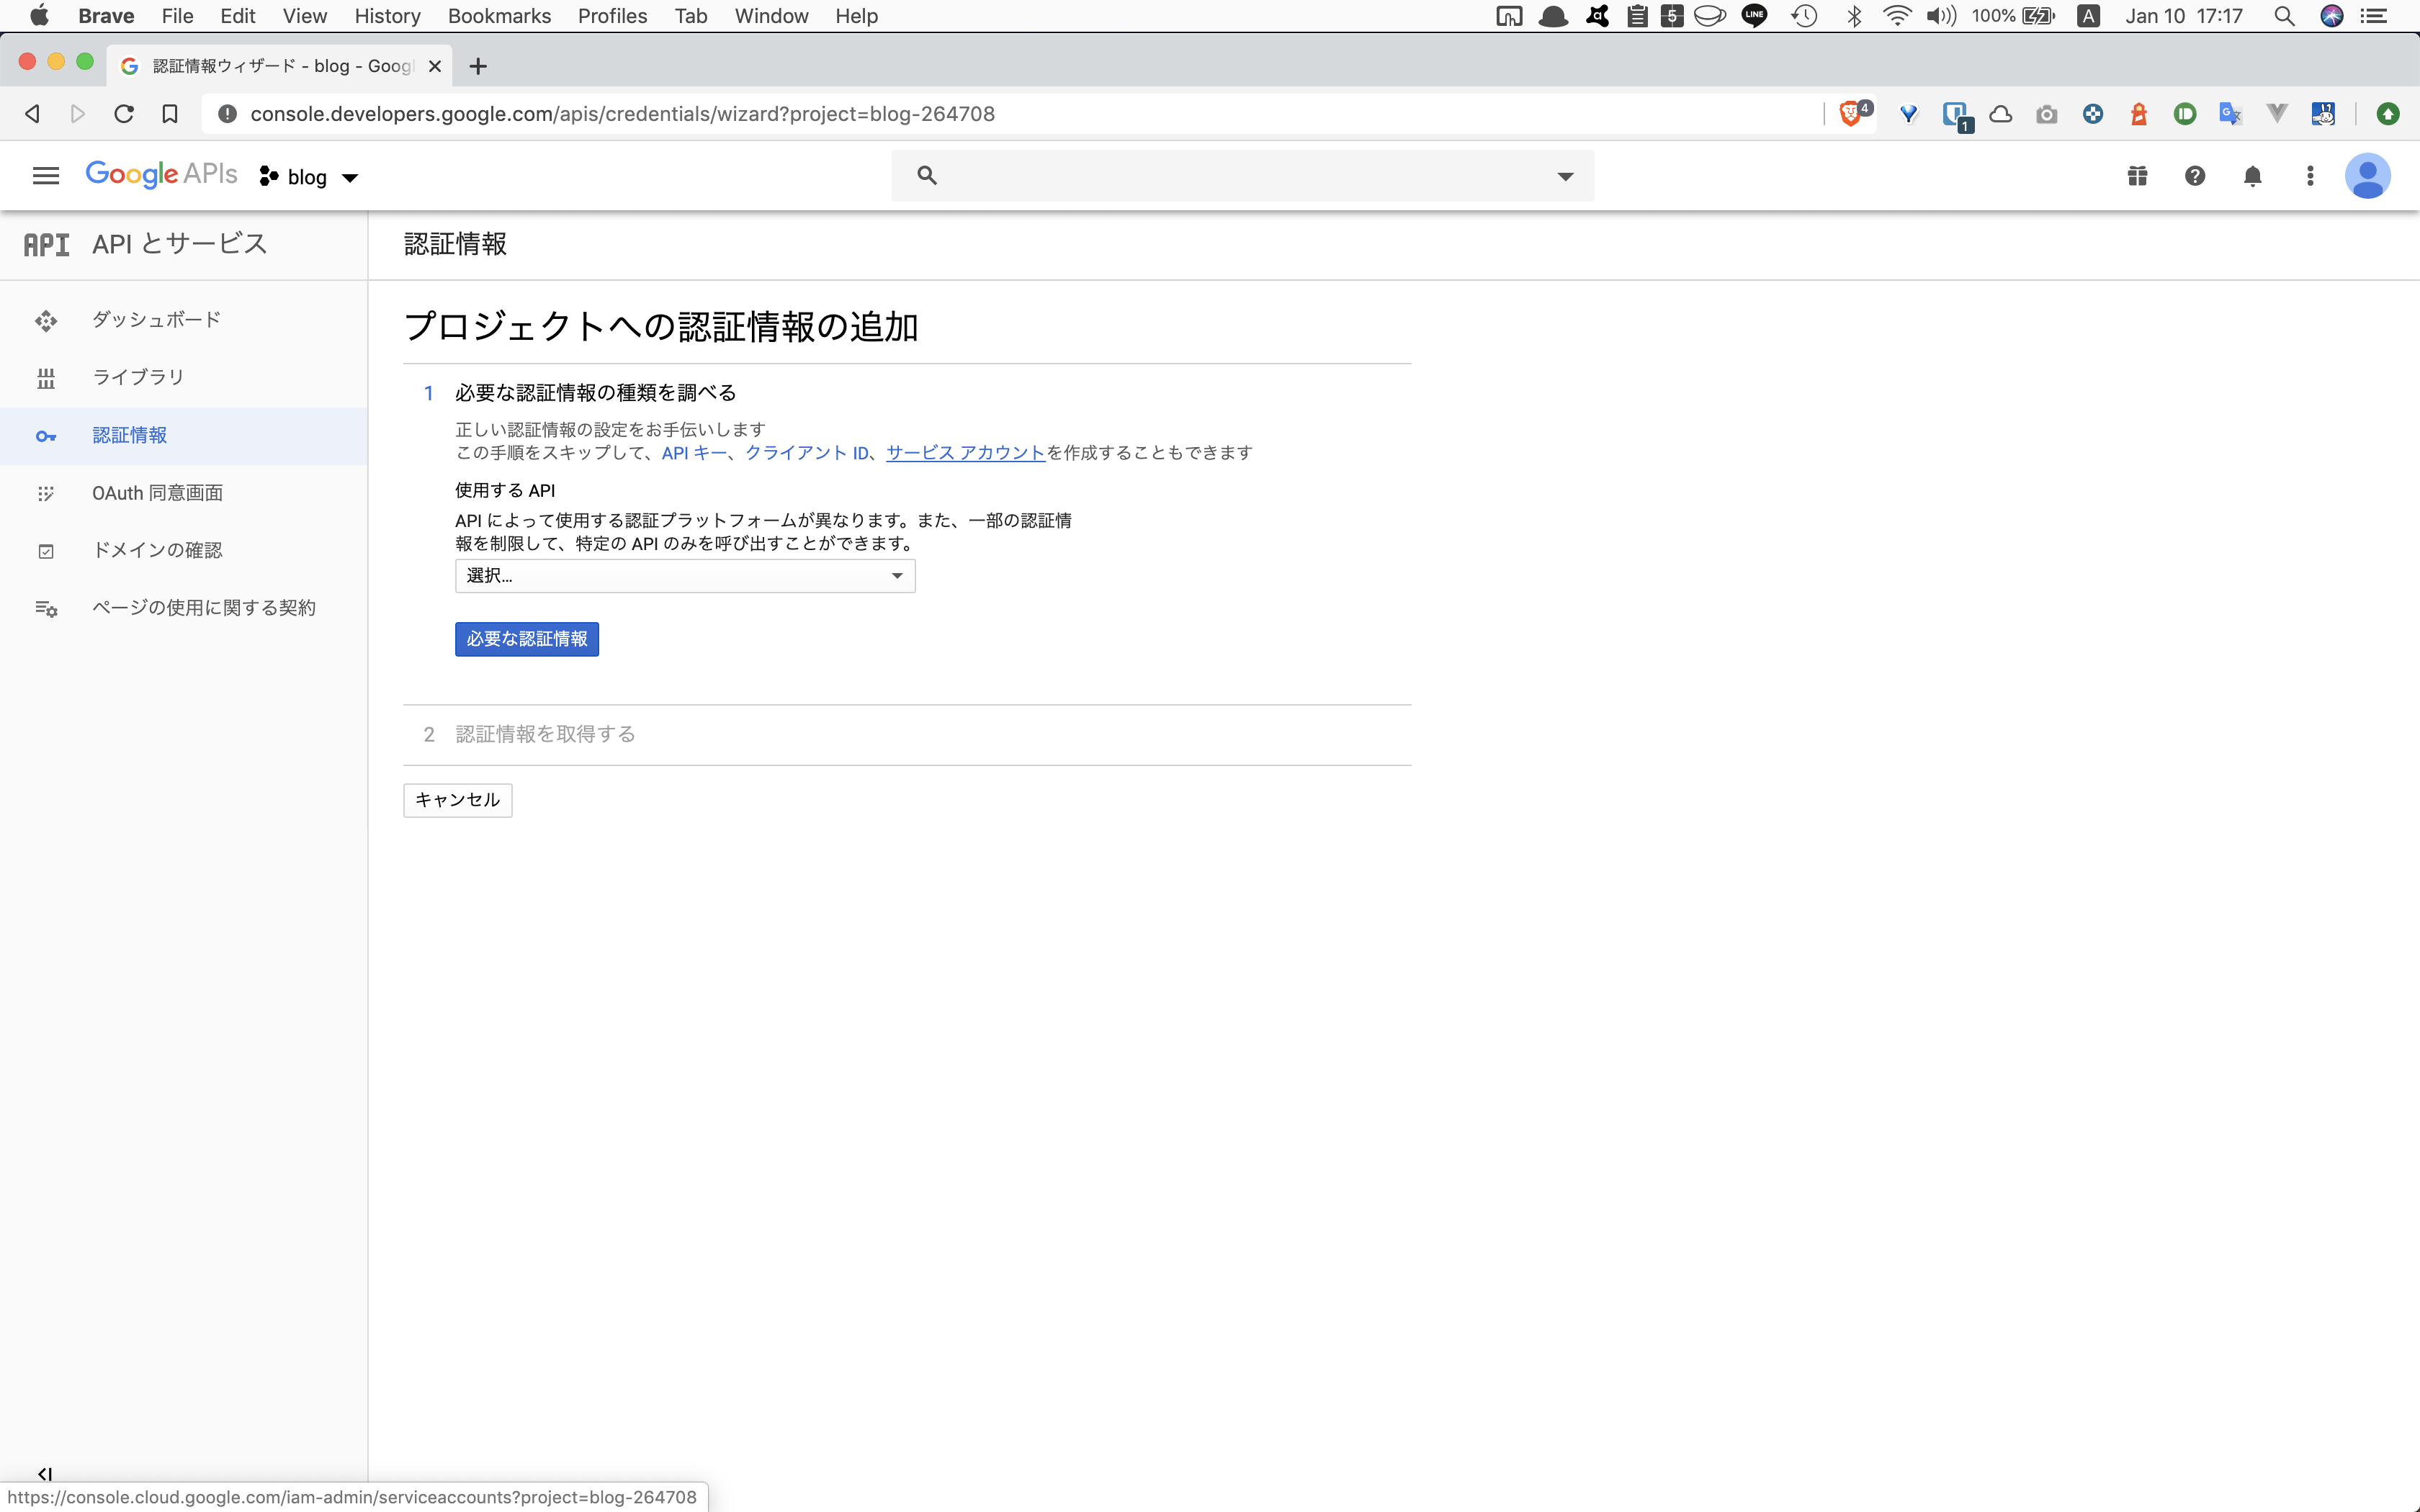
【Google Cloud Platform】の【サービスアカウント】が表示されるので、【サービスアカウントを作成】をクリックします。
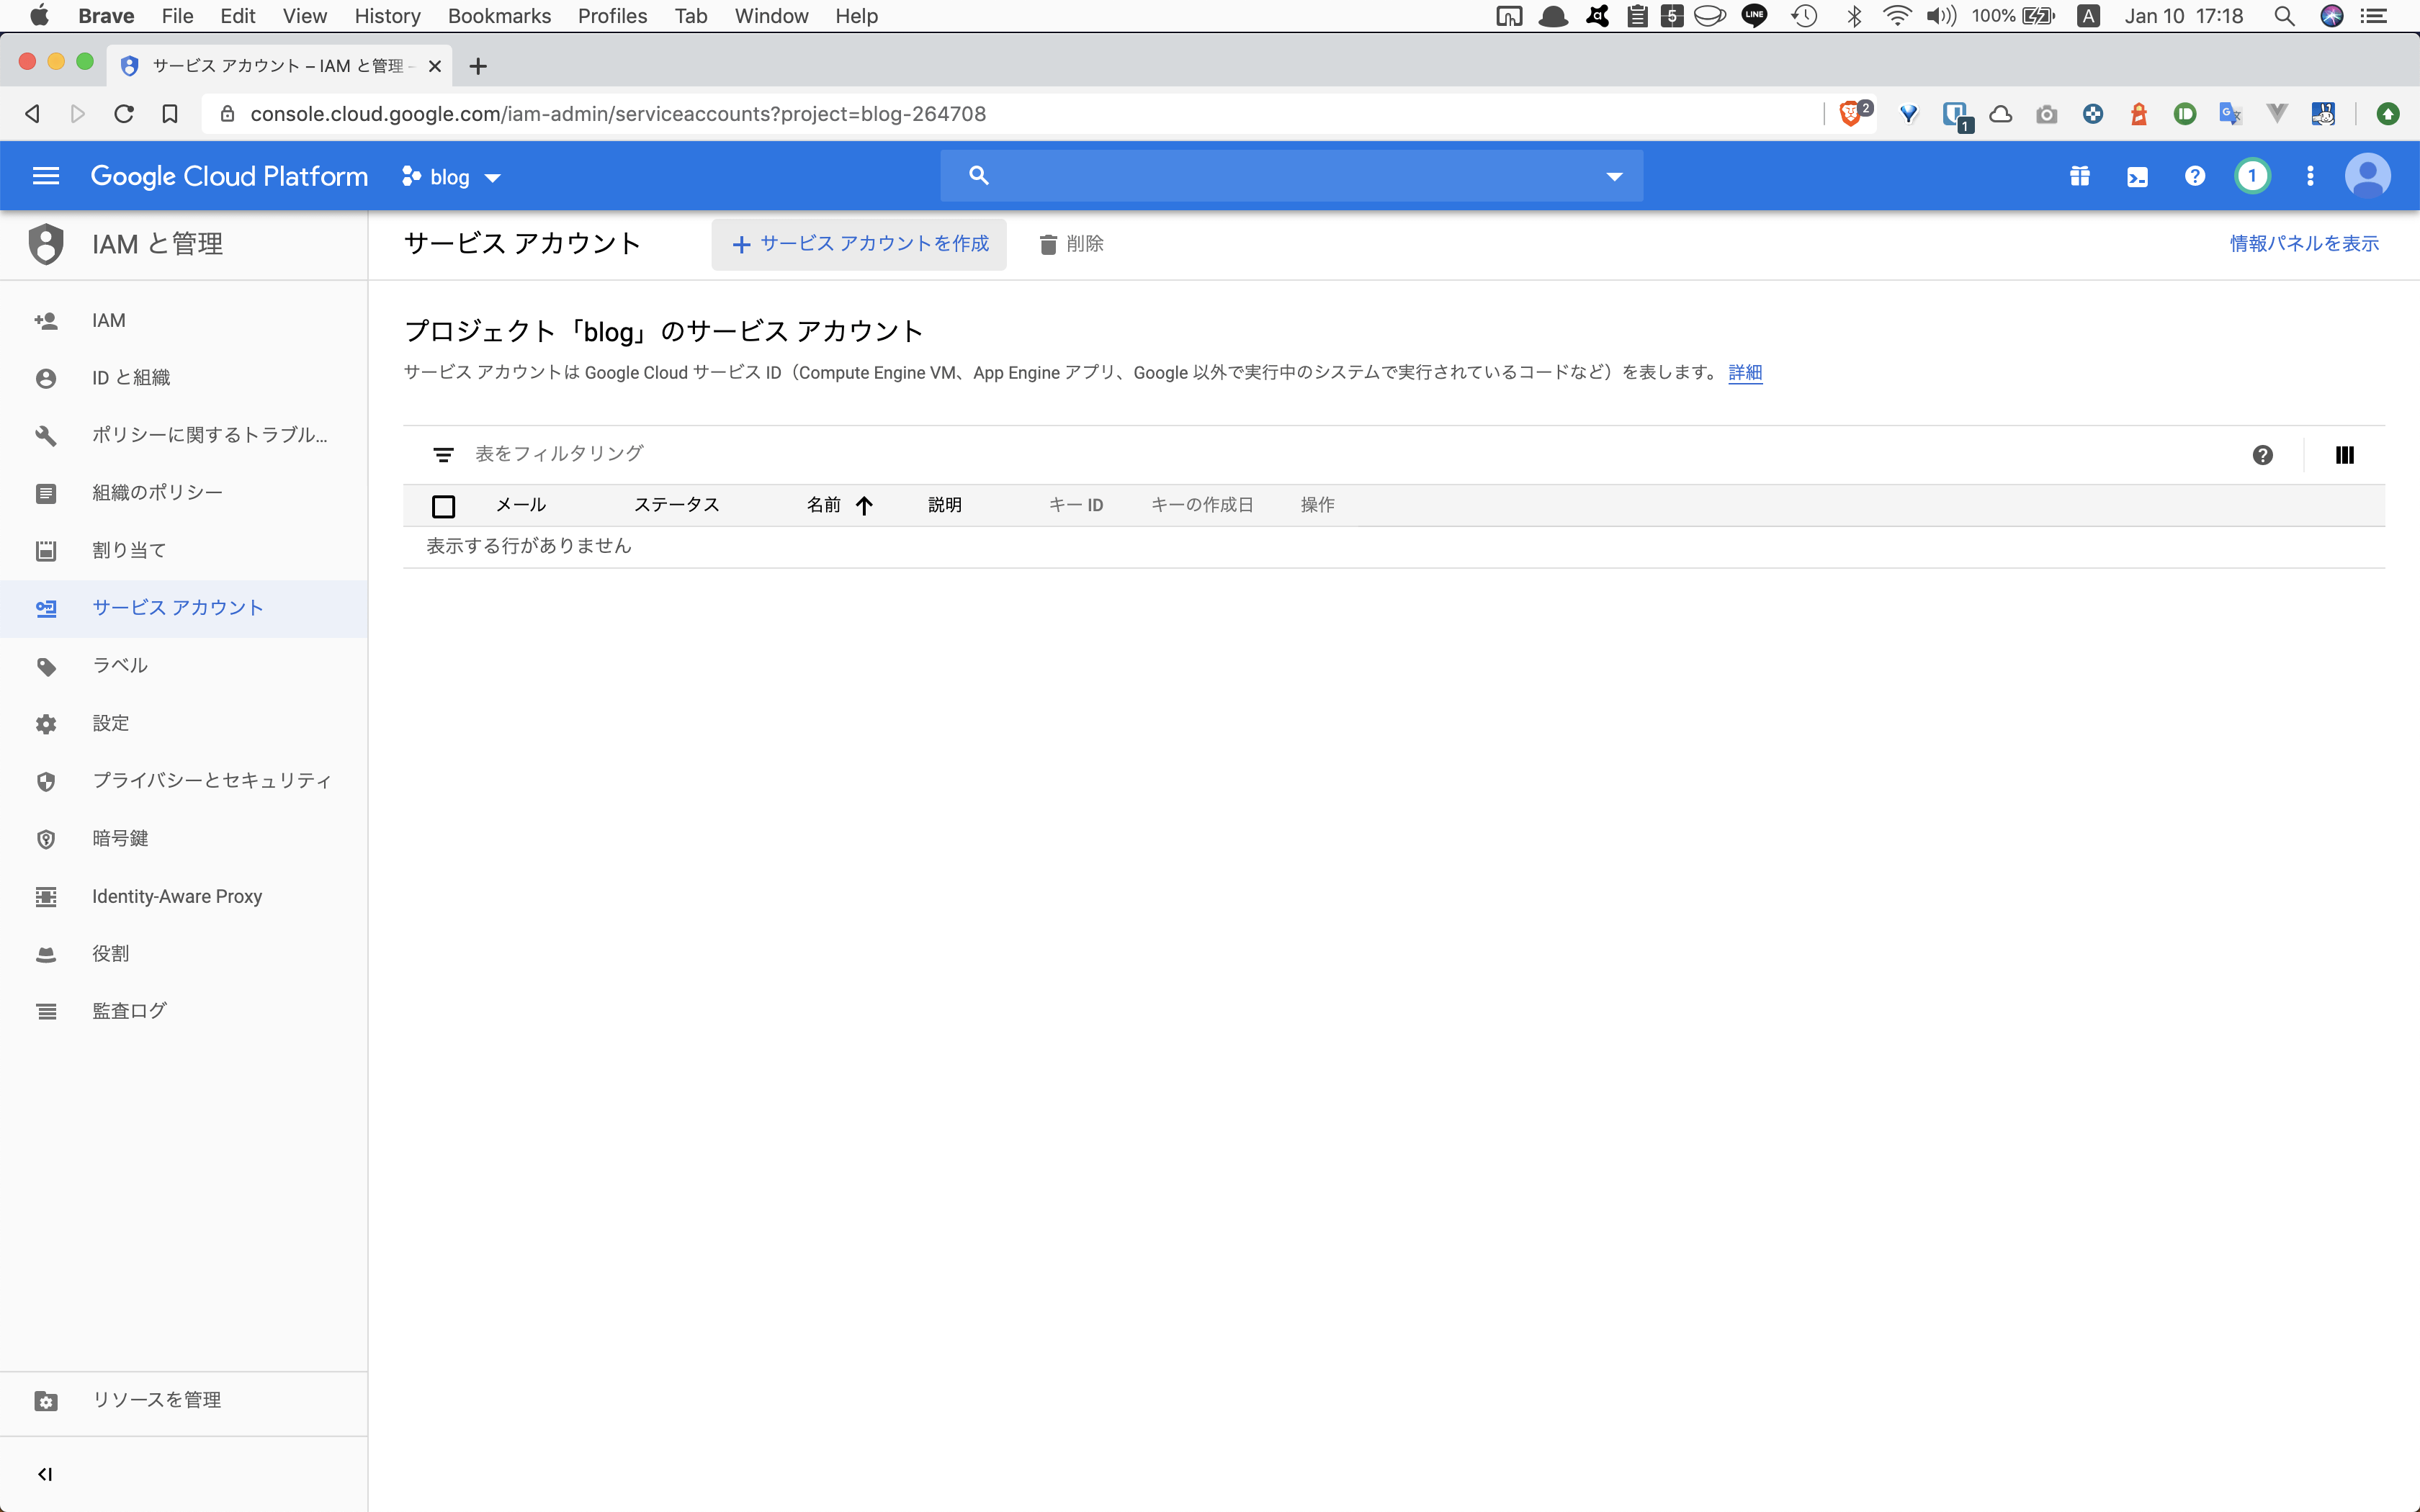
【サービスアカウントの詳細】の画面が表示されるので、【サービスアカウント名】を入力し、【作成】ボタンをクリックします。
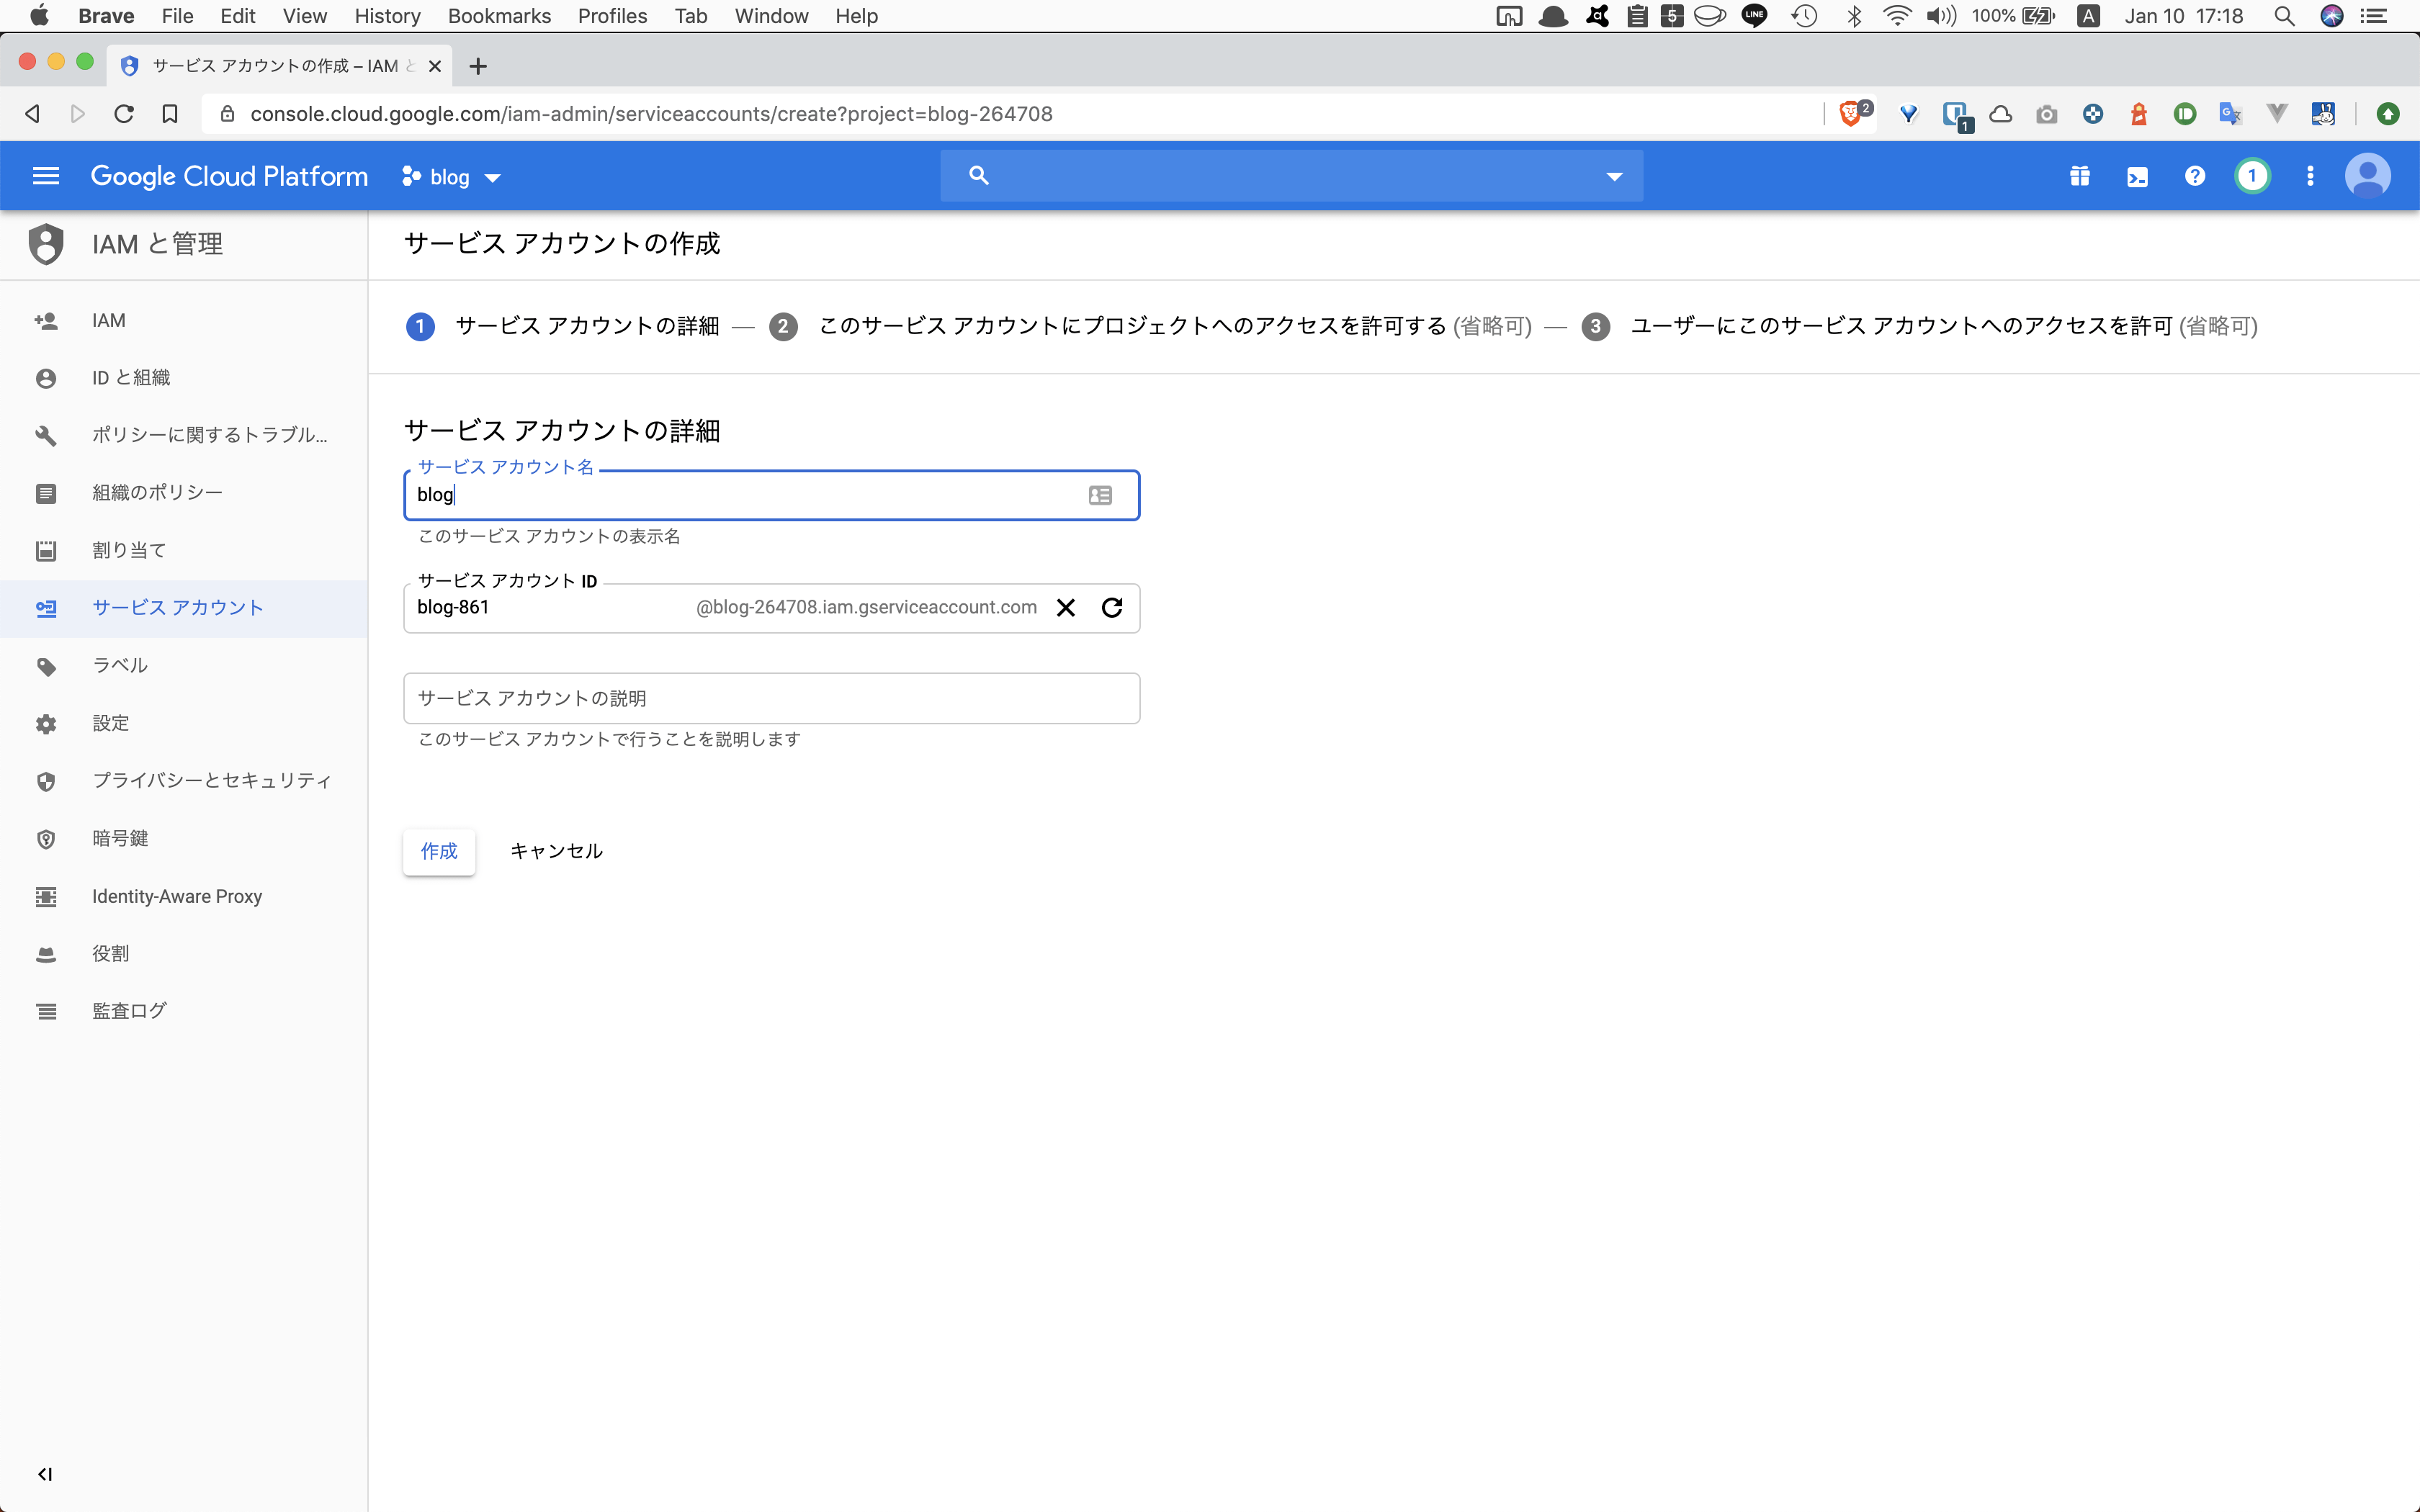
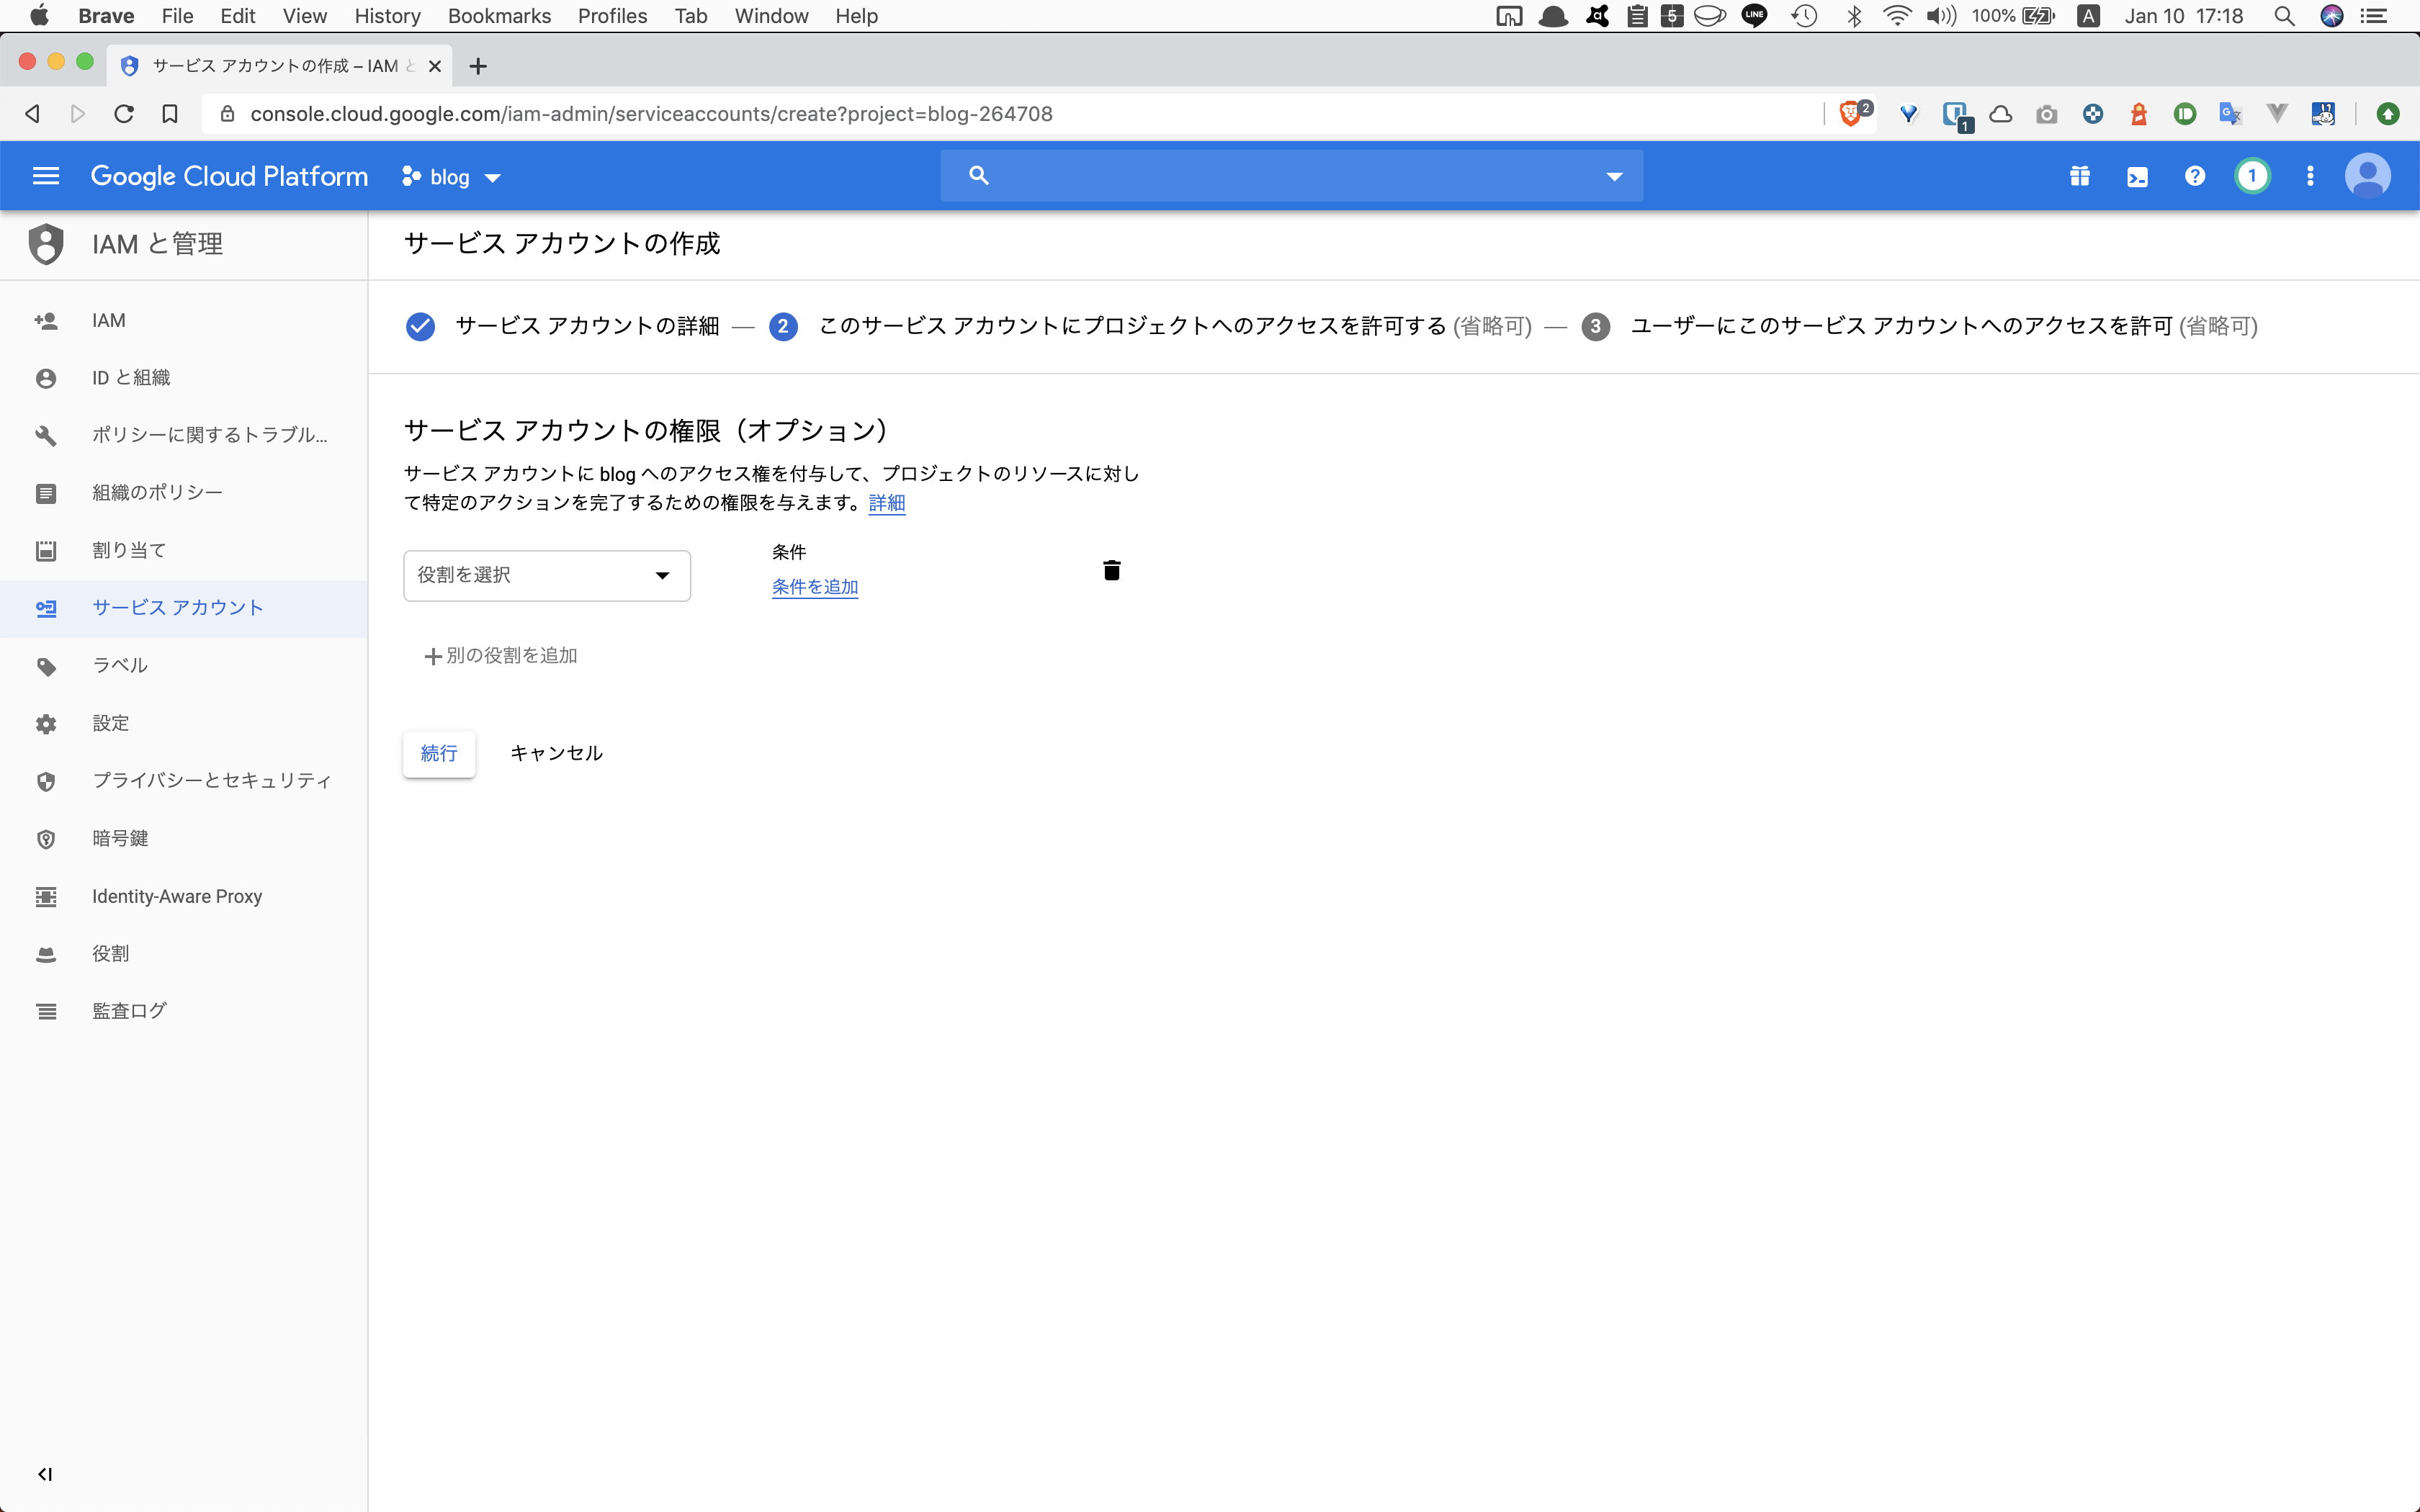
【サービスアカウントの権限(オプション)】画面が表示されるので、何も選択せずに【続行】ボタンをクリックします。
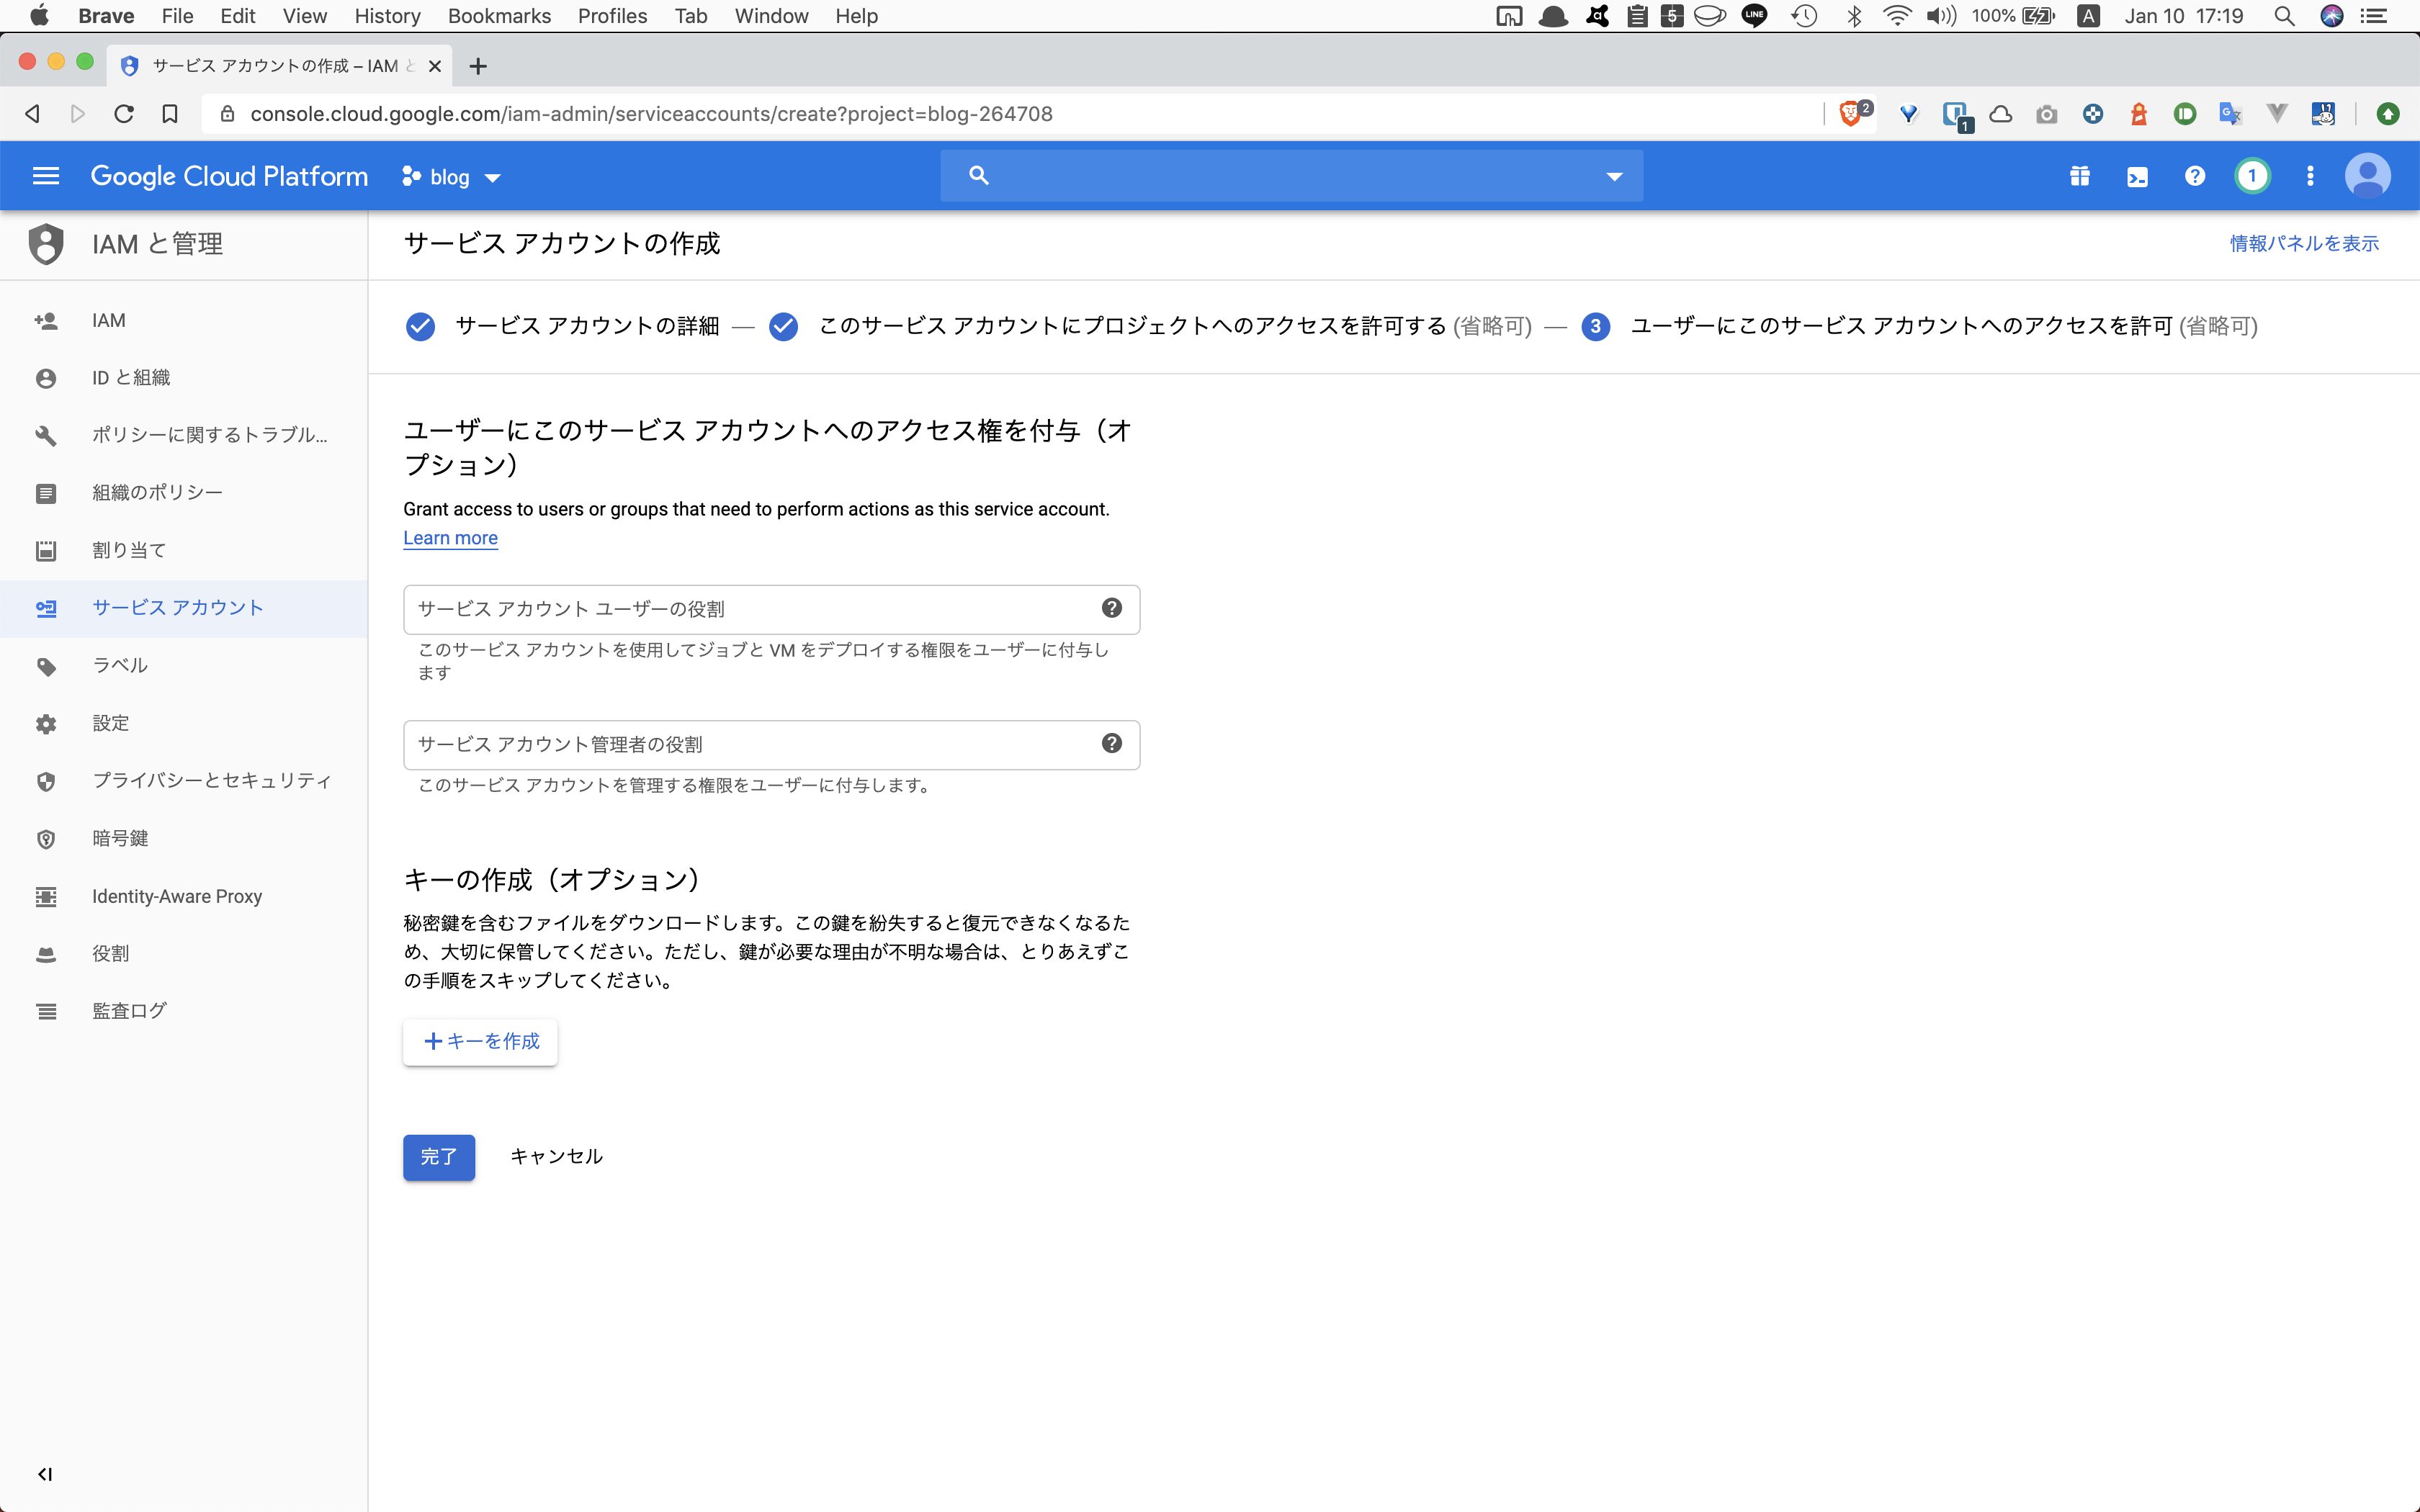
【ユーザにこのサービスアカウントへのアクセスを付与(オプション)】画面が表示されるので、【キーの作成】ボタンをクリックします。
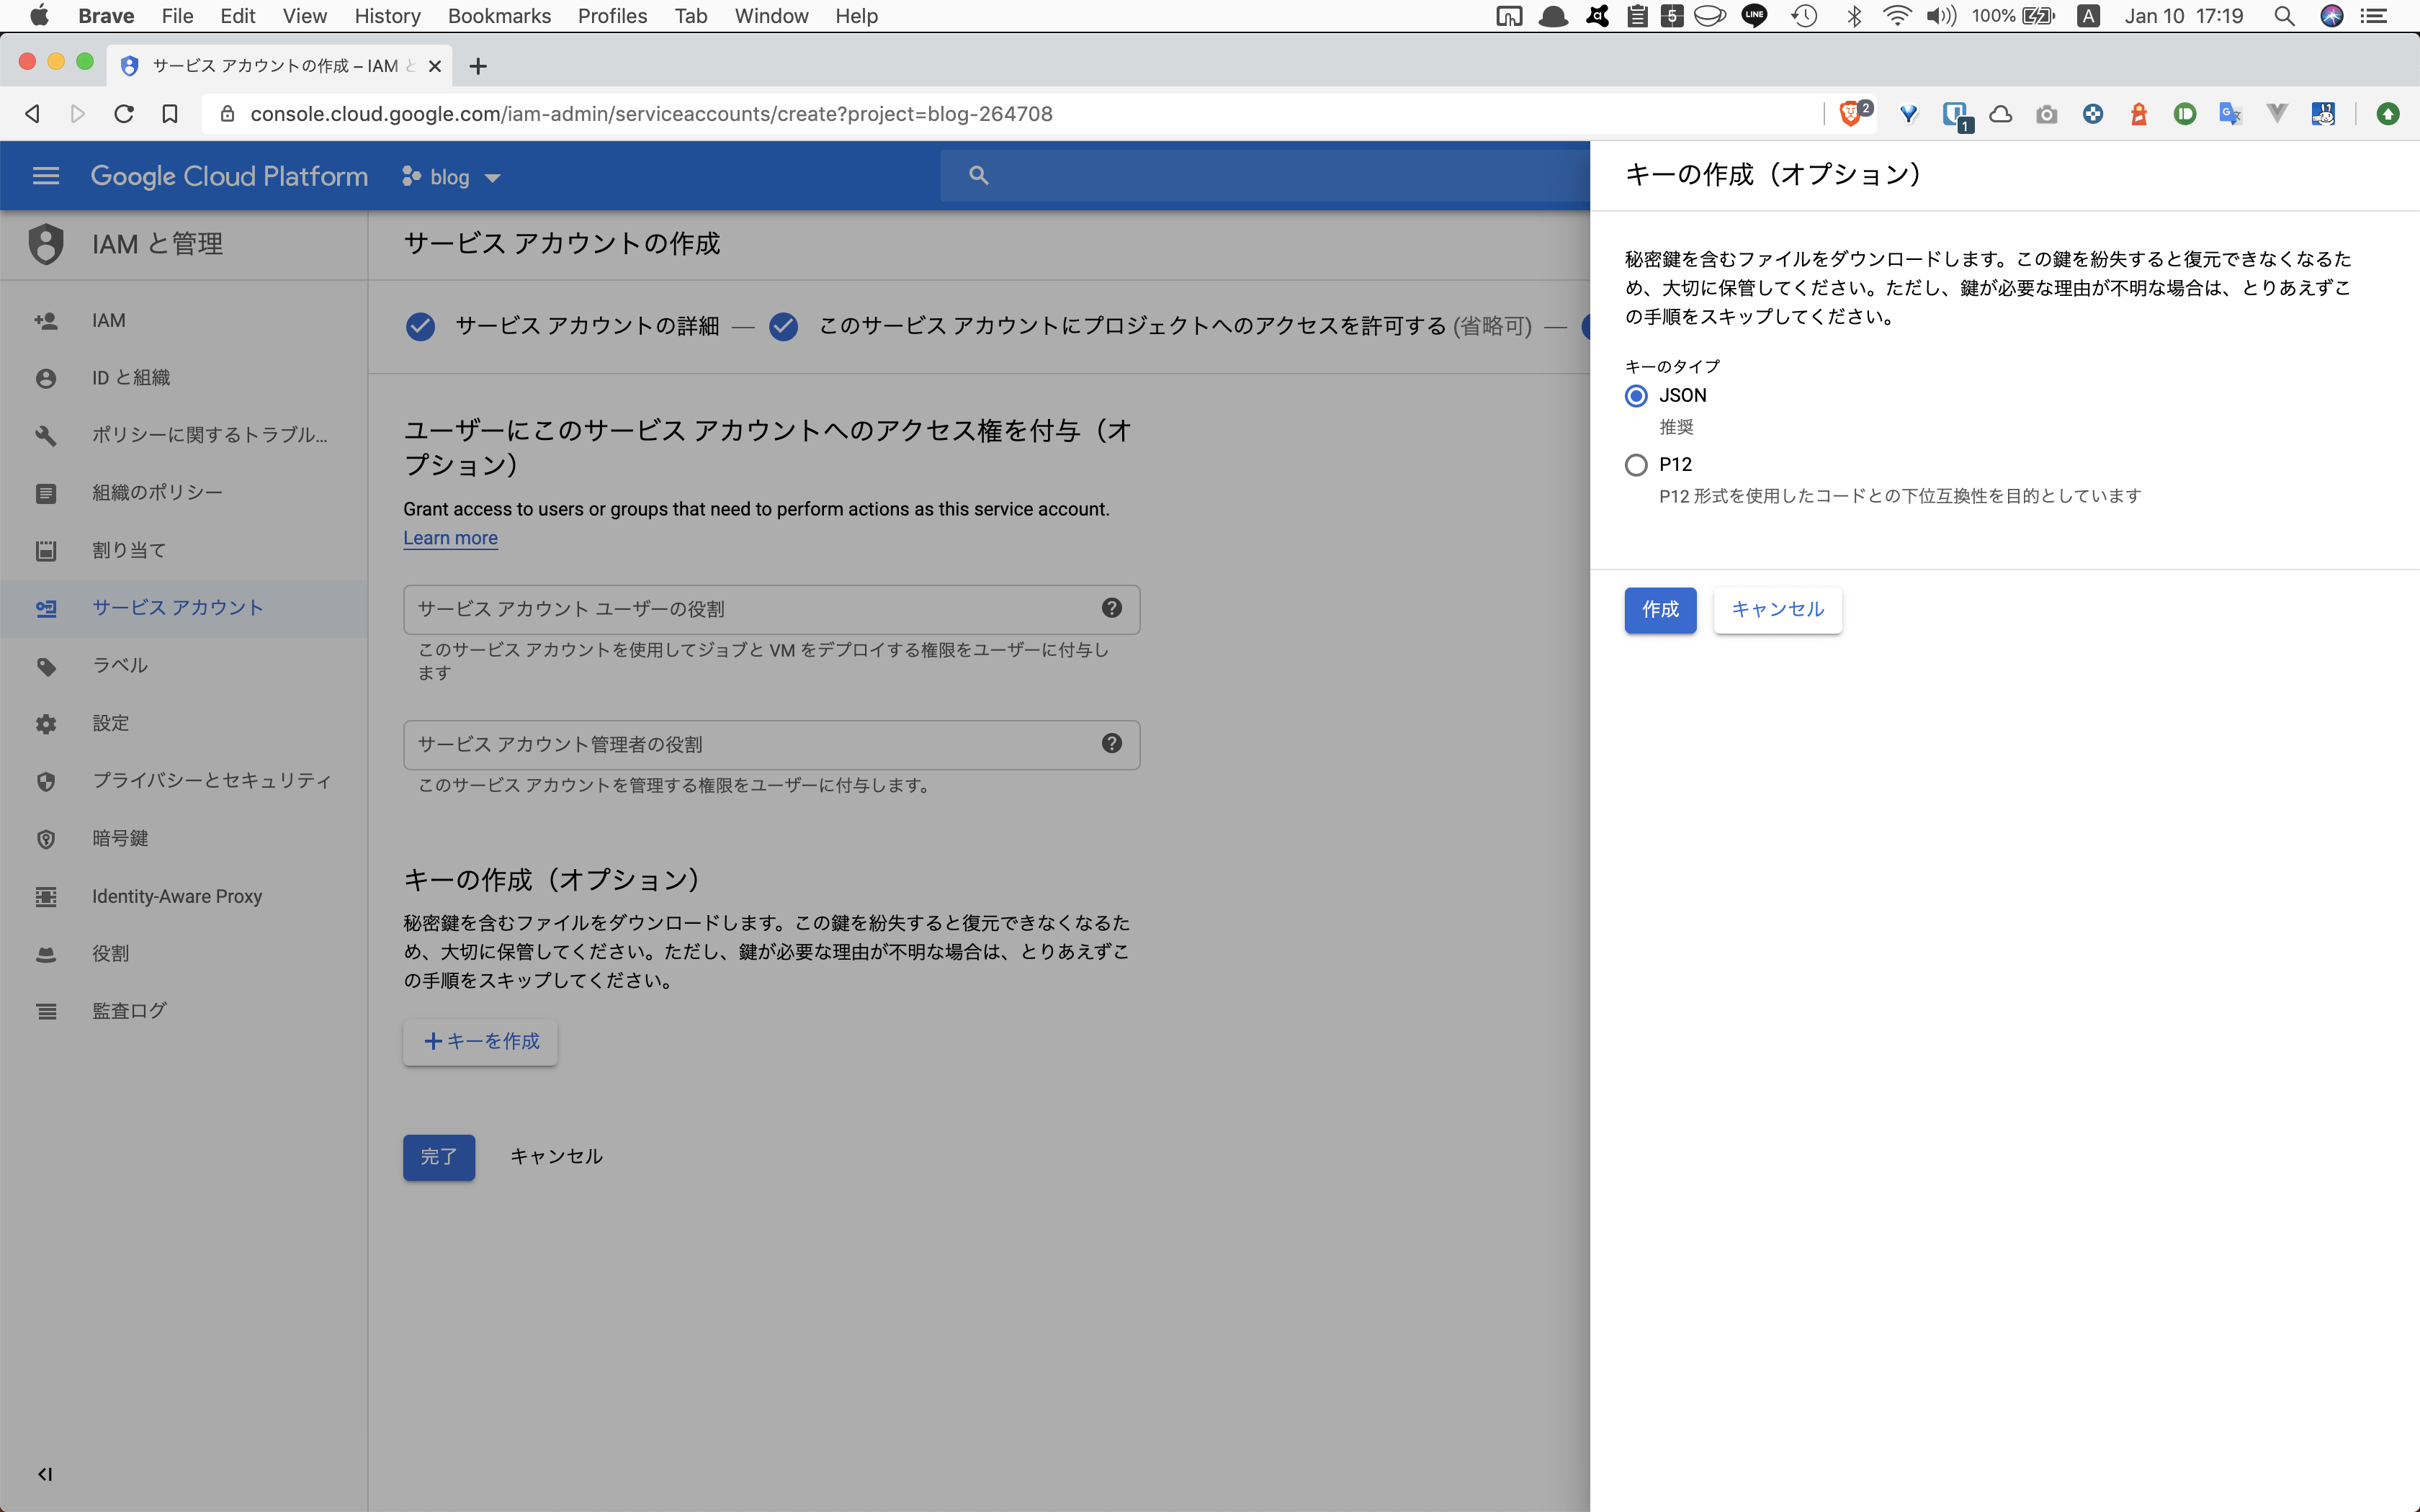
【キーの作成(オプション)】が表示されるので、【キーのタイプ】に【JSON】を選択して【作成】ボタンをクリックします。
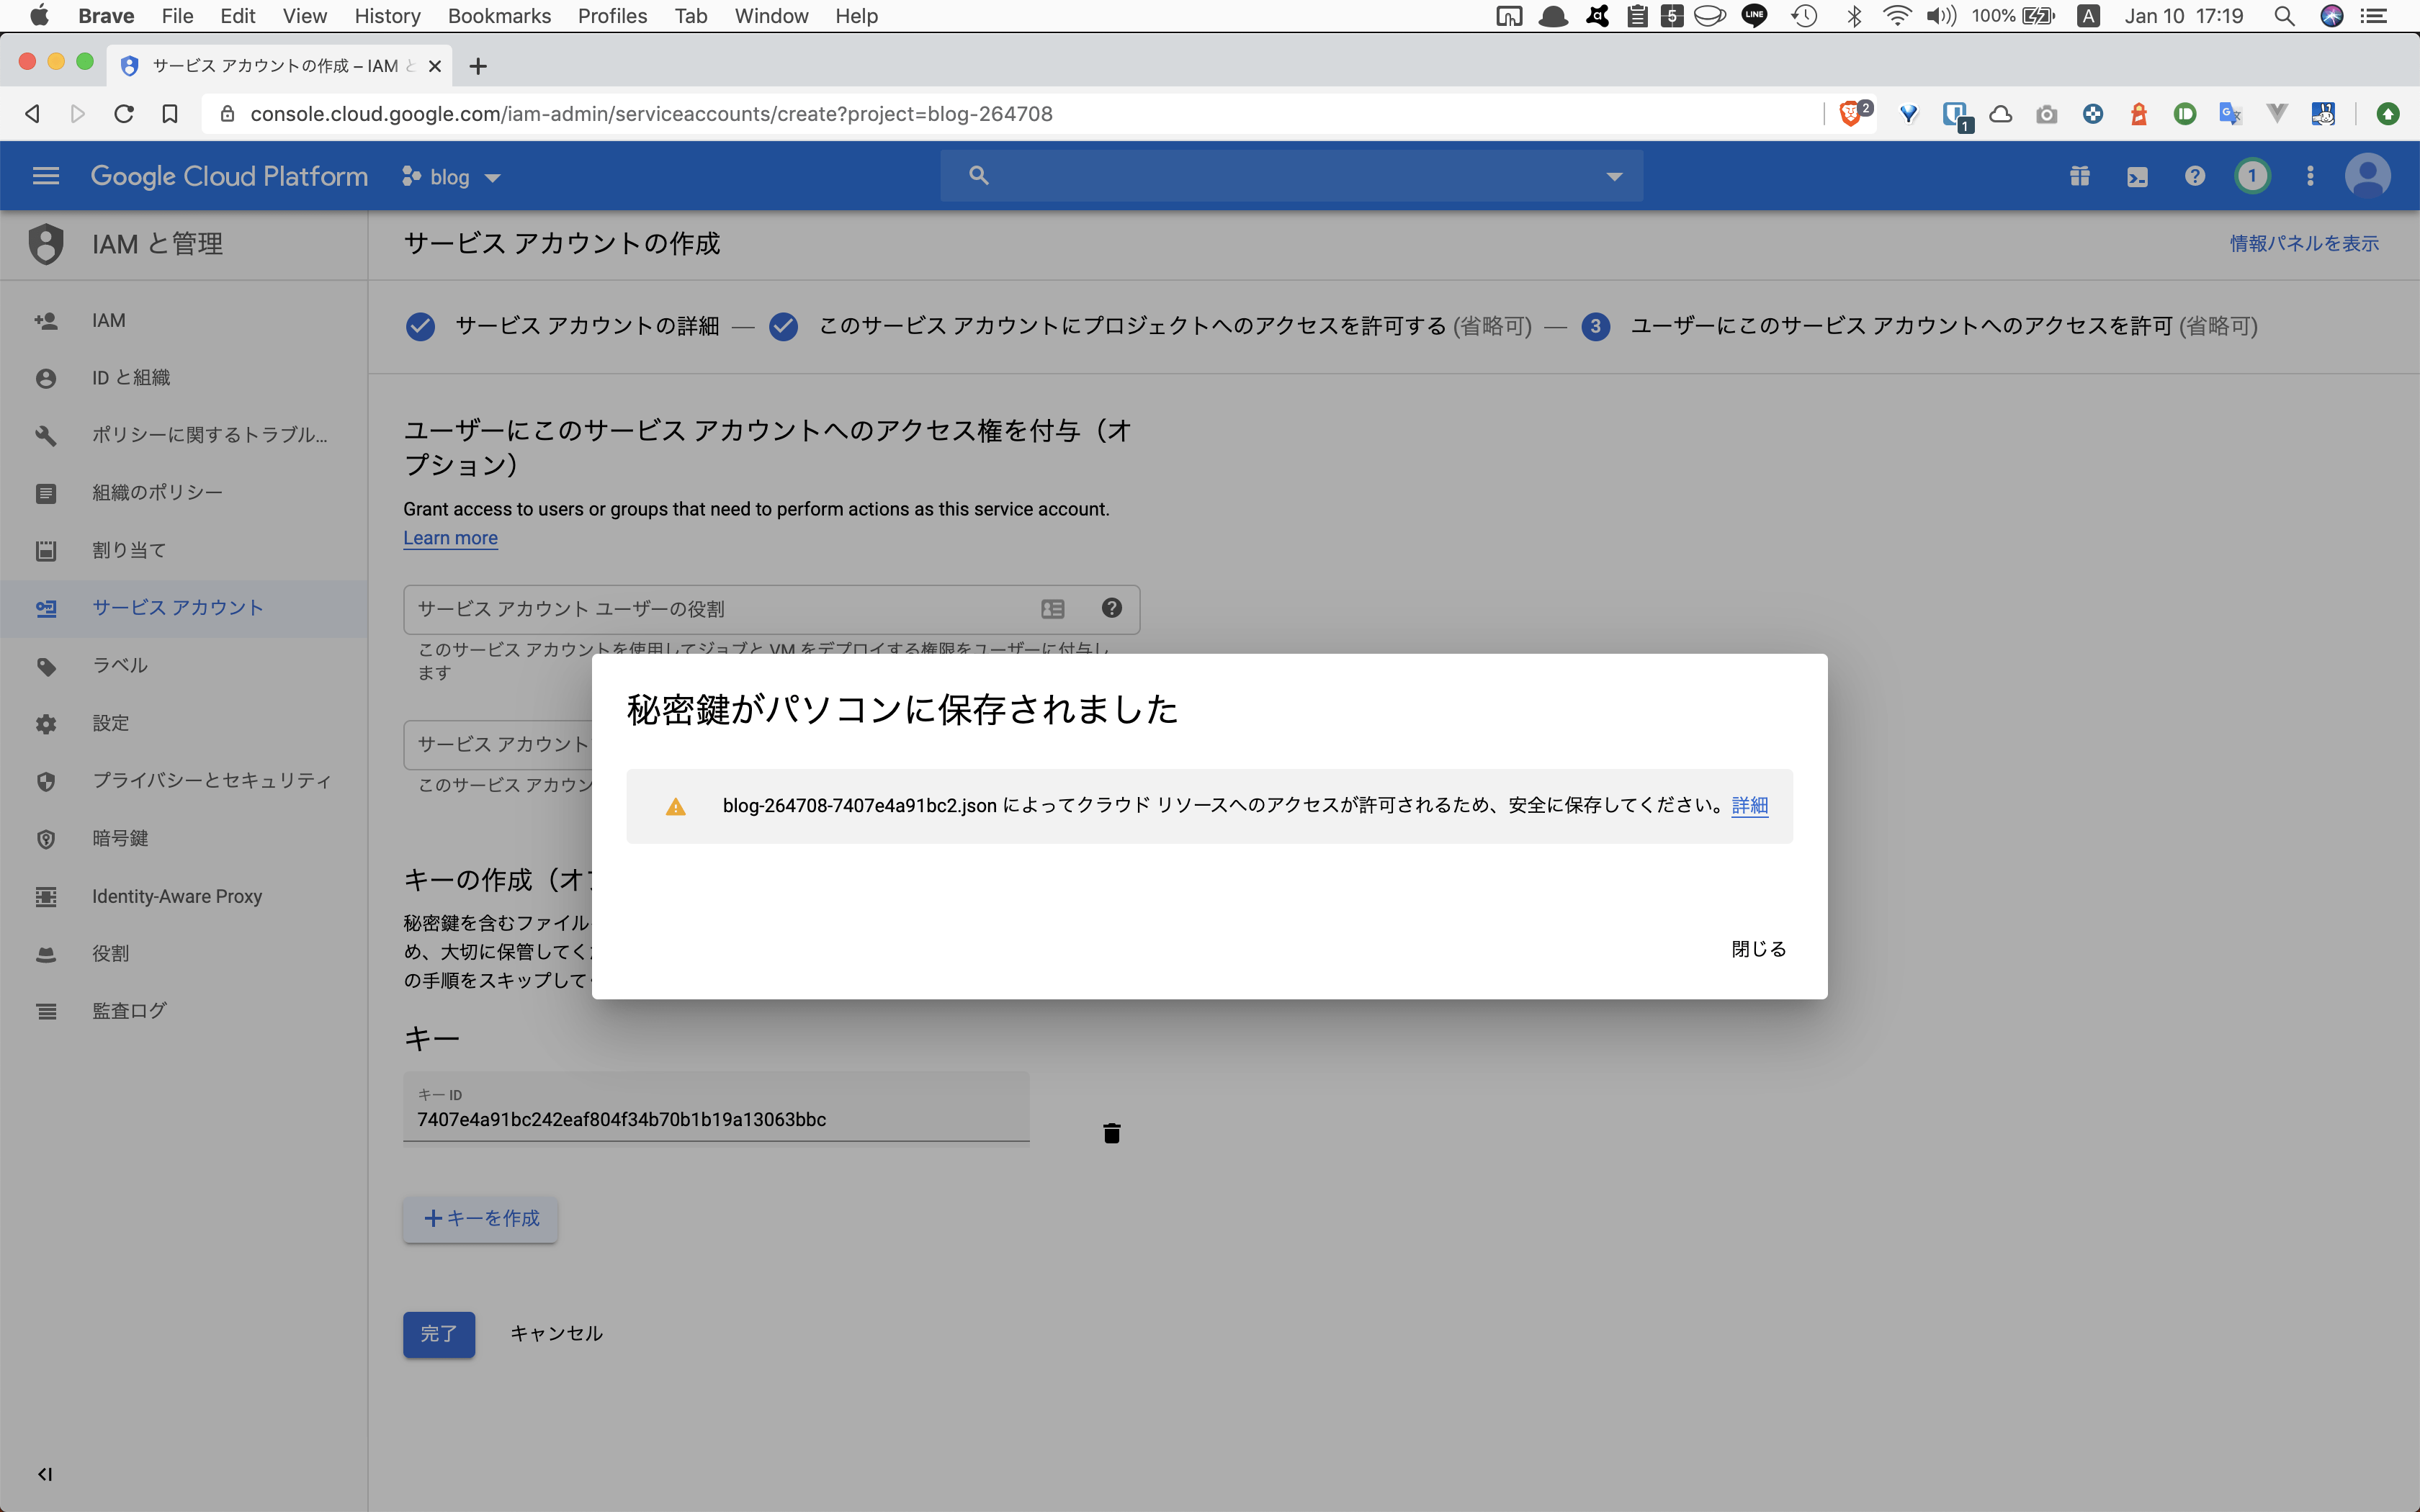
秘密鍵を含むJSONファイルのダウンロード終わったら【完了】ボタンをクリックします。
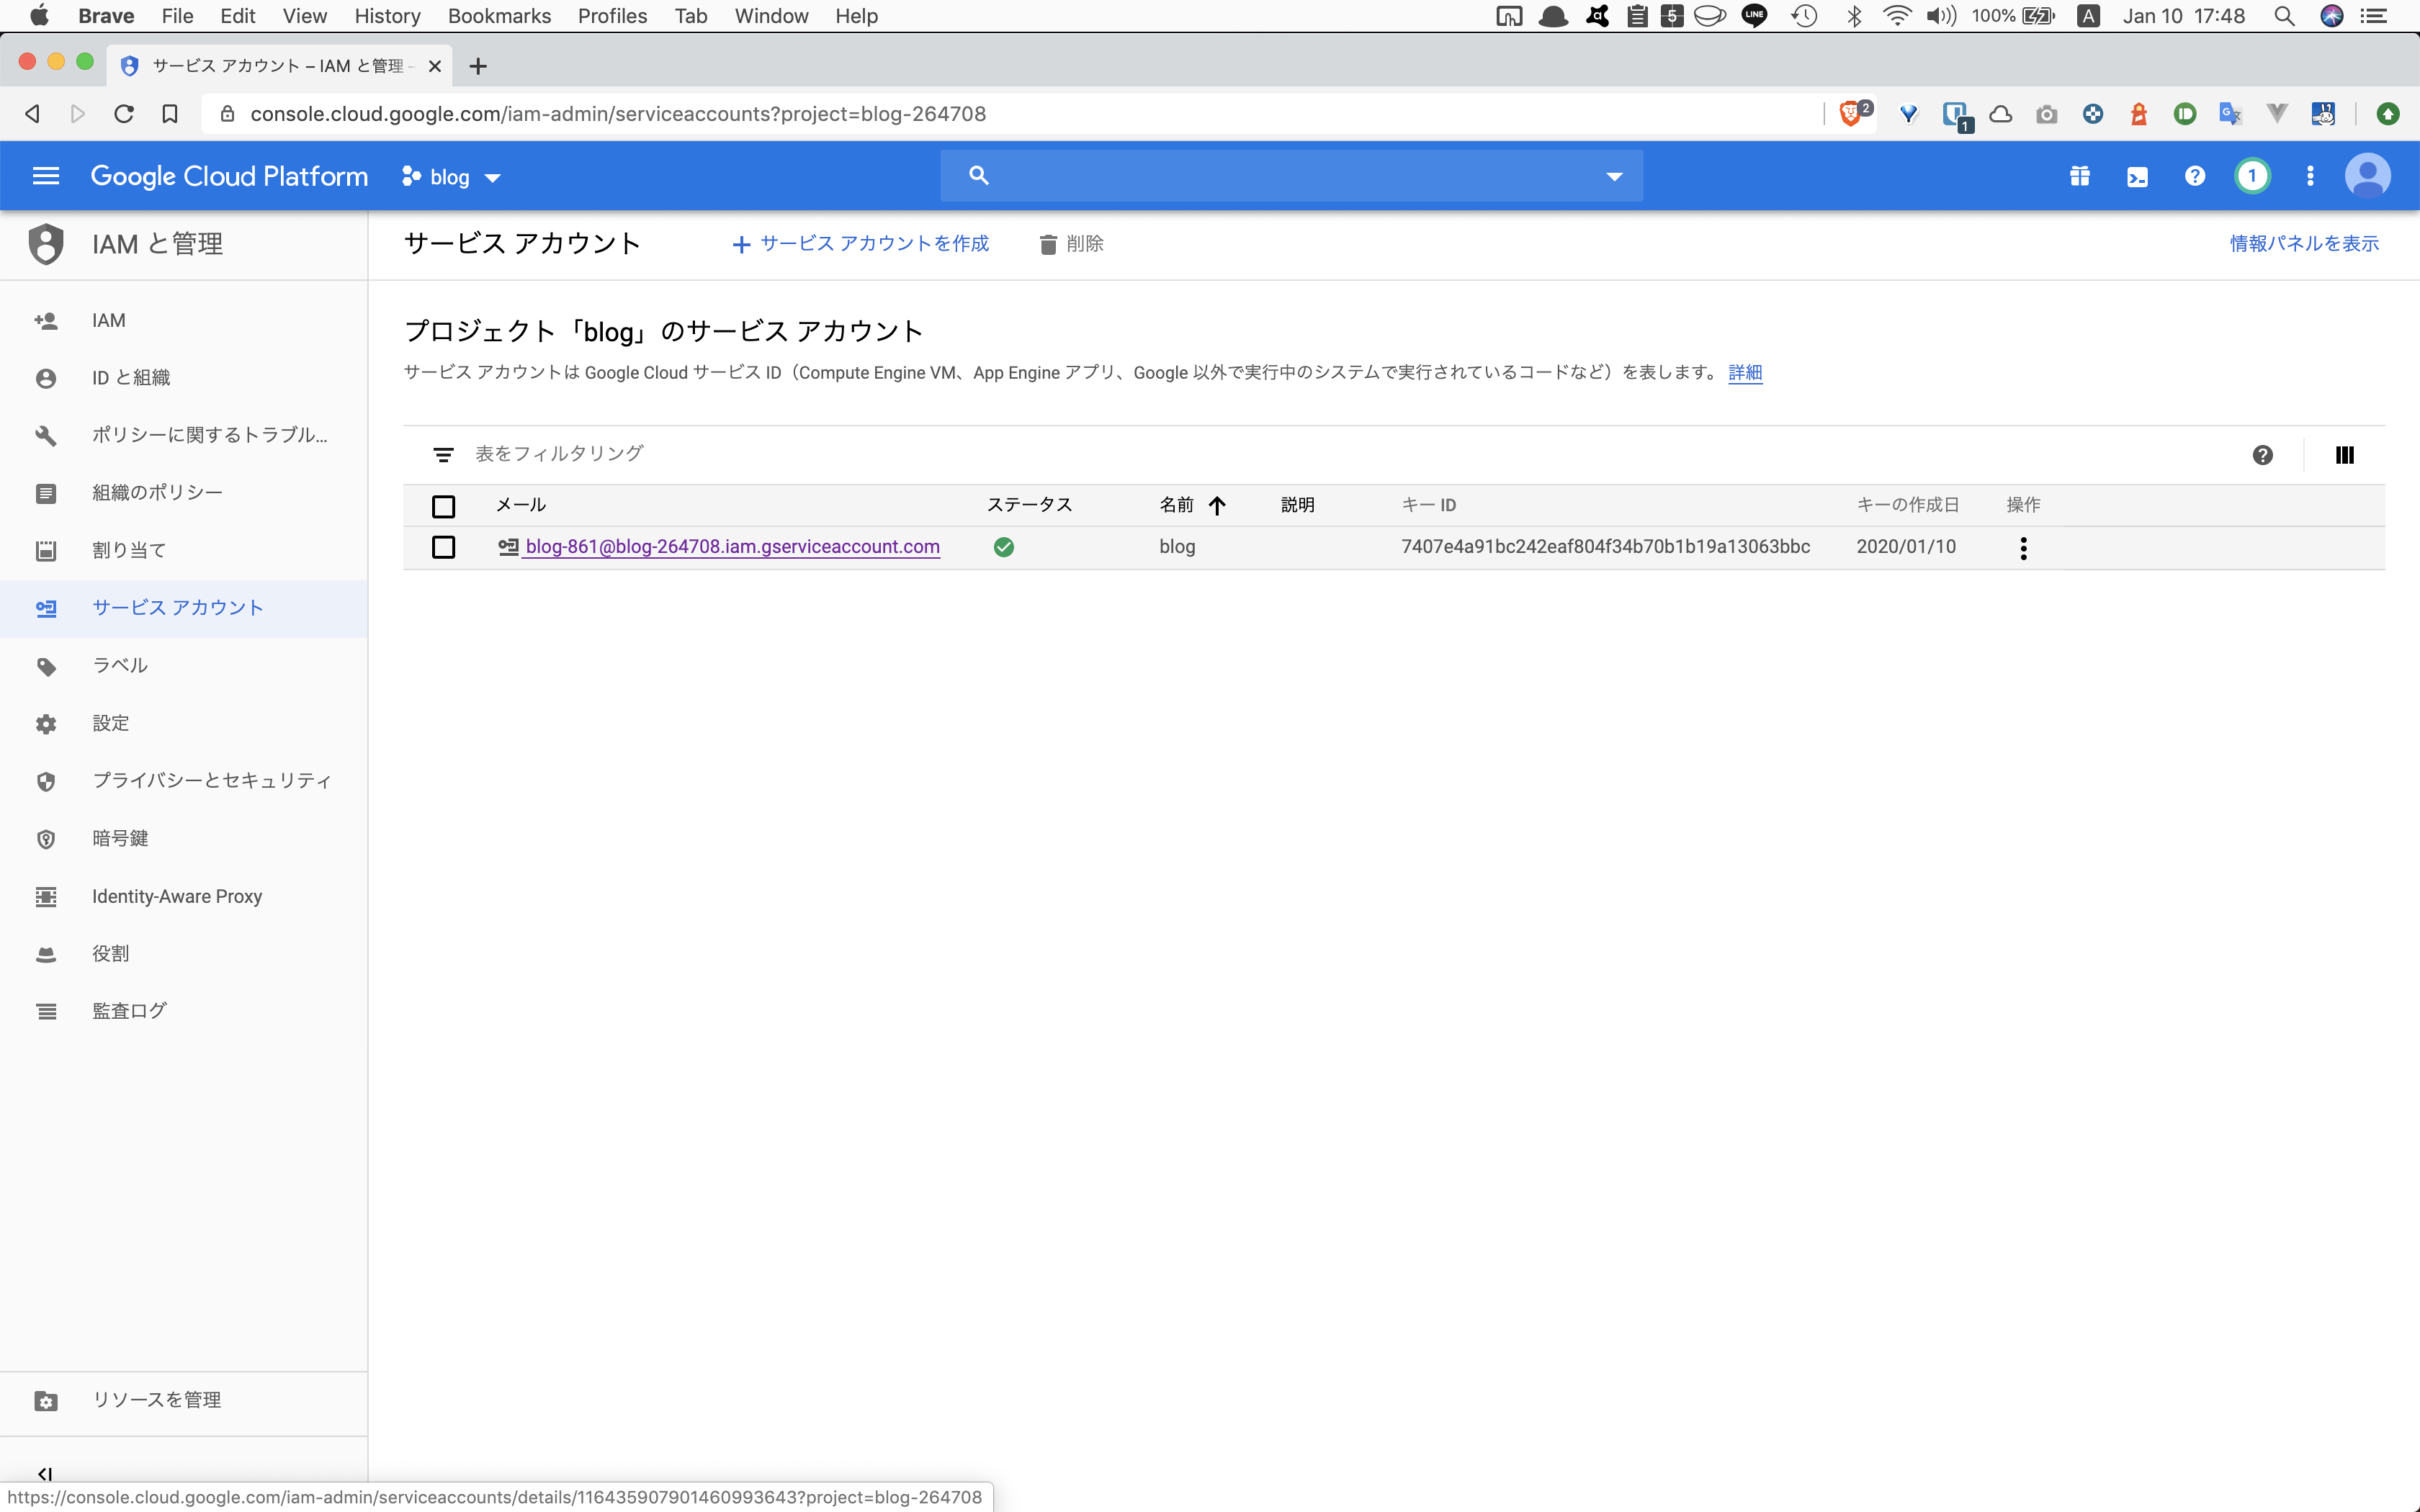
さきほど作成したアカウントの【メール】をコピーします。Google APIsでの設定は終了です。
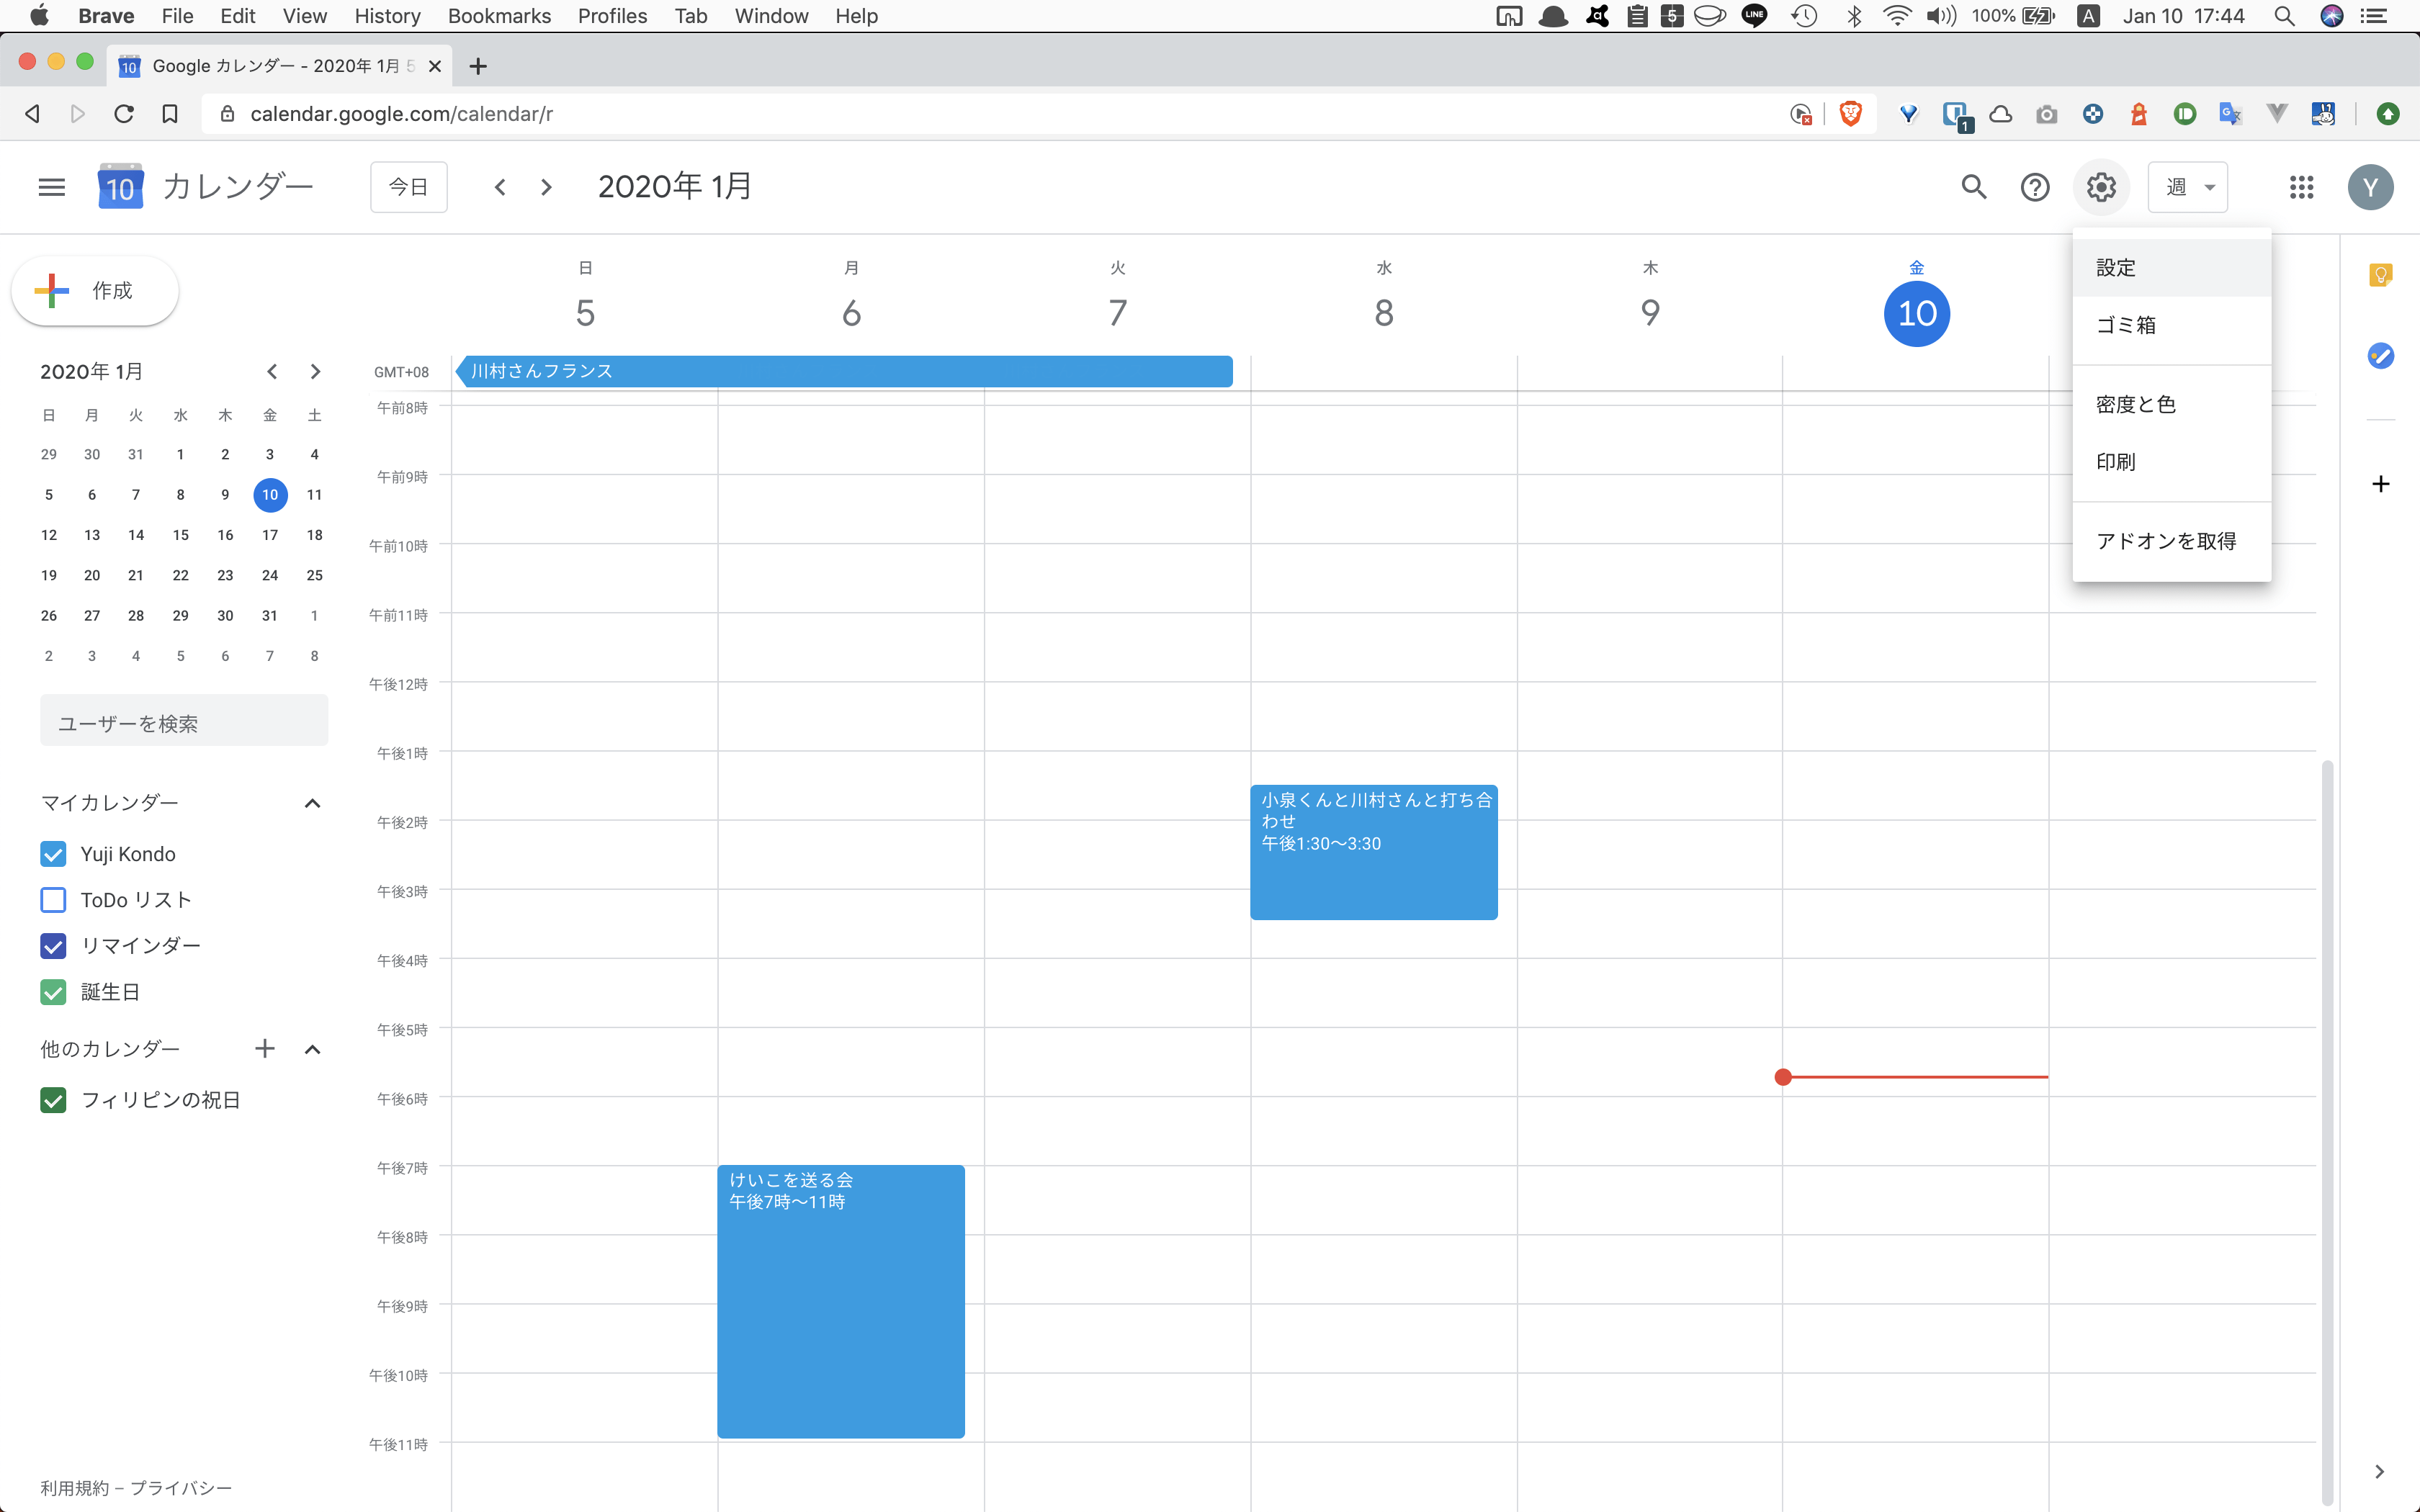
Google Calendarを開いて、【設定】を選択します。
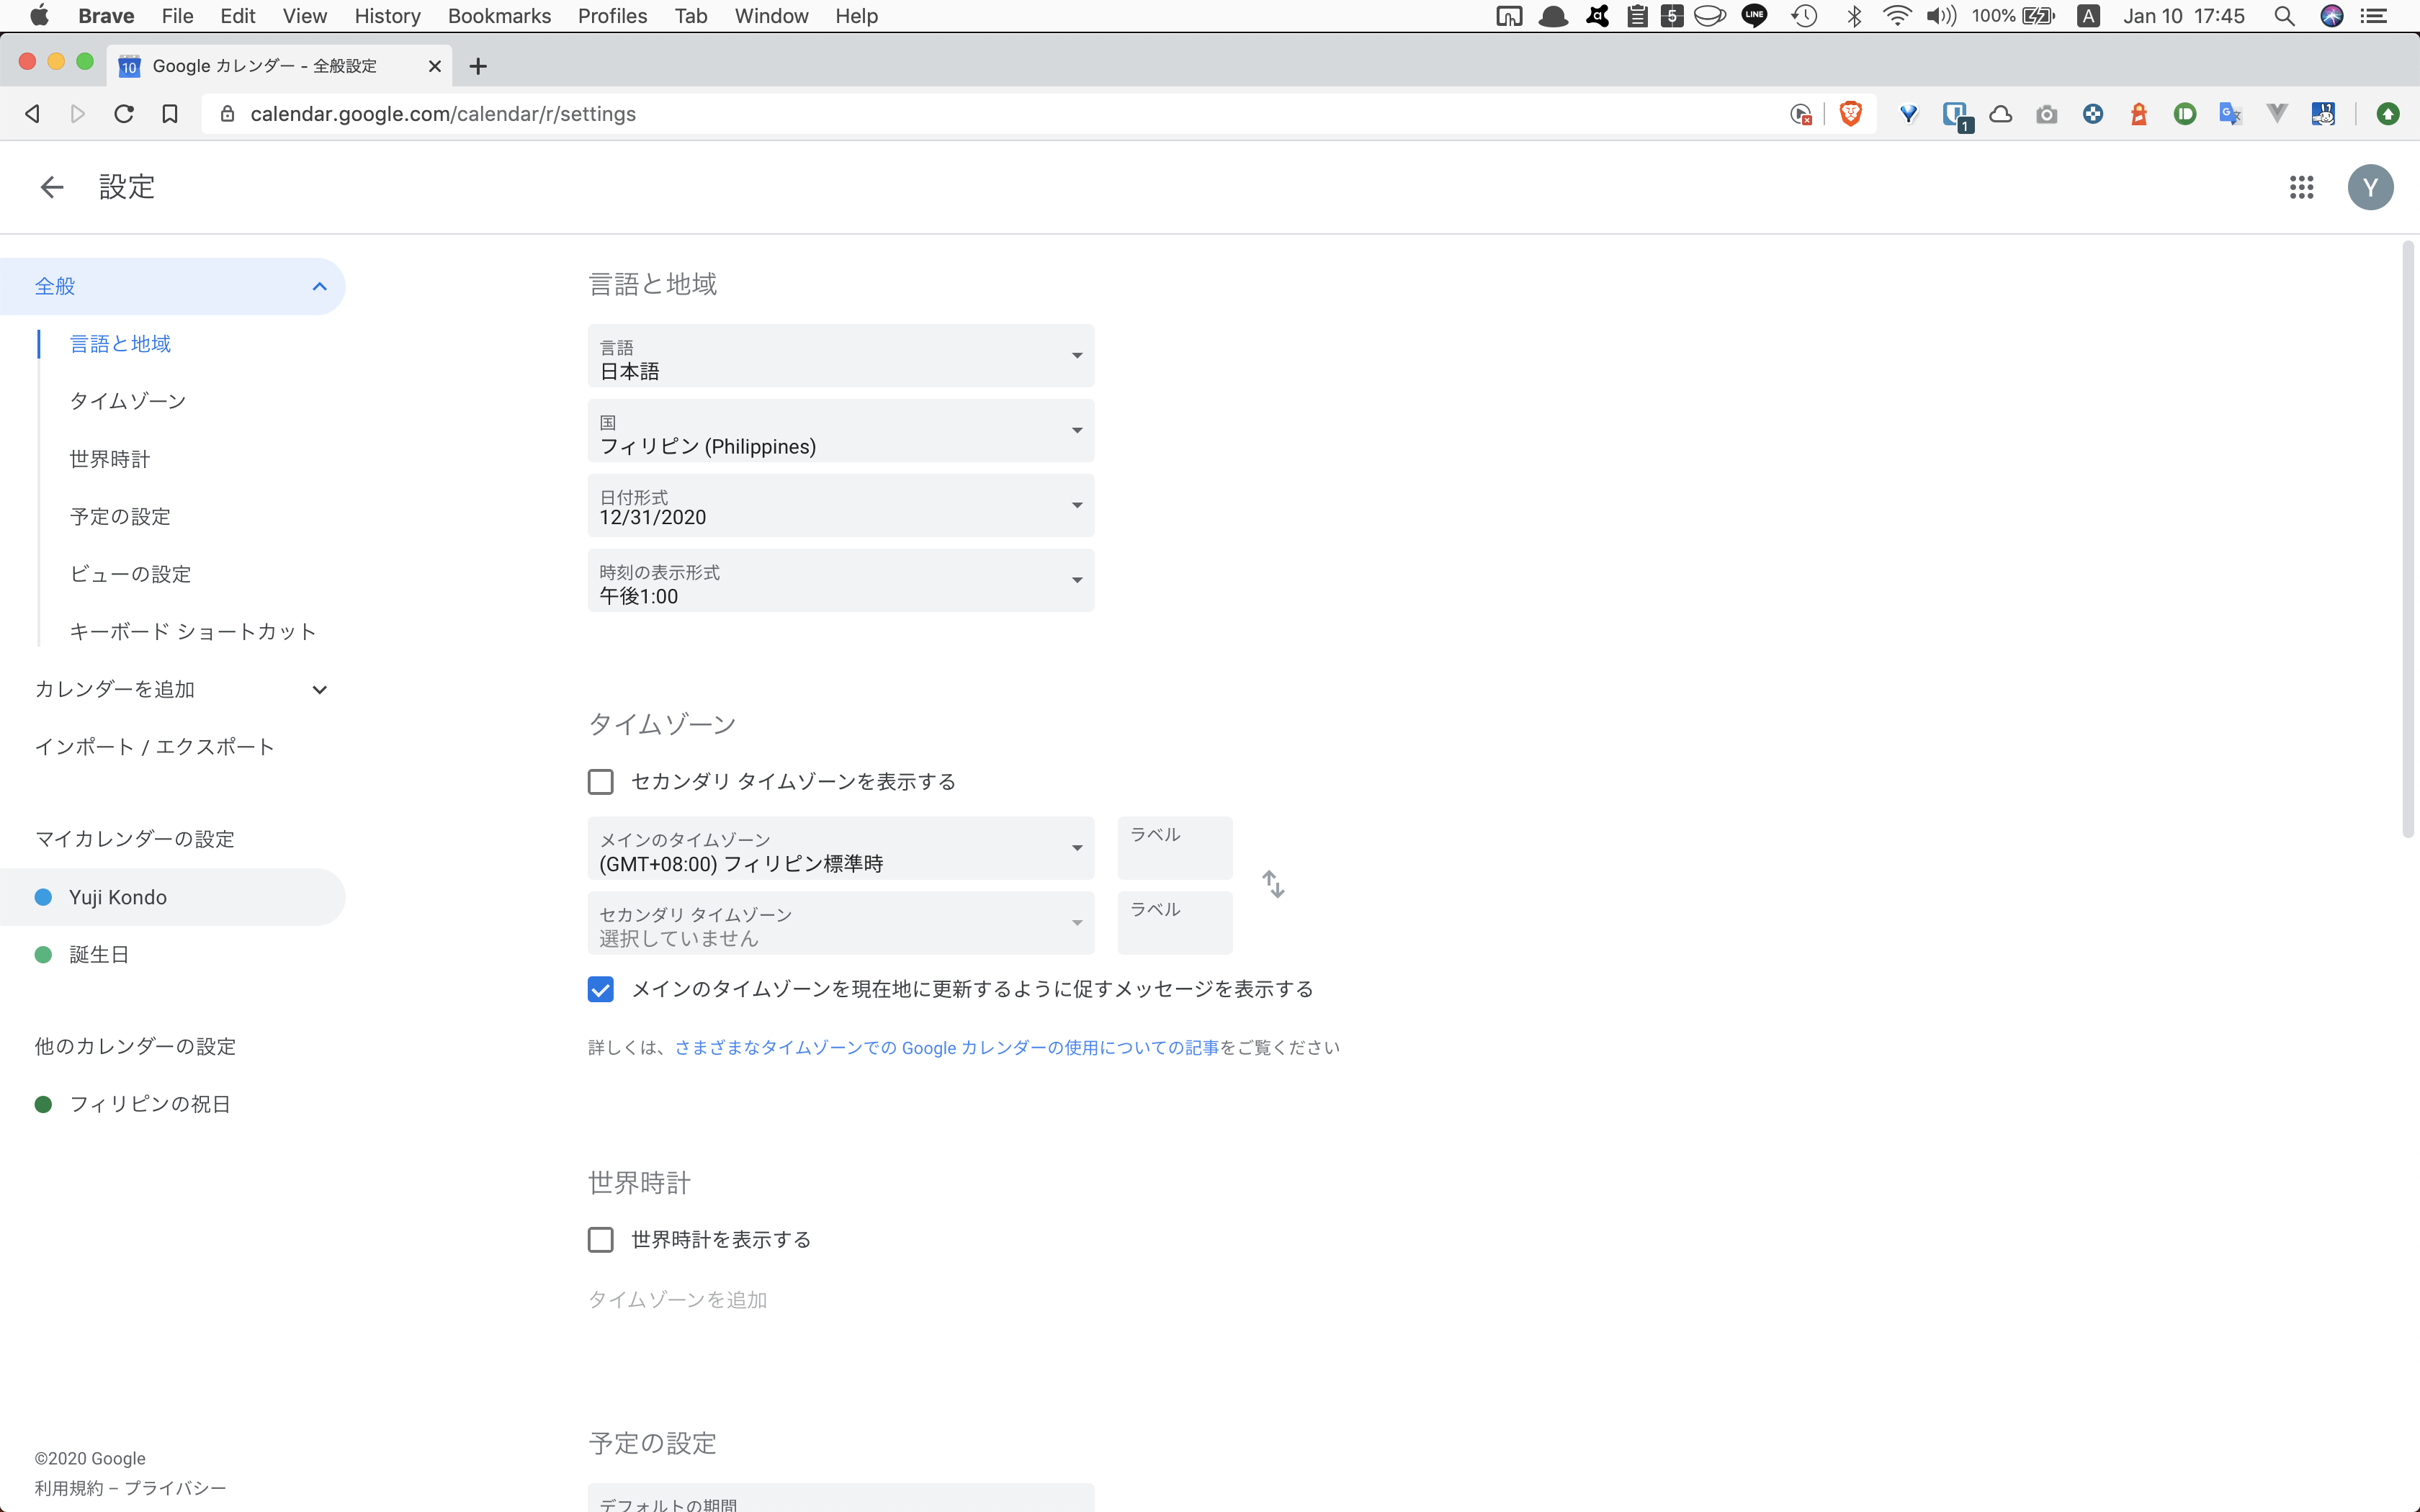
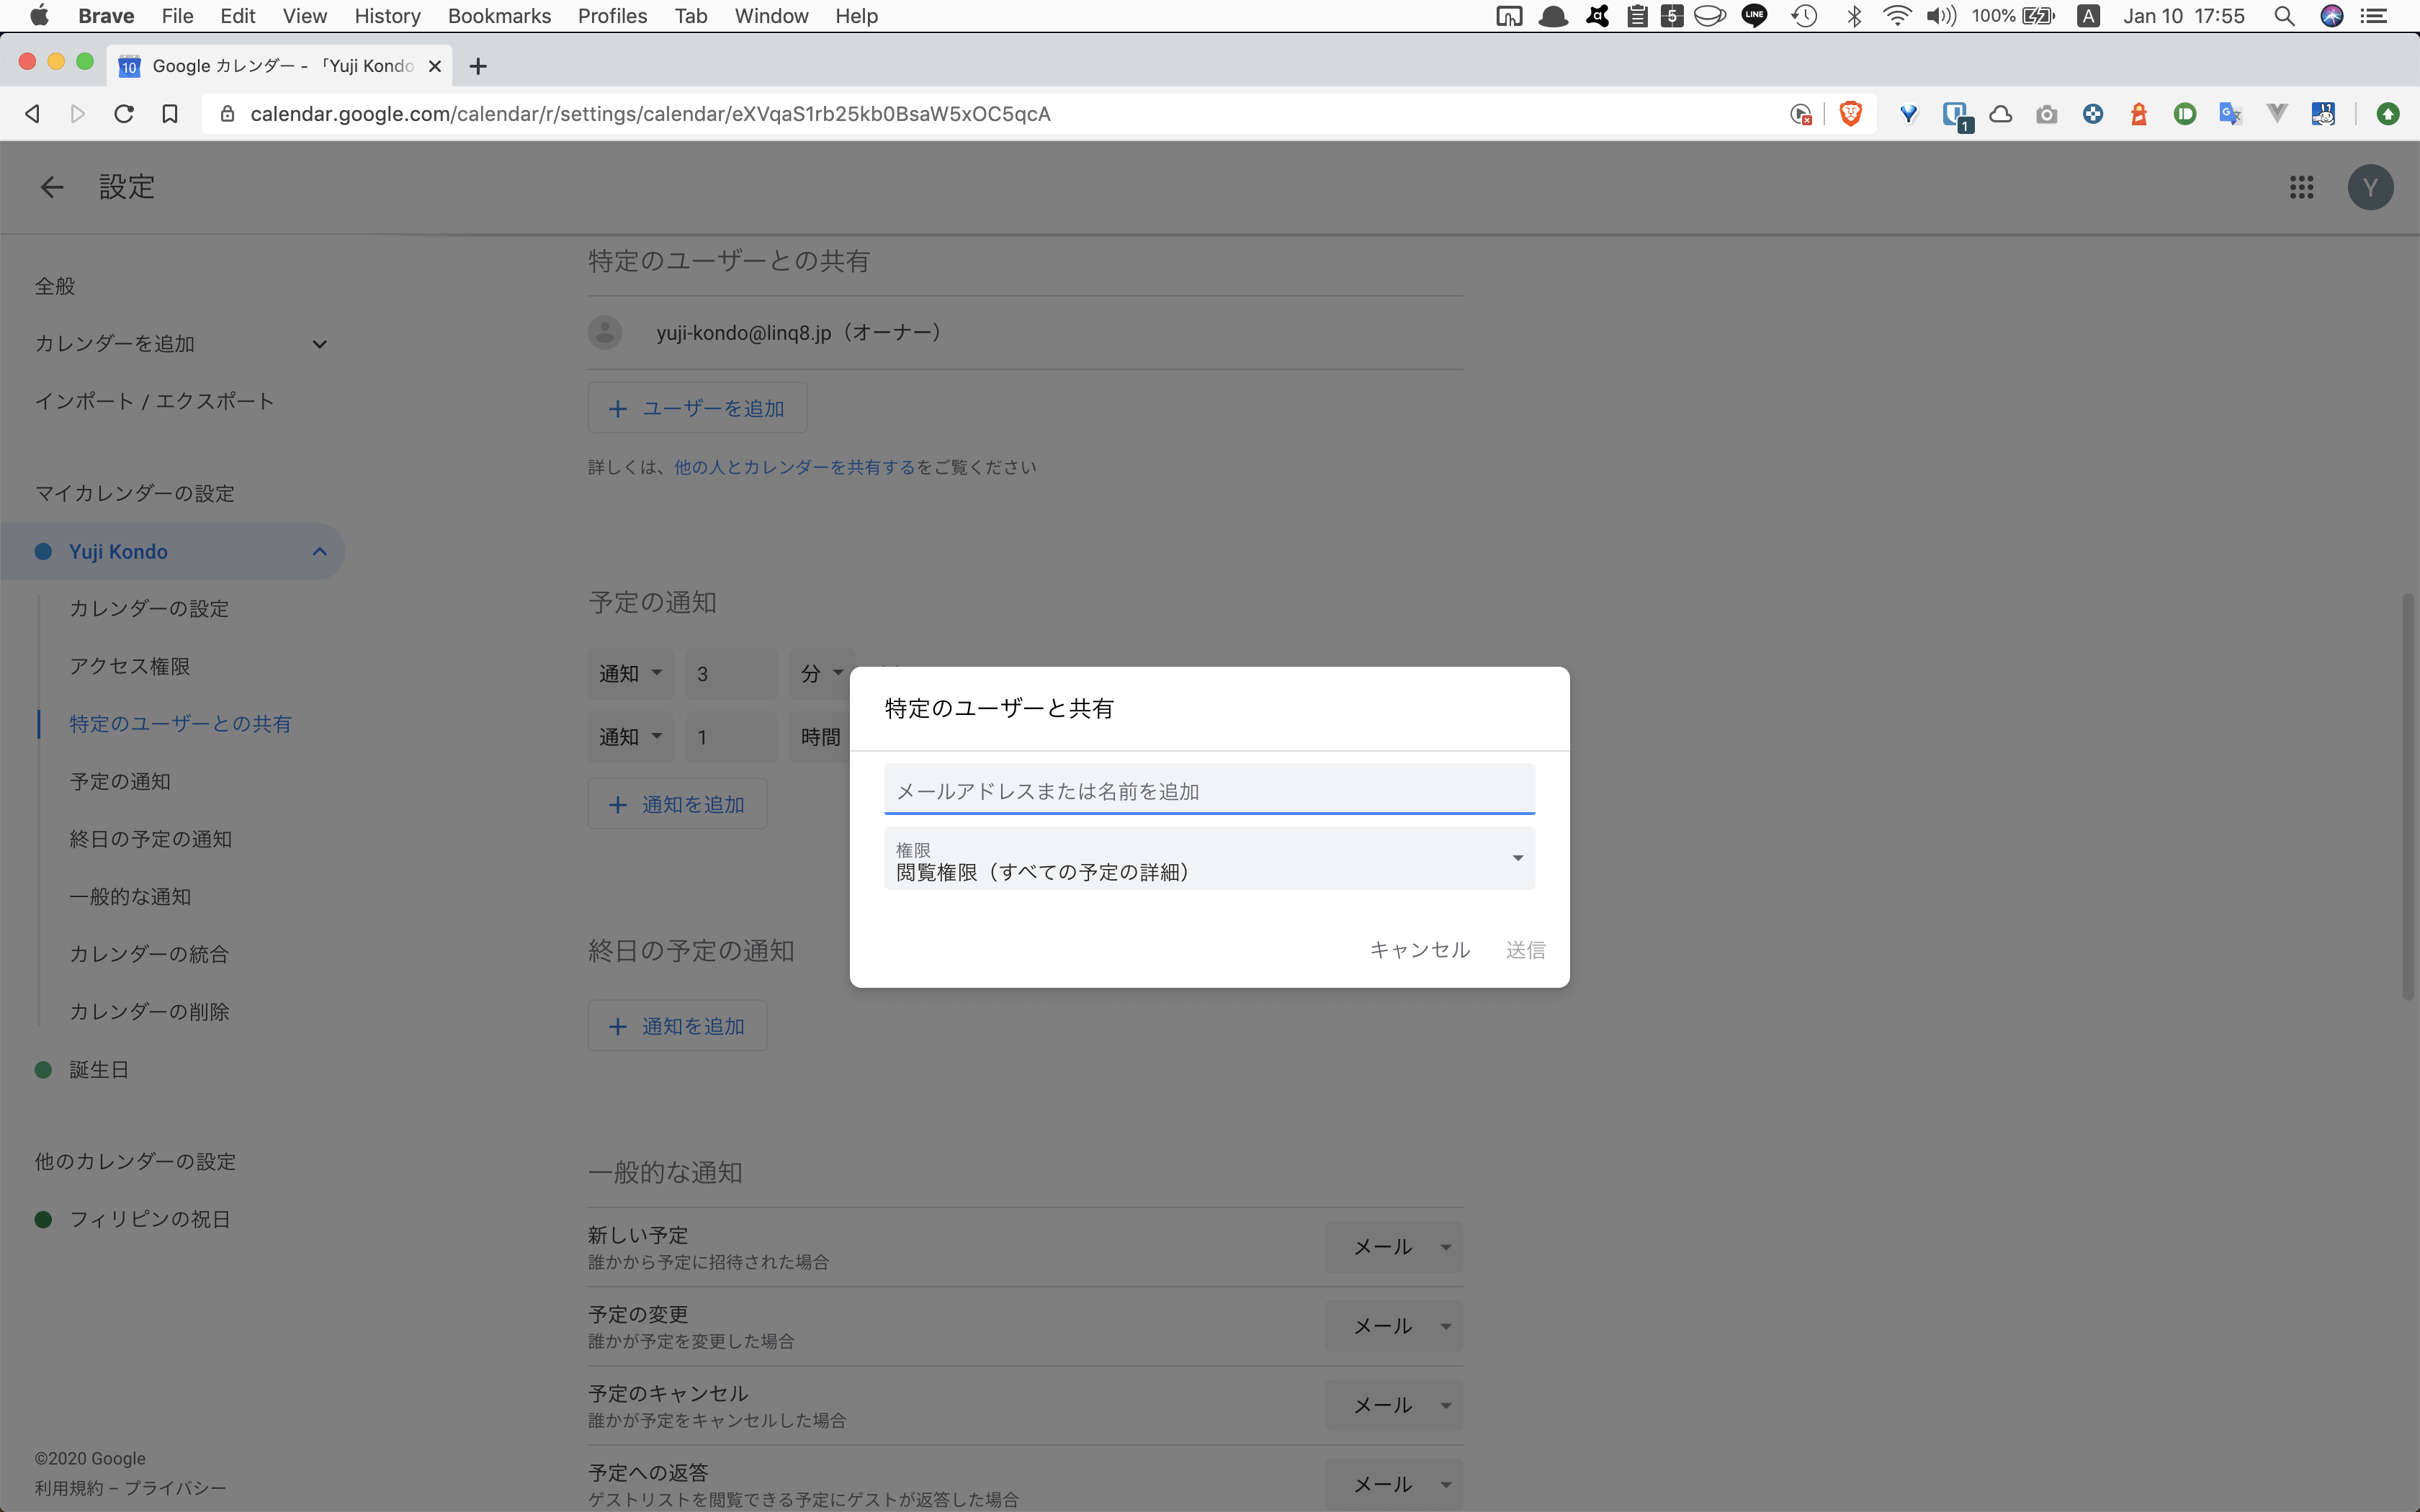
【マイカレンダーの設定】から【特定のユーザとの共有】をクリックすると画面がスクロールするので、【ユーザーを追加】をクリックします。
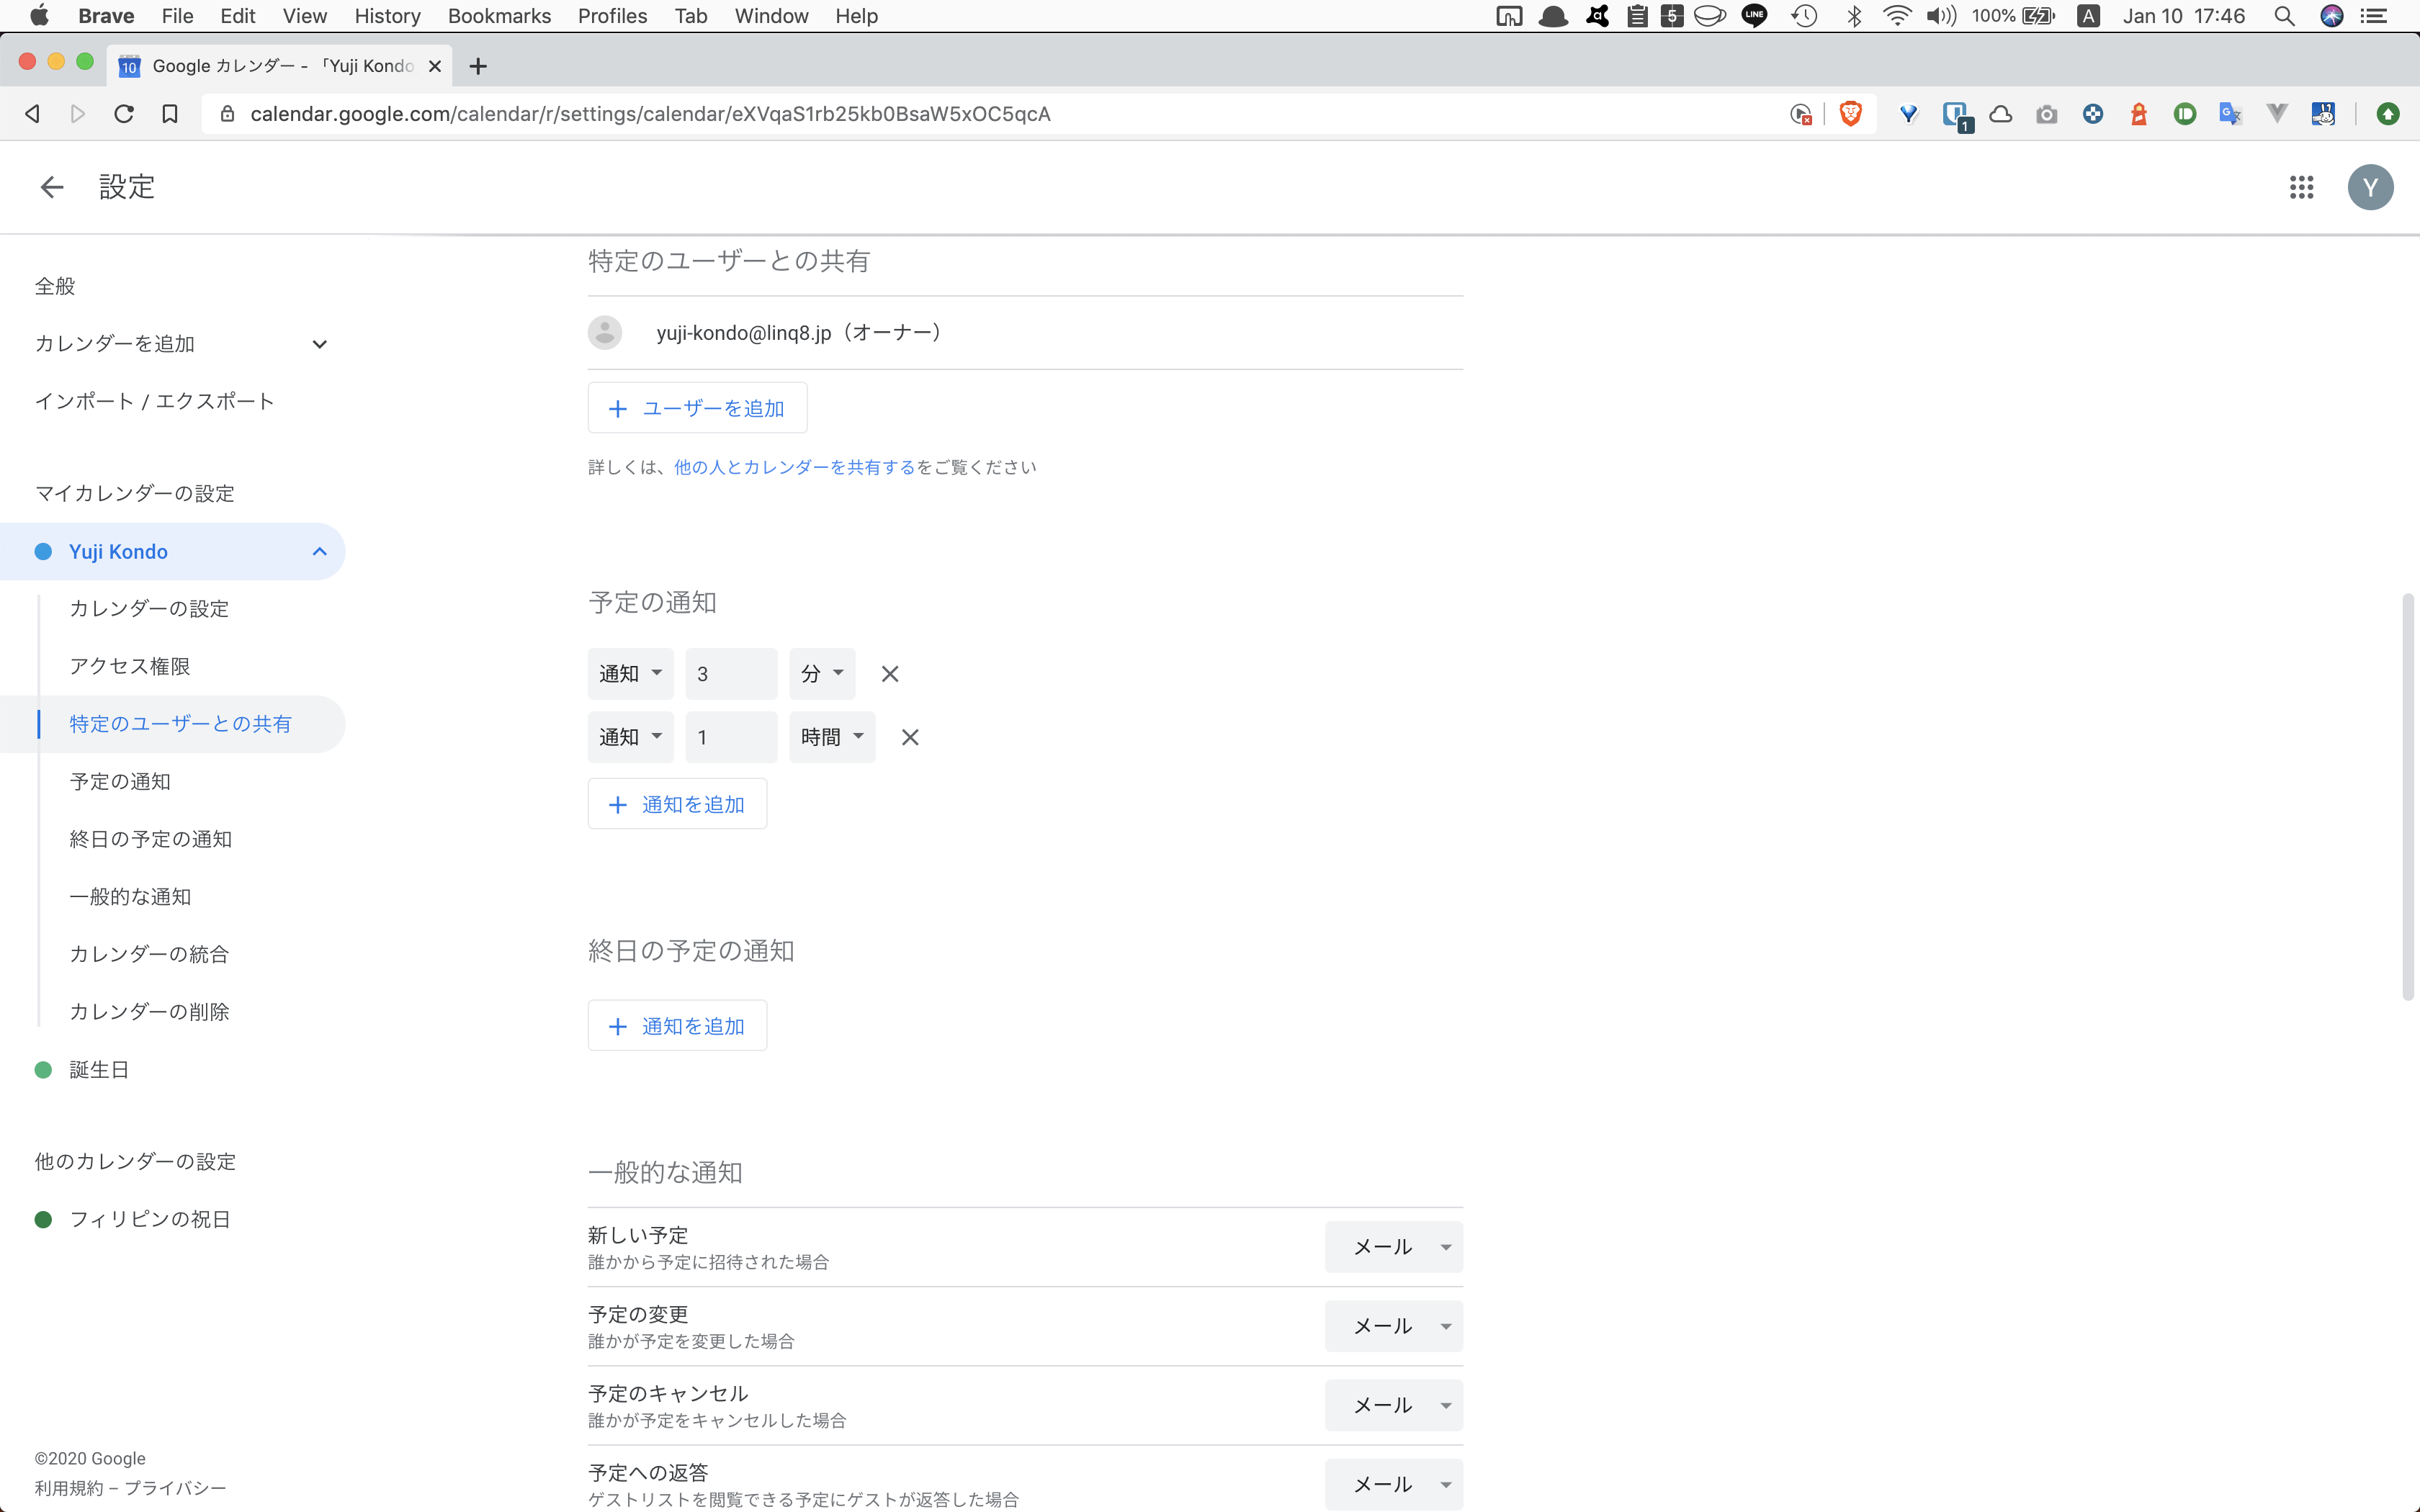
【特定のユーザとの共有】画面が表示されるので、【メールアドレスまたは名前を追加】に先ほどコピーしたメールアドレスをペーストし、【権限】は【予定の変更権限】を選択します。
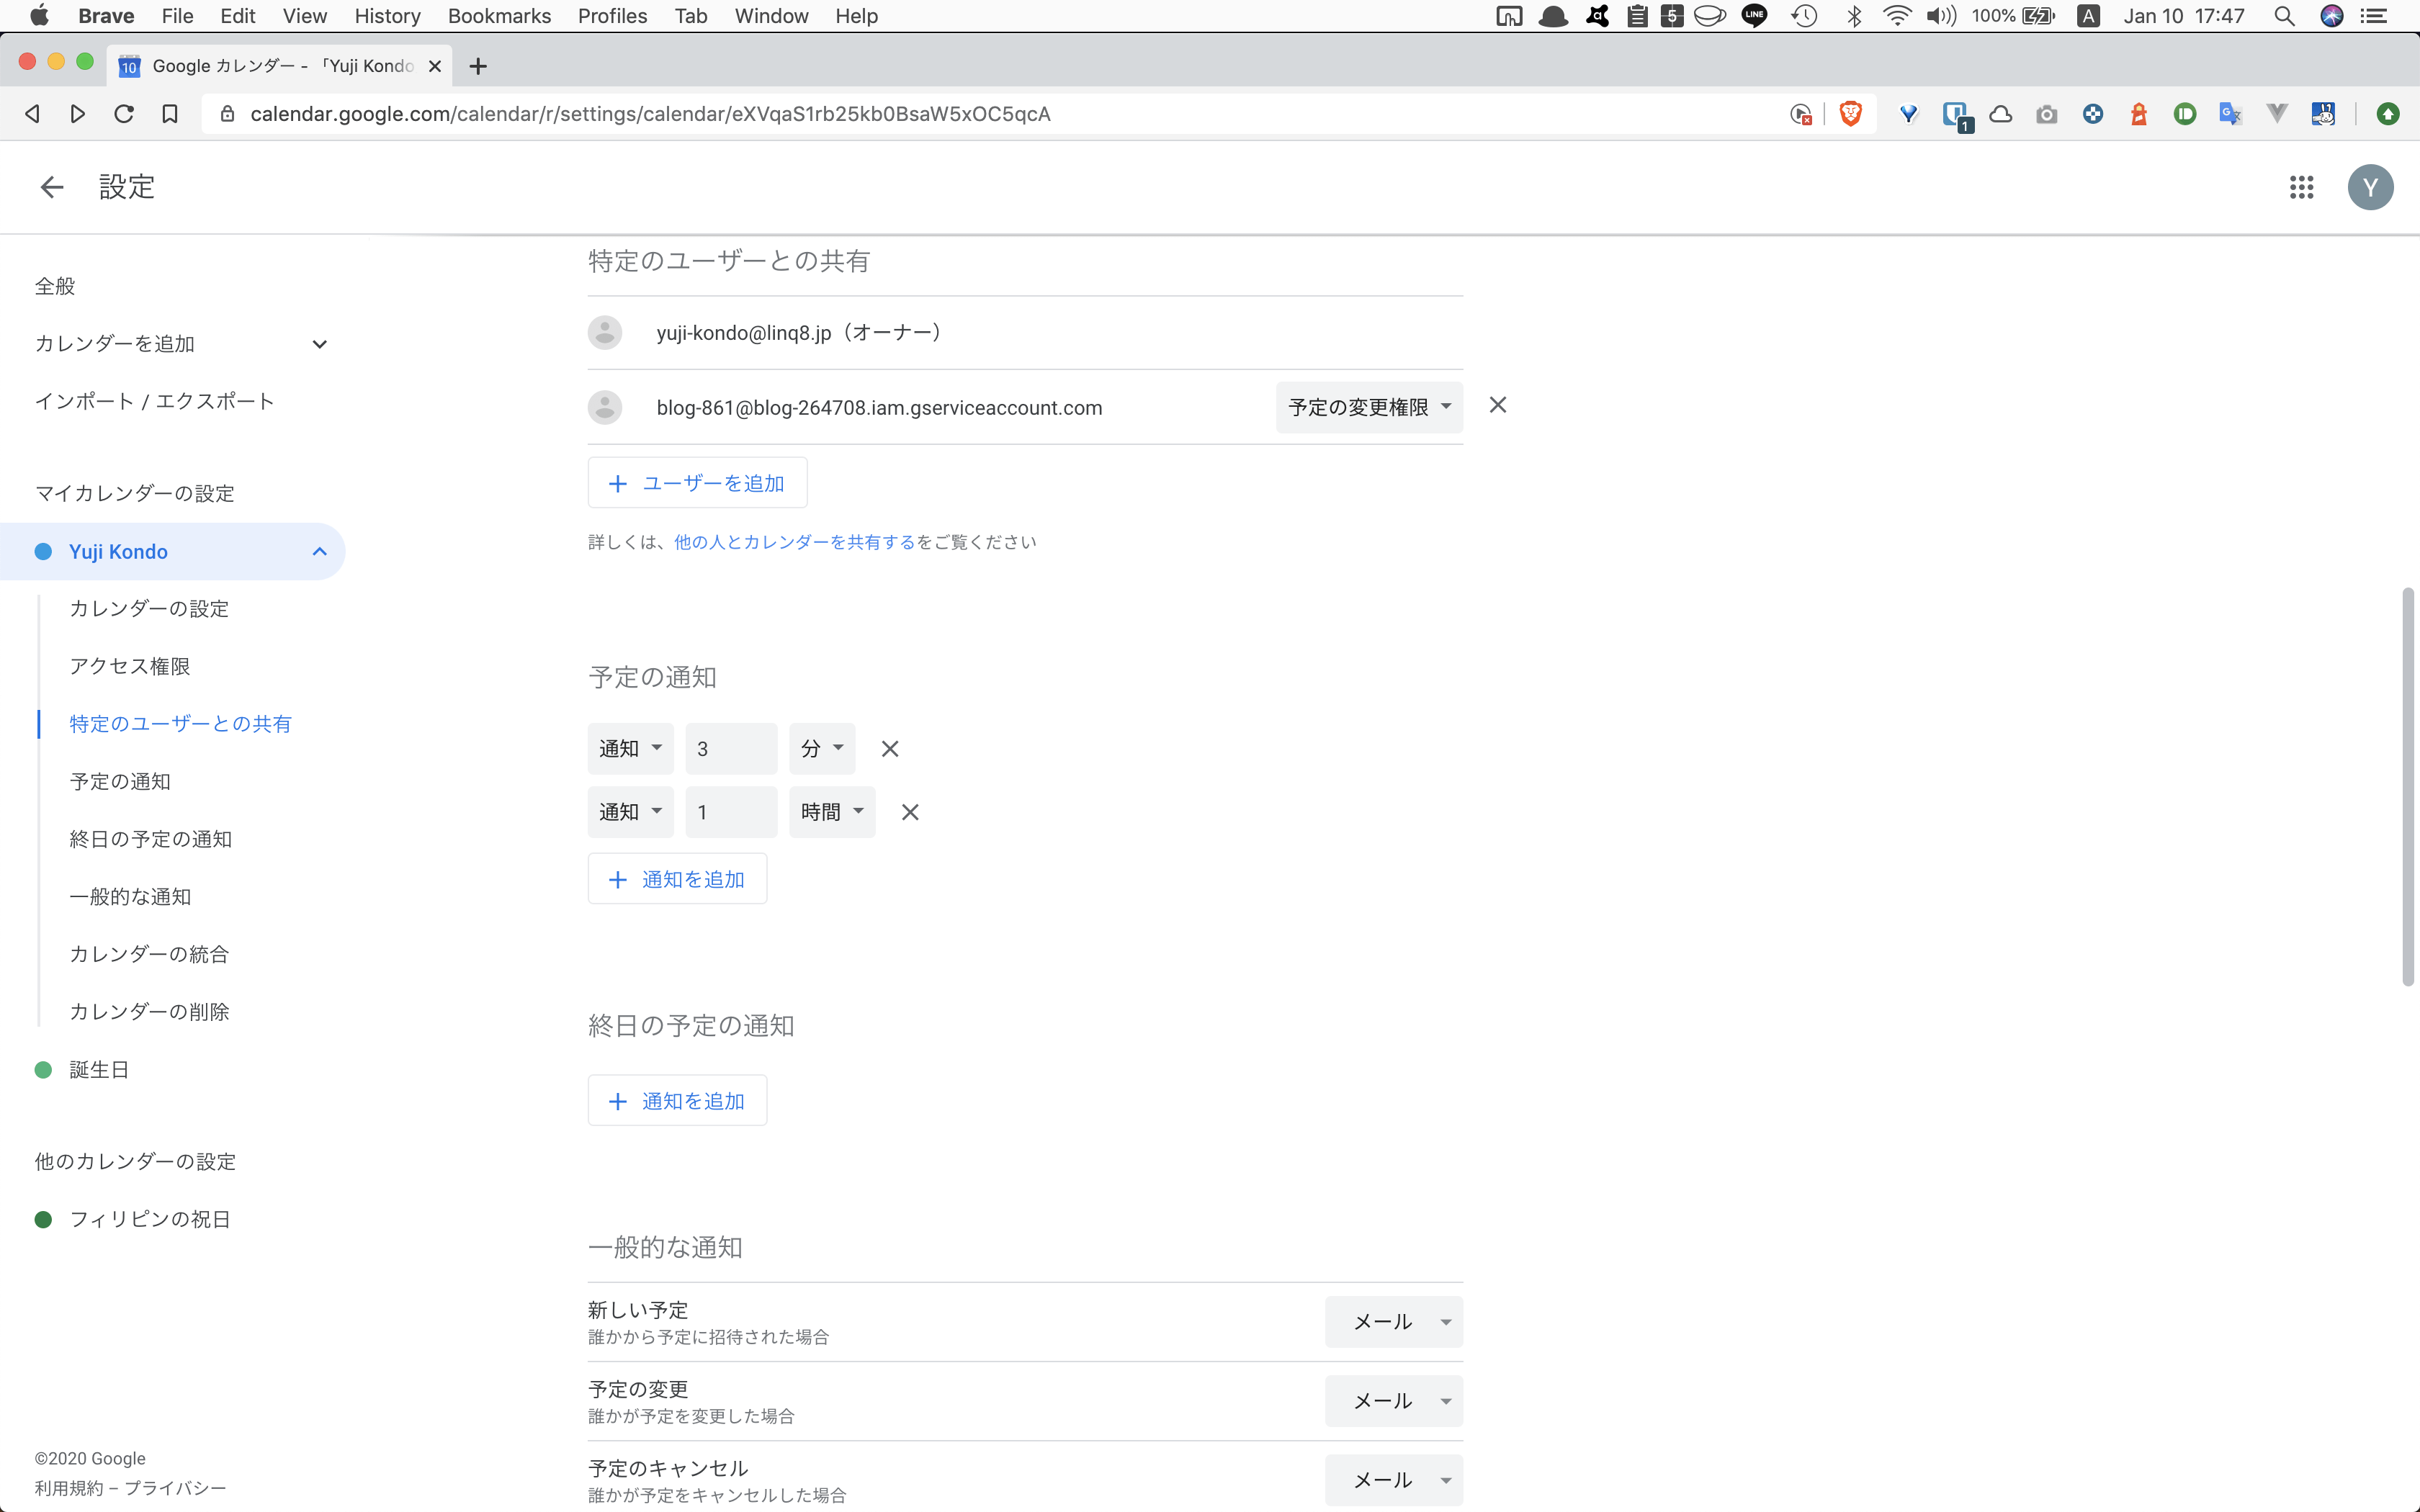
追加したメールアドレスが表示されていることを確認したら、Google Calendarでの設定は終了です。
laravelをインストールします。
composer create-project --prefer-dist laravel/laravel google-calendar
cd google-calendar
spatie/laravel-google-calendarパッケージをインストールします。
composer require spatie/laravel-google-calendar
laravelのuiパッケージをインストールします。
composer require laravel/ui --dev
bootstrapのauth scafolldingをインストールします。
php artisan ui bootstrap --auth
package.jsonに定義されているnpmのnode_modulesをインストールします。
npm install
webpack.mix.jsに記載されている処理を実行して、cssとjsを作成します。
npm run production
config/google-calendar.phpを作成します。
php artisan vendor:publish --provider="Spatie\GoogleCalendar\GoogleCalendarServiceProvider"
config/google-calendar.phpの内容を確認しましょう。
cat config/google-calendar.php
  <?php

  return [

      /*
       * Path to the json file containing the credentials.
       */
      'service_account_credentials_json' => storage_path('app/google-calendar/service-account-credentials.json'),

      /*
       *  The id of the Google Calendar that will be used by default.
       */
      'calendar_id' => env('GOOGLE_CALENDAR_ID'),
  ];
.envにGOOGLE_CALENDAR_IDを記載します。
cat .env
GOOGLE_CALENDAR_ID="XXXXXXXXXXX"
ダウンロードしたjsonファイルをapp/google-calendar/service-account-credentials.jsonとして設置します。
mv ~/Download/yyyyyyyyyy.json app/google-calendar/service-account-credentials.json
artisanコマンドを実行して、CalendarControllerを作成します。
php artisan make:controller CalendarController
app\Http\CalendarController.phpを以下のように修正します。
  <?php

  namespace App\Http\Controllers;

  use Illuminate\Http\Request;
  use Spatie\GoogleCalendar\Event;

  class CalendarController extends Controller
  {
    /**
     * Create a new controller instance.
     *
     * @return  void
     */
    public function __construct()
    {
    // $this->middleware('auth');
    }

    /**
     * Show the application dashboard.
     *
     * @return  \Illuminate\Contracts\Support\Renderable
     */
    public function index()
    {
      $events = Event::get();

      return view('calendars.index')->with('events', $events);
    }
  }
calendars/index.blade.phpを作成します。
  @extends('layouts.app')

  @section('content')
  <div class="container">
    <div class="row justify-content-center">
      <div class="col-md-6">
        <div class="card">
          <table class="table">
            <thead>
              <tr>
                <th>
                  Date From
                </th>
                <th>
                  Date To
                </th>
                <th>
                  Time From
                </th>
                <th>
                  Time To
                </th>
                <th>
                  Schedule
                </th>
              </tr>
            </thead>
            <tbody>
      @foreach($events as $event)
              <tr>
                <td>
                  {{ $event->startDate }}
                </td>
                <td>
                  {{ $event->endDate }}
                </td>
                <td>
                  {{ $event->startDateTime }}
                </td>
                <td>
                  {{ $event->endDateTime }}
                </td>
                <td>
                  {{ $event->name }}
                </td>
              </tr>
      @endforeach
            </tbody>
          </table>
        </div>
      </div>
    </div>
  </div>
  @endsection
routes/web.phpに以下を追加します。
Route::get('/calendar', 'CalendarController@index')->name('calendar.index');
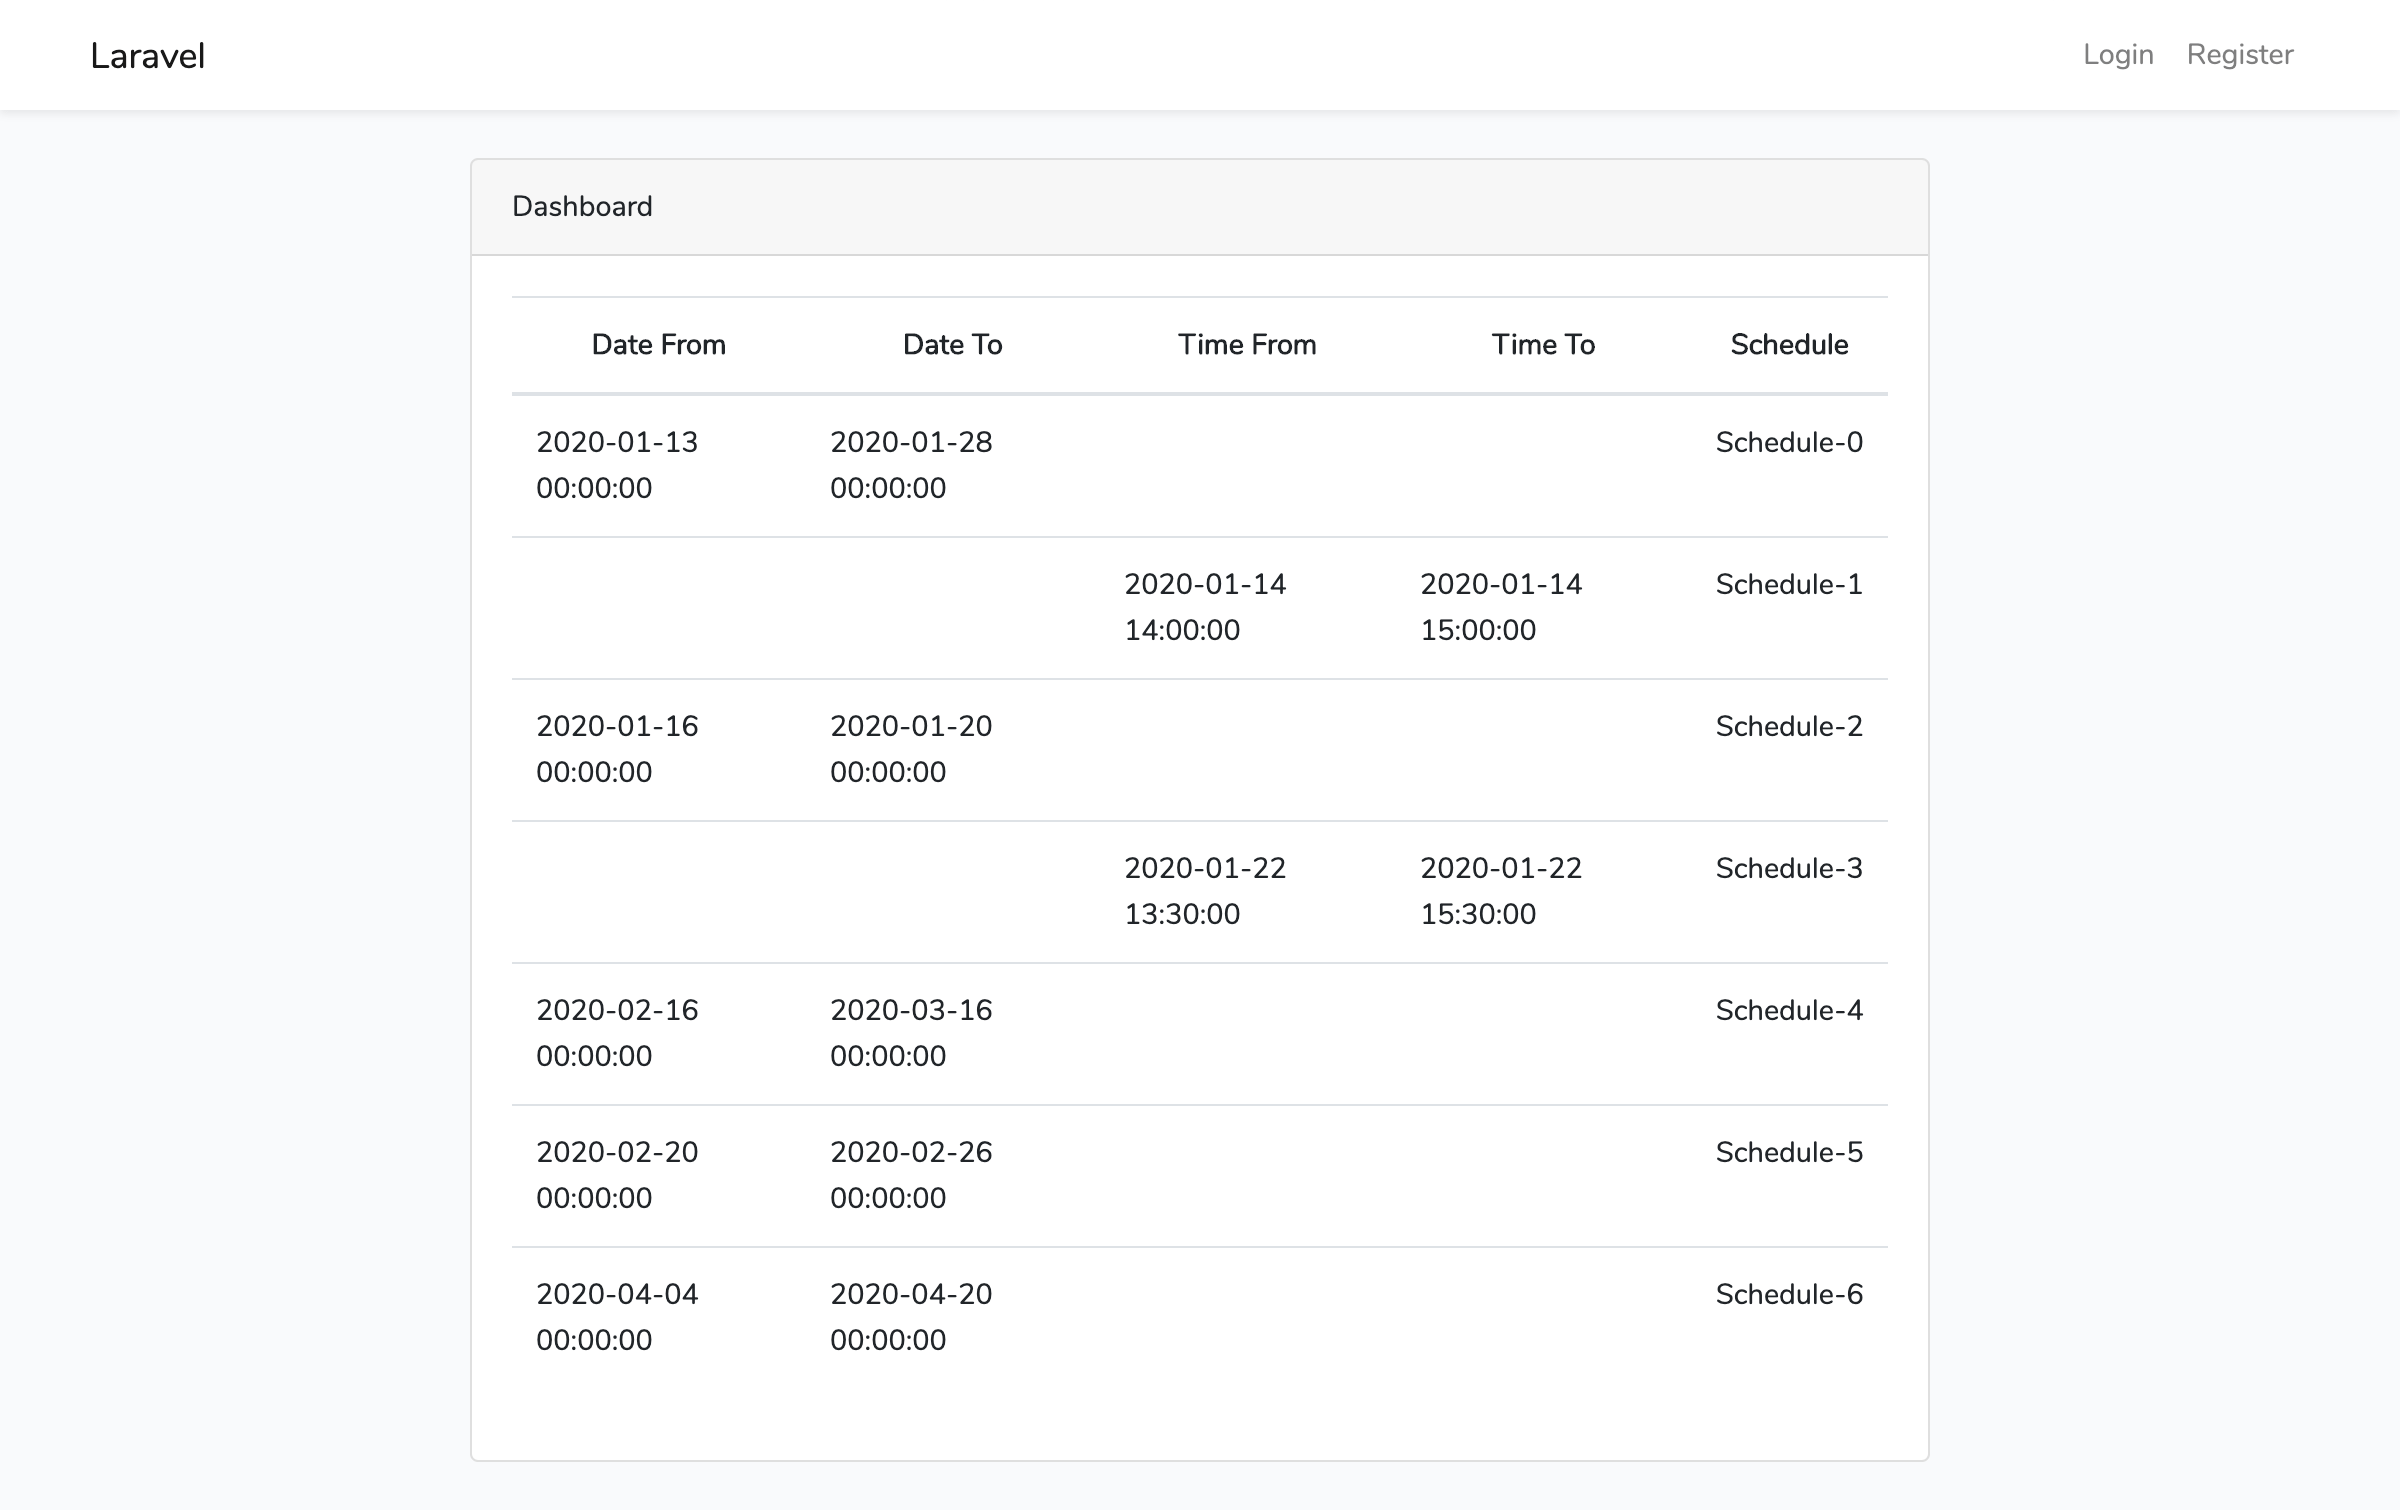
アプリケーションサーバを実行して、ブラウザで http://127.0.0.1:8000/calendar を開き、Google Calendarに登録されているスケジュールが見えたら成功です。
php artisan serve
