メールの送受信の確認でMailHogを使うようにインストール・設定する。
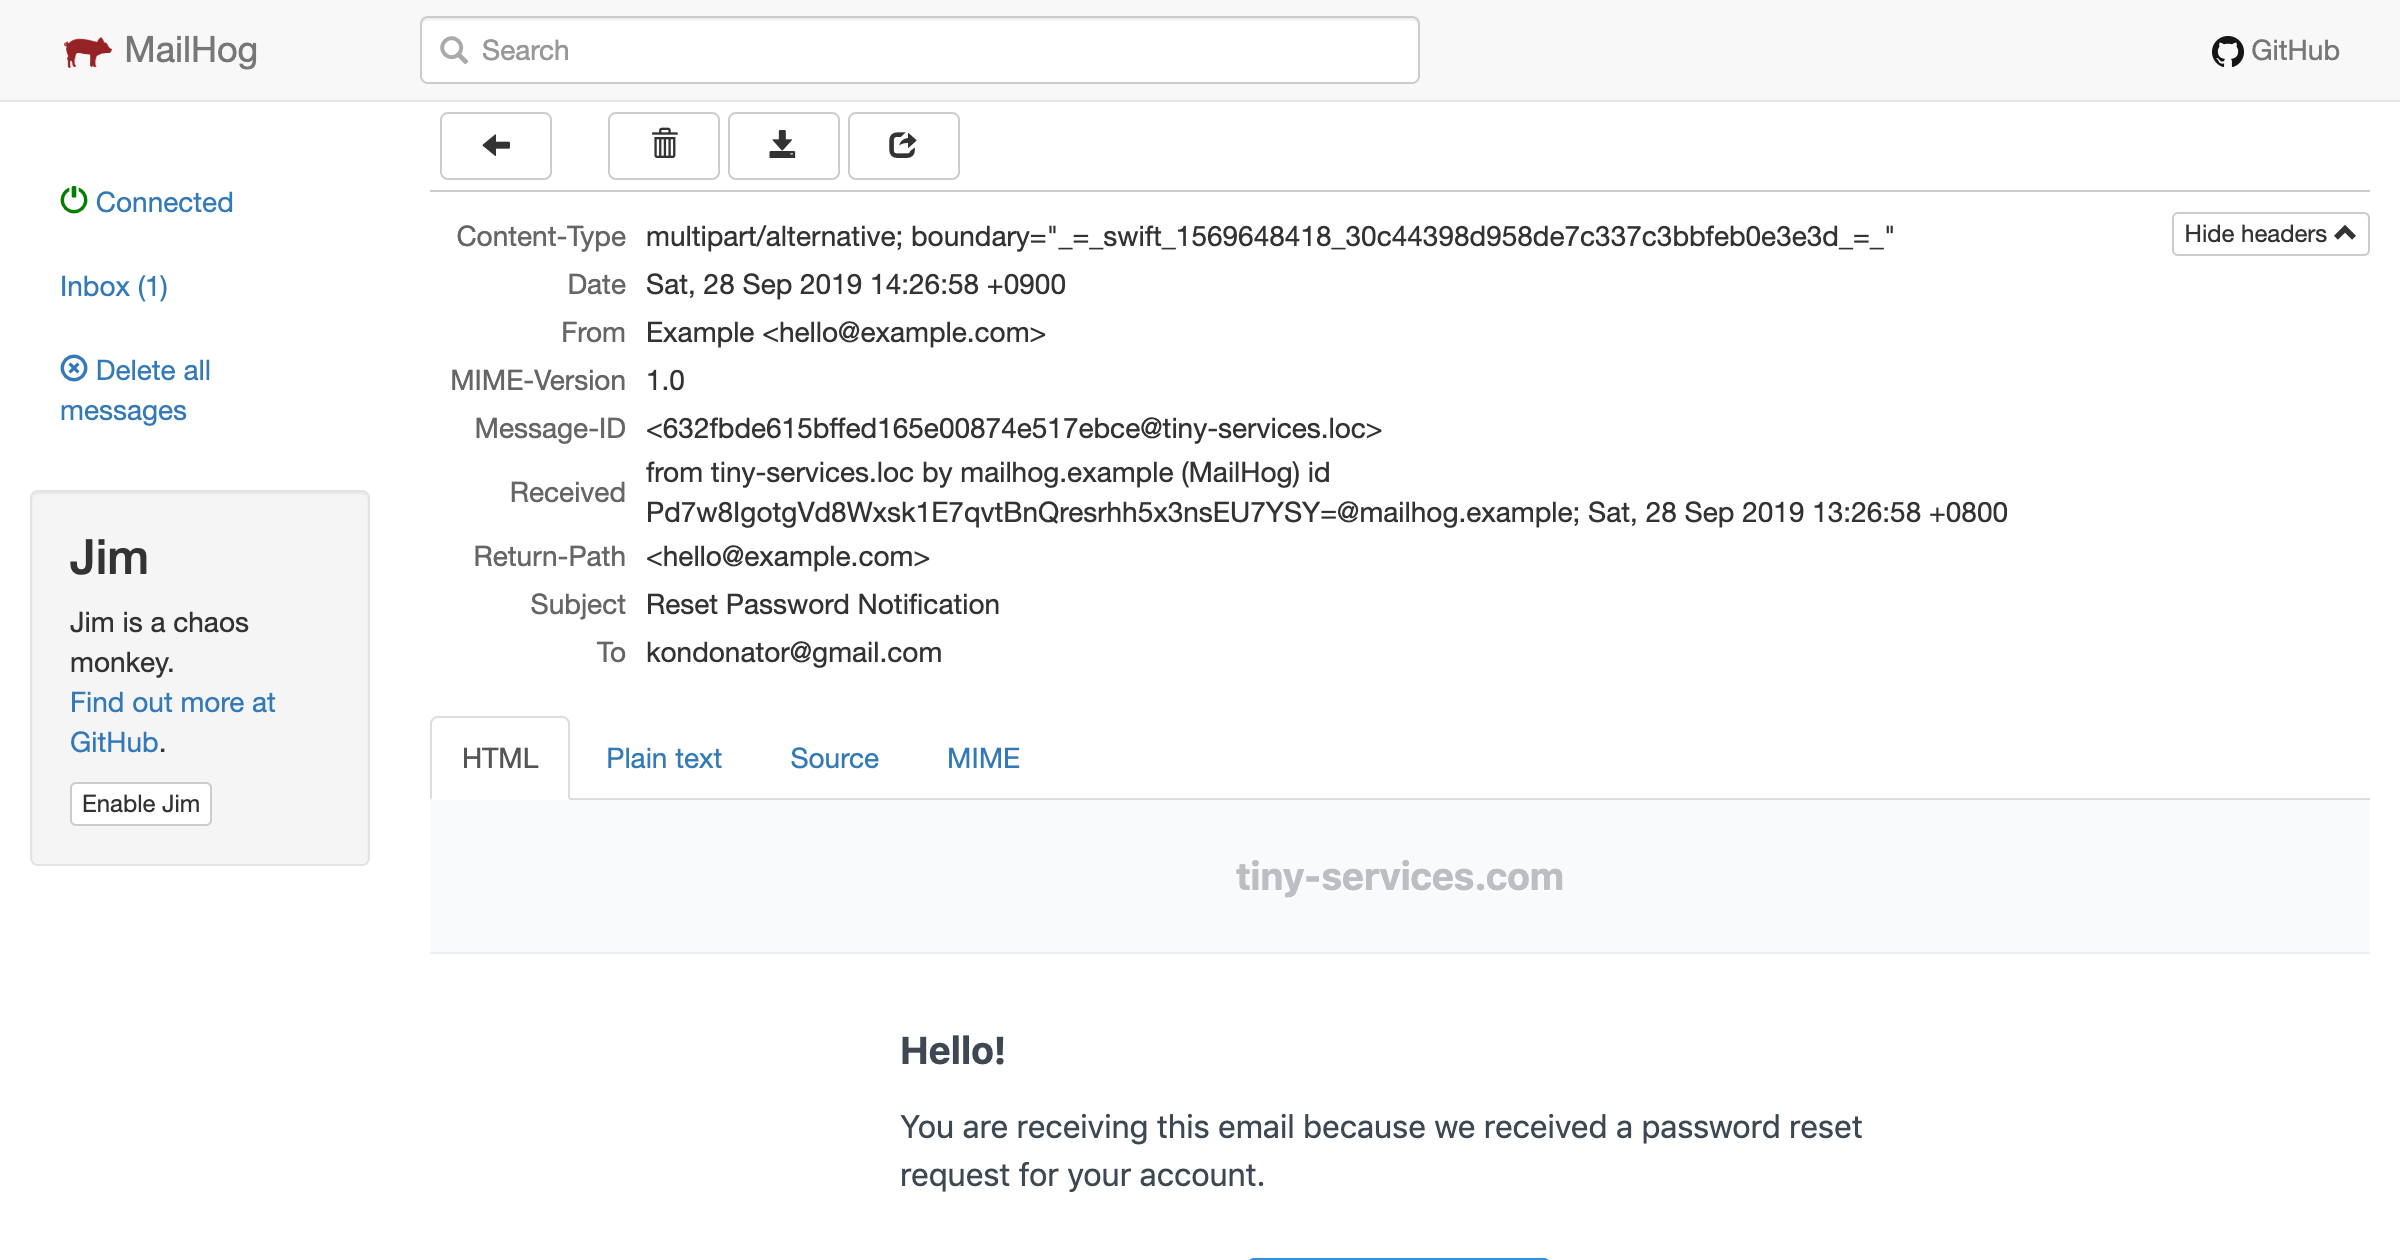
MailHogはGo言語で実装されたSMTPクライアントです。 HTTPサーバを内蔵しているので、サービスが送信したメールを受信して、ブラウザで表示・確認することができます。 メールを送信するサービスの開発に便利です。
MailHogはGitHubに開発レポジトリを持っています。
最新のバイナリはこちらからダウンロードできます。
自分の環境にあったものをダウンロード・インストールしましょう。
私の場合は、Mac用にMailHog_darwin_amd64をダウンロードして、/opt/local/sbin/MailHogにインストールしました。
インストールしたら、--helpオプションを指定してコマンドを実行して、どんなオプションが使えるのかを確認します。
MailHog --help
Usage of MailHog:
  -api-bind-addr string
      HTTP bind interface and port for API, e.g. 0.0.0.0:8025 or just :8025 (default "0.0.0.0:8025")
  -api-host string
      API URL for MailHog UI to connect to, e.g. http://some.host:1234
  -auth-file string
      A username:bcryptpw mapping file
  -cors-origin string
      CORS Access-Control-Allow-Origin header for API endpoints
  -hostname string
      Hostname for EHLO/HELO response, e.g. mailhog.example (default "mailhog.example")
  -invite-jim
      Decide whether to invite Jim (beware, he causes trouble)
  -jim-accept float
      Chance of accept (default 0.99)
  -jim-disconnect float
      Chance of disconnect (default 0.005)
  -jim-linkspeed-affect float
      Chance of affecting link speed (default 0.1)
  -jim-linkspeed-max float
      Maximum link speed (in bytes per second) (default 10240)
  -jim-linkspeed-min float
      Minimum link speed (in bytes per second) (default 1024)
  -jim-reject-auth float
      Chance of rejecting authentication (AUTH) (default 0.05)
  -jim-reject-recipient float
      Chance of rejecting a recipient (RCPT TO) (default 0.05)
  -jim-reject-sender float
      Chance of rejecting a sender (MAIL FROM) (default 0.05)
  -maildir-path string
      Maildir path (if storage type is 'maildir')
  -mongo-coll string
      MongoDB collection, e.g. messages (default "messages")
  -mongo-db string
      MongoDB database, e.g. mailhog (default "mailhog")
  -mongo-uri string
      MongoDB URI, e.g. 127.0.0.1:27017 (default "127.0.0.1:27017")
  -outgoing-smtp string
      JSON file containing outgoing SMTP servers
  -smtp-bind-addr string
      SMTP bind interface and port, e.g. 0.0.0.0:1025 or just :1025 (default "0.0.0.0:1025")
  -storage string
      Message storage: 'memory' (default), 'mongodb' or 'maildir' (default "memory")
  -ui-bind-addr string
      HTTP bind interface and port for UI, e.g. 0.0.0.0:8025 or just :8025 (default "0.0.0.0:8025")
  -ui-web-path string
      WebPath under which the UI is served (without leading or trailing slashes), e.g. 'mailhog'. Value defaults to ''
次に環境設定を行います。私の場合は、Laravelでサービス開発を行っているので、php.iniを修正します。
Macportsは、php.iniを/opt/local/etc/php72/以下にインストールするので、/opt/local/etc/php72/php.iniのsmtp_portとsendmail_pathという行を探して、次のように書き換えます。
; smtp_port = 25 smtp_port = 1025; sendmail_path = sendmail_path = "/usr/local/sbin/MailHog"
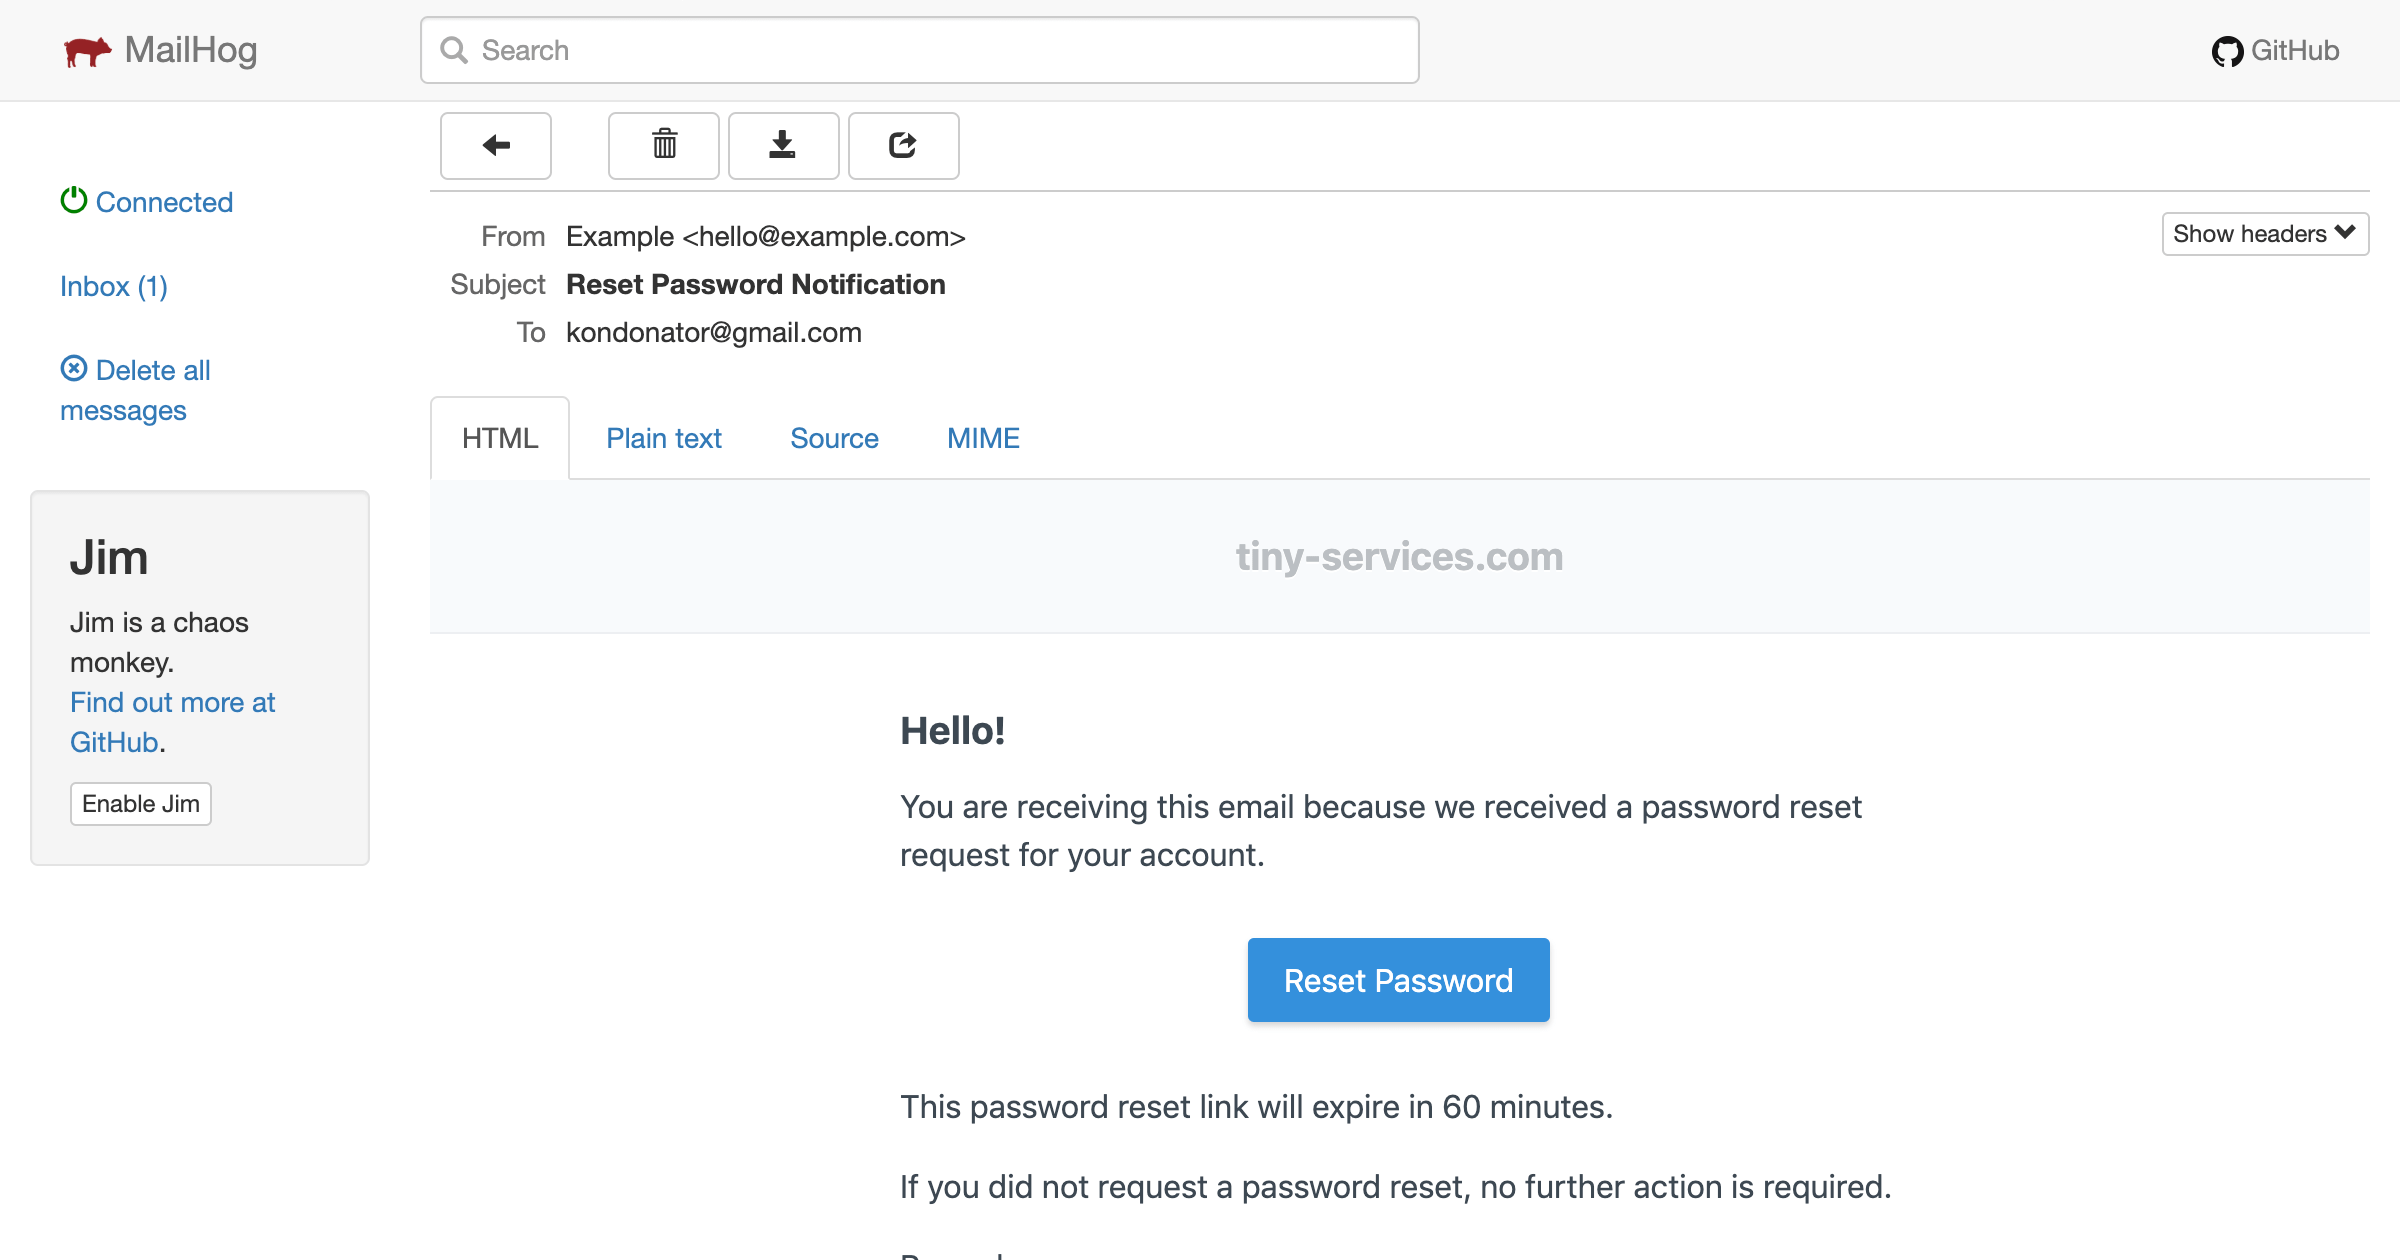
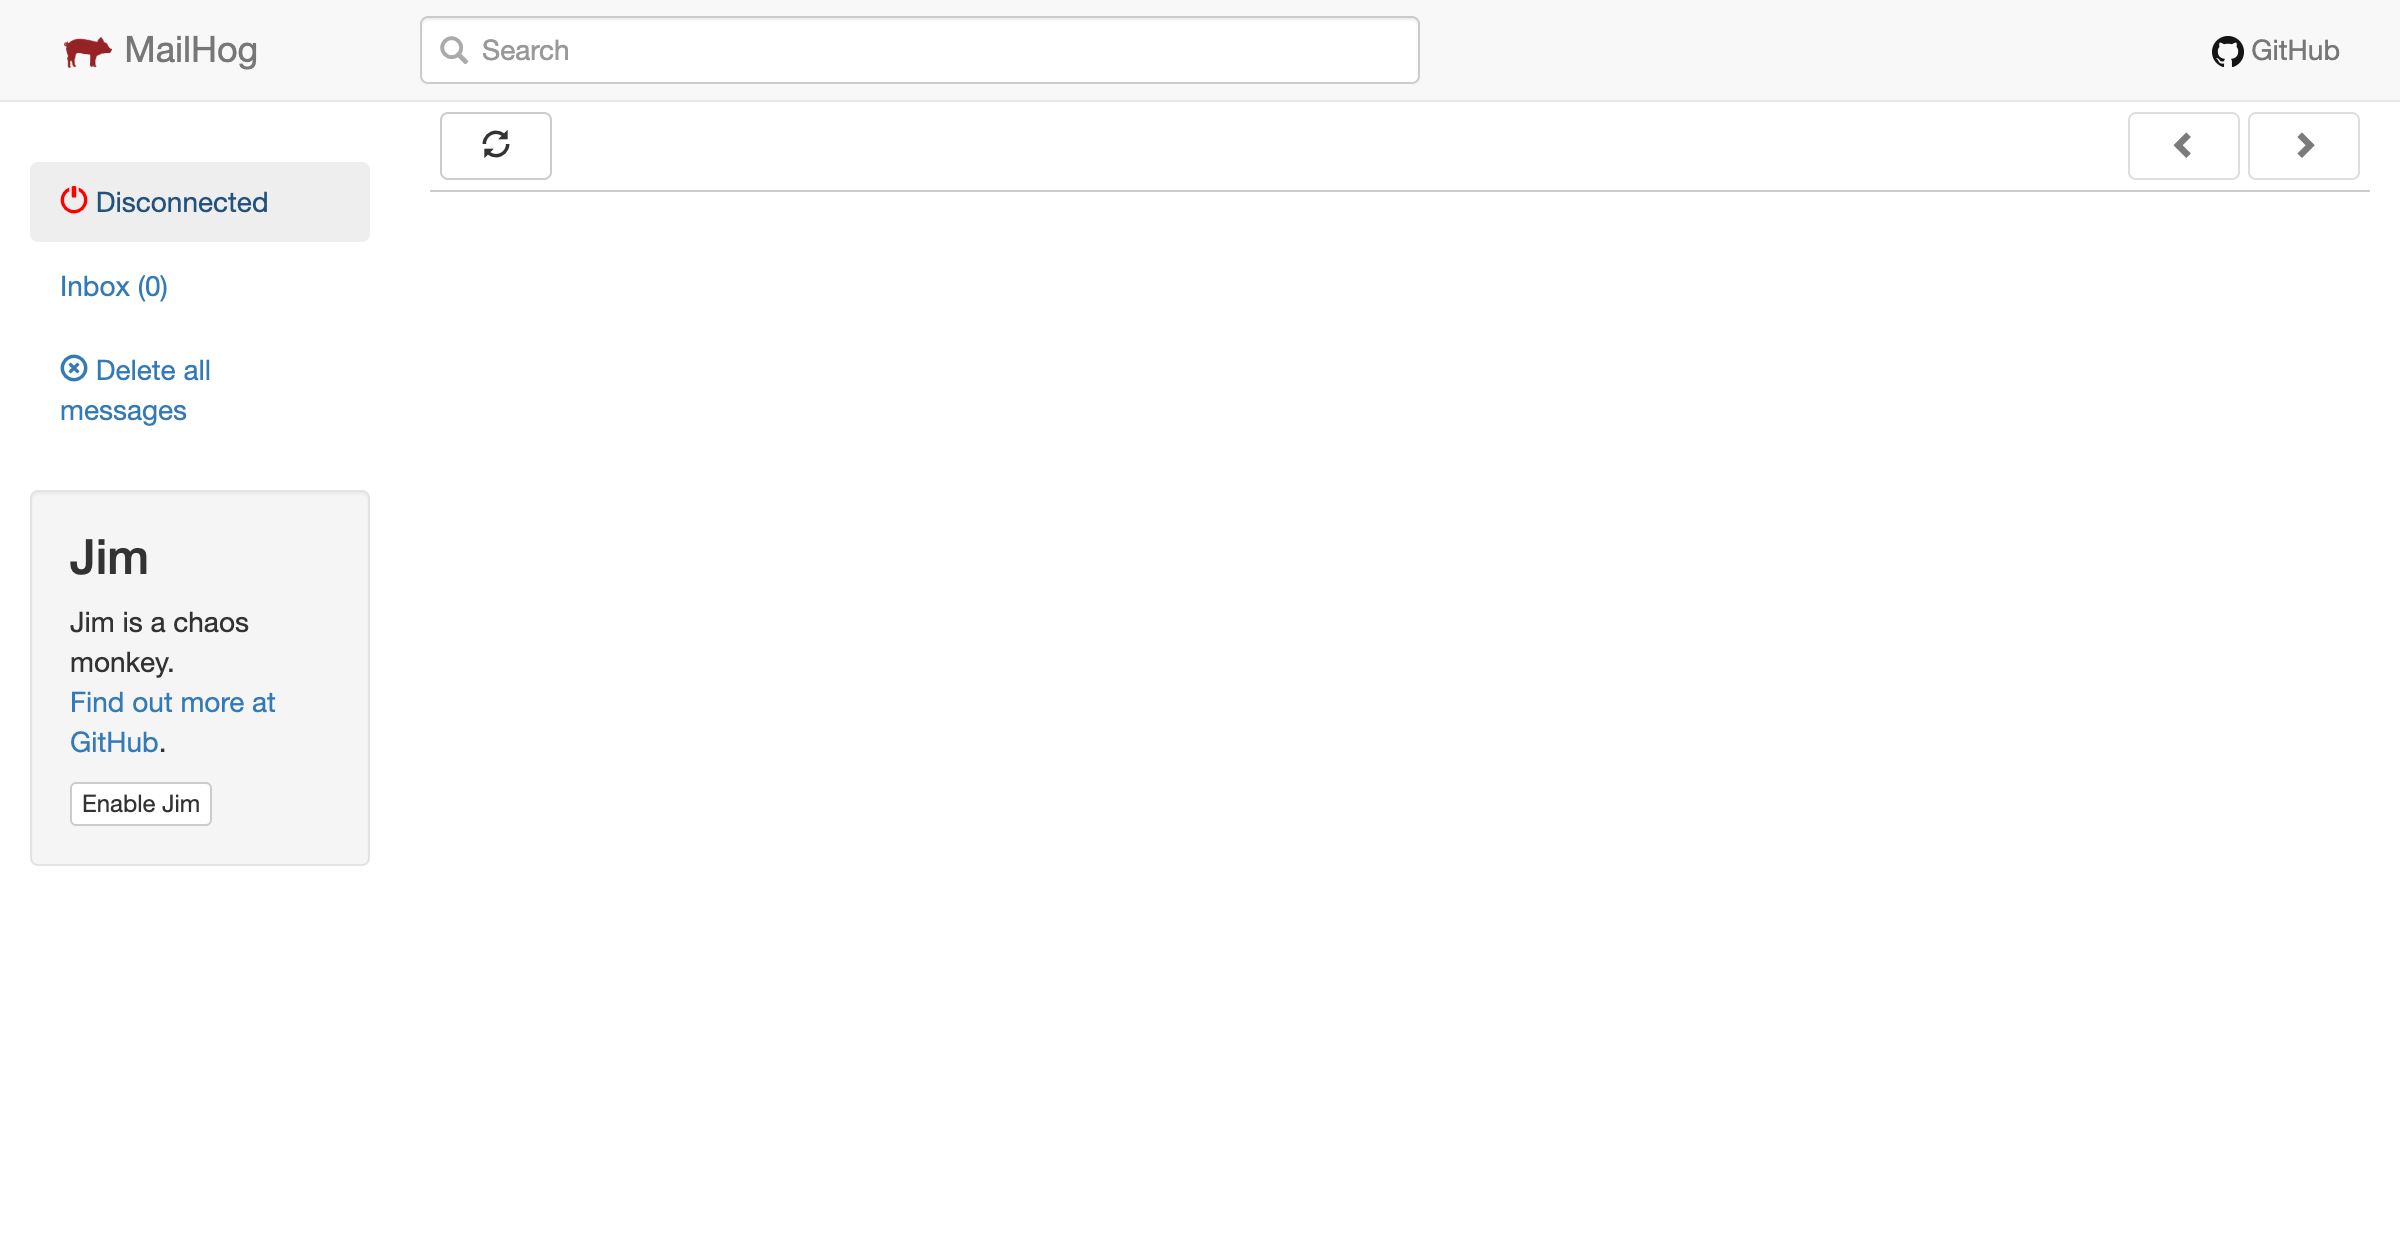
環境設定を行ったら、MailHogを起動して、ブラウザでhttp://localhost:8015 にアクセスしてみます。
以下の画面が表示されれば、成功です。
次にMailHogを自動起動するように設定します。
私の場合、Macを使っているので、launchdがMailHogを起動するように設定ファイルを用意します。
以下のファイルを/Library/LaunchDaemons/com.github.mailhog.plistに置きます。
書き方や何を指定することができるのかについては、こちらに説明があります。
<?xml version='1.0' encoding='UTF-8'?>
  <!DOCTYPE plist PUBLIC "-//Apple//DTD PLIST 1.0//EN" "http://www.apple.com/DTDs/PropertyList-1.0.dtd" >
  <plist version='1.0'>
    <dict>
    <key>Label</key>
      <string>com.github.mailhog</string>
    <key>ProgramArguments</key>
      <array>
        <string>/opt/local/bin/daemondo</string>
        <string>--label=mailhog</string>
        <string>--start-cmd</string>
        <string>/usr/local/sbin/MailHog</string>
      </array>
      <key>Disabled</key>
        <false/>
      <key>KeepAlive</key>
        <true/>
      <key>StandardOutPath</key>
        <string>/var/log/mailhog.access</string>
      <key>StandardErrorPath</key>
        <string>/var/log/mailhog.error</string>
    </dict>
  </plist>
ファイルを設置したら、OSをリブートしましょう。リブートしたらpsでMailHogが起動していることとブラウザで表示できることを確認しましょう。
ps axuw |grep MailHog
kondonator       10557   0.0  0.0  4277256    824 s002  S+    7:19PM   0:00.00 grep --color MailHog
root               117   0.0  0.0 558442344    960   ??  S    土09AM   0:01.74 /usr/local/sbin/MailHog
root                91   0.0  0.0  4304824     84   ??  Ss   土09AM   0:00.04 /opt/local/bin/daemondo --label=mailhog --start-cmd /usr/local/sbin/MailHog
これでサービスが送信するメールのヘッダや内容を確認することができるようになりました。LaravelからMailHogを使うには、.envを以下のように修正します。
MAIL_DRIVER=smtp
MAIL_HOST=localhost
MAIL_PORT=1025
MAIL_USERNAME=null
MAIL_PASSWORD=null
MAIL_ENCRYPTION=null
実際にメールを送信して、MailHogで受信できていればLaravelの設定も完了です。
